The most advanced robot may be the wrong choice for a school. The top robotics kits for schools are those that match students’ ages, coding experience, learning goals, budget, and next steps. Choose a kit with a clear starting point for beginners and room for more challenging projects as their skills grow.
It’s natural to focus on what a robot can do, but students engage when they can build, program, test, and improve it themselves. Hands-on projects turn code into visible action and give learners a reason to experiment. This guide explains how to compare kits by age and skill level, match features to classroom goals, plan for project progression, and choose activities that invite participation. You’ll find a practical way to narrow the options, from first builds to more advanced robotics challenges.
Key Takeaways
- Match a kit’s building and coding demands to students’ age and current experience.
- Choose projects that connect classroom learning goals with visible, hands-on results.
- Compare the full classroom setup, including how robots will be shared and used.
- Plan a progression from simple builds to more challenging programming and design tasks.
- Prioritize interactive projects that invite students to test ideas, solve problems, and improve their robots.
Middle school kits for coding, mechanical design, and competitions
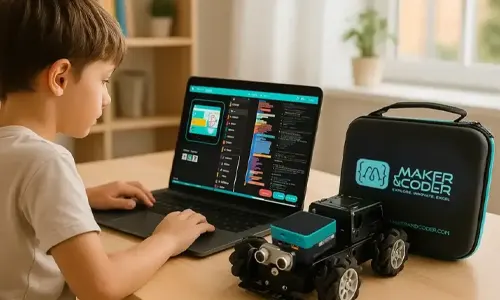
Middle school robotics kits should connect code to movement, structure, and visible results. Students learn by building a robot, programming its response, and adjusting the design. For example, a wheeled robot that turns on command links a coding instruction to physical motion. A classroom plan can begin with basic movement, then introduce sensors or timed challenges as skills develop. Compare project pathways, not just headline features.
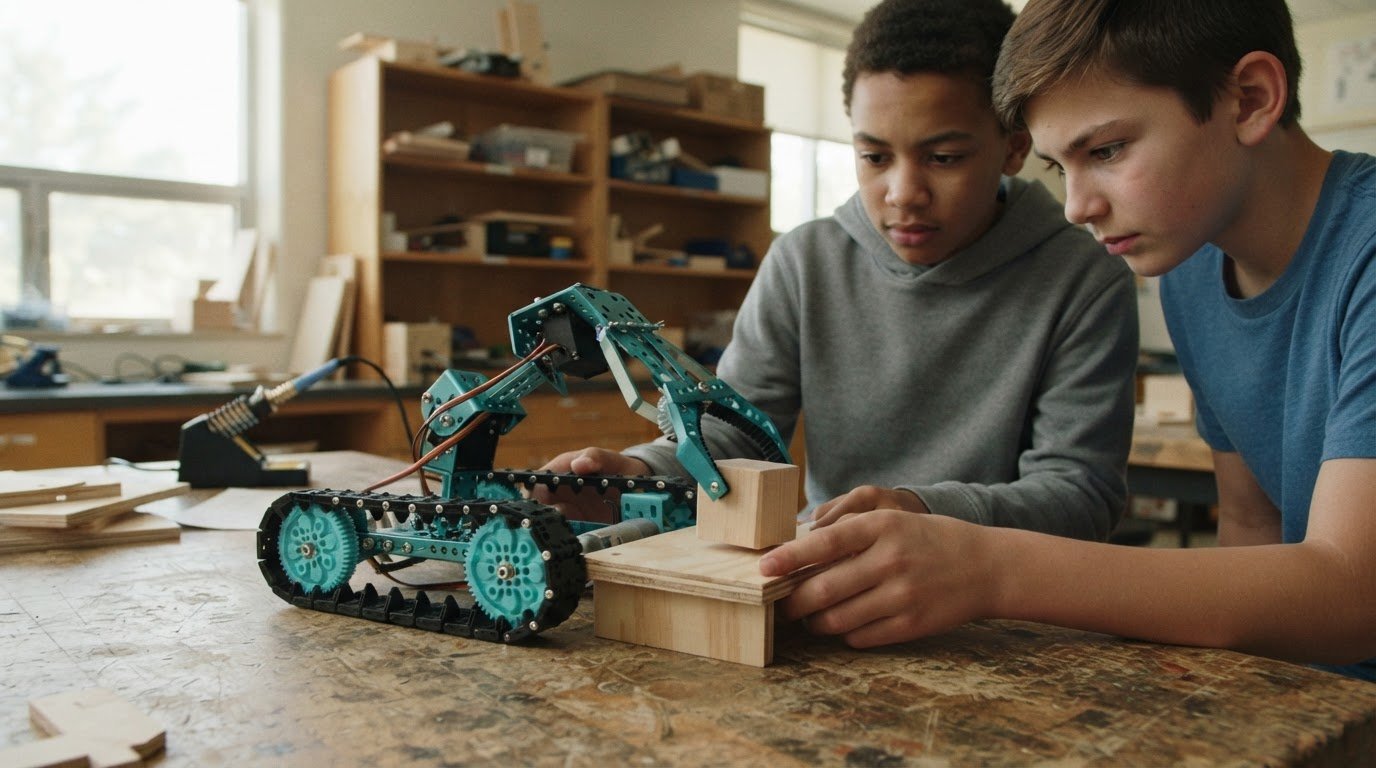
Mechanical design deserves equal attention. Look for activities that let students change wheel placement, frame shape, or attachment position and observe the effects. This supports learning through testing: predict what will happen, change one feature, run the robot, and discuss the result. For competition preparation, choose projects with clear task rules and repeatable tests. Teams can divide building, coding, and documentation responsibilities, then refine their approach after each trial.
For elementary learners, start with visual, block-based coding. Students arrange commands like puzzle pieces, making sequences and loops easier to understand before encountering typed syntax. Screen-free activities can introduce the same ideas: have learners direct a partner through a simple floor path using step-by-step instructions, then connect those instructions to a robot’s movement in a later lesson.
Which robotics kits support block-based coding, Python, or other programming languages? The available languages depend on the kit and its programming interface. Some platforms use block-based coding as an accessible starting point, while others also support Python or additional languages for more advanced lessons.
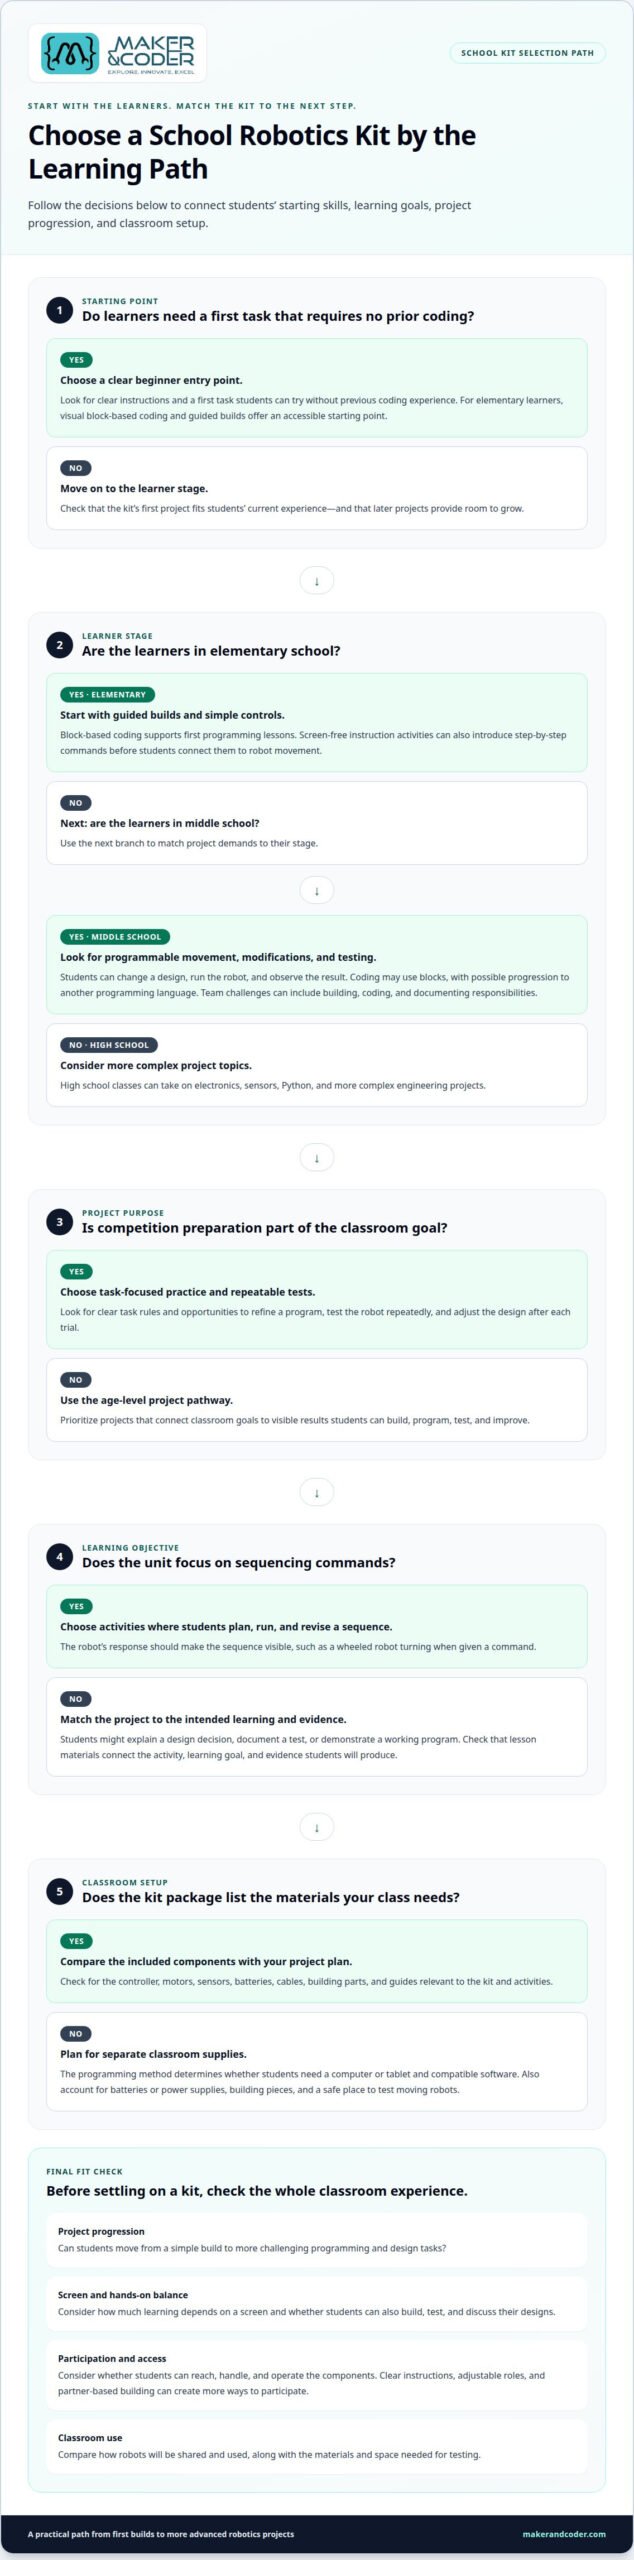
What computers, software, batteries, and other supplies are required? The kit’s programming method determines whether students need a computer or tablet and compatible software. Classroom planning should also account for batteries or power supplies, building pieces, and a safe place to test moving robots.
Are school robotics kits durable, safe, and suitable for students with disabilities? These qualities depend on construction, classroom use, and individual access needs. Consider whether students can reach, handle, and operate the components. Clear instructions, adjustable roles, and partner-based building can create more ways to participate.
Use this table to compare a kit’s starting point and classroom fit:
| Option | Coding | Design focus | Classroom use |
|---|---|---|---|
| Elementary | Block-based | Guided builds | First programming lessons |
| Middle school | Blocks, with possible language progression | Modifications and testing | Team challenges |
| Competition-focused | Repeated program refinement | Task-specific robot design | Practice and iteration |
Use this comparison to identify the top robotics kits for schools that match learners’ coding experience and offer a meaningful next project. Modular robotics add-on kits can support expanded builds when a class is ready to explore additional components.
Choosing robots by age, skill level, learning objectives, and budget
Start with your learners, then match the kit’s projects and included materials to classroom goals. Compare the full package and the progression it supports, not just its headline features.
Robots for Different Age and Skill Levels
What are the best robotics kits for elementary, middle, and high school students? Elementary learners benefit from guided builds and simple controls; middle school students can explore design changes and programmable movement. High school classes can take on electronics, sensors, Python, and more complex engineering projects.
For beginners, choose a kit with clear instructions and a first task that doesn’t require prior coding. Then look for options that let students take on new challenges as their experience grows. Teachers can assess fit by comparing the first project with the independent work students should eventually complete.
Robotics Kits for K-12 Learning Goals
Which classroom kits align with U.S. K-12 standards and curriculum requirements? Match lessons to the learning objectives and standards adopted by the school or district. For example, a unit focused on sequencing needs activities where students can plan, run, and revise a sequence of commands.
Curriculum fit also depends on how teachers will assess learning. A project might ask students to explain a design decision, document a test, or demonstrate a working program. Review lesson materials for a clear connection between the activity, the intended learning, and the evidence students will produce.
Kit Prices and Included Supplies
What are popular school kit prices, and what does each include? Compare package contents alongside the listed price.
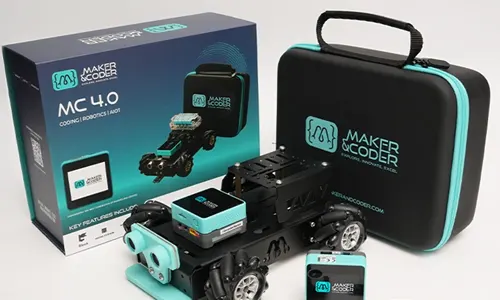
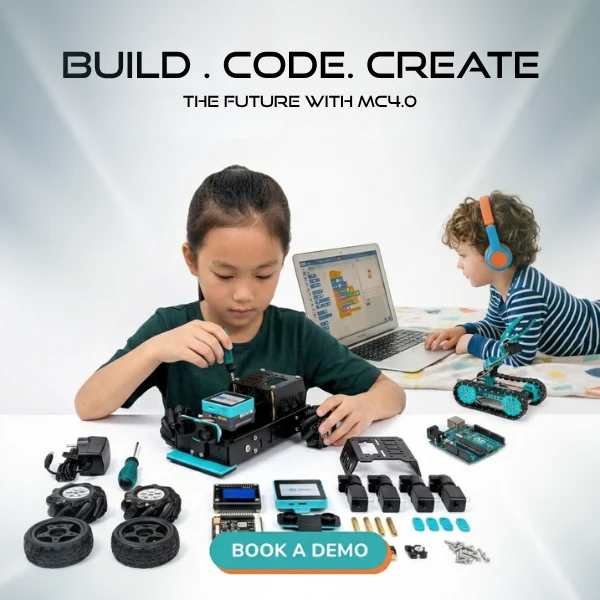
Check whether the package includes a controller, motors, sensors, batteries, cables, building parts, and guides. For example, the AIoT Robotics Kit includes an MC4.0 Controller, AI Camera, environmental sensor, relay module, motors, wheels, battery pack, cables, and guides. Account for any separate classroom materials in procurement planning.
Where can U.S. schools buy kits, and are education discounts or grants available? Schools can use their established purchasing process to acquire kits. Discounts or grants depend on the specific funding program and its eligibility rules, so budget plans should distinguish awarded funding from possible support.
For younger learners, the page identifies the American Academy of Pediatrics as advising limits on screen time for small children. When comparing kits, consider how much learning depends on a screen and whether students can also build, test, and discuss their designs hands-on. A kit’s fit may depend on the balance of activities, not only the coding tools it provides. Teachers can use that balance to select projects suited to learners’ needs and classroom goals.
Treat that estimate as a planning reference alongside the kit’s purchase price, since the annual team budget covers more than equipment alone. Before selecting a package, consider how its projects fit the team’s learning objectives and what resources the school can commit over time. Comparing kit contents, team costs, and educational goals can help schools choose a workable option.
Gradual progression from beginner to advanced projects
Plan a pathway that moves from simple commands to independent robot design. How many students can use each robotics kit, and what classroom set sizes are available? Plan for 3-4 students to share each classroom robot, then choose a set size based on enrollment and how students will rotate through activities.
Age Recommendations and Programming
Age recommendations should match both the physical build and the programming interface. Beginners can start with visual blocks that show the order of instructions. For example, students can sequence forward, turn, and stop commands. This makes program logic visible before learners work with typed code.
As confidence grows, introduce Python or Arduino programming where the selected platform supports it. Students can first adjust a working program, then write or modify instructions themselves. The shift from blocks to text should follow the classroom curriculum and learners’ readiness, not age labels alone.
Robot Building and Programming
Building and programming together creates a practical cycle: assemble, run, observe, and revise. A beginner might build a simple moving robot, then change one instruction to alter its path. Later, students can adjust the design and program together, using each test to identify which change affected the result.
To structure projects, teachers can set a clear goal, such as navigating around a classroom obstacle. Students then plan the robot’s movement, build or adapt its structure, test the code, and explain their revisions. This sequence turns creativity into a repeatable engineering process.
Programming interfaces can develop from block-based tools to text-based languages and, for advanced study, frameworks such as ROS2. These are distinct levels, not a guaranteed progression supported by every kit. Before planning lessons, align the interface with the hardware and the skills students should practice.
A strong curriculum revisits core ideas through increasingly complex projects. Sequencing can begin with a movement command, then add conditions that respond to a sensor, and later combine multiple inputs. Each step introduces a new concept while retaining familiar building blocks, helping students connect earlier programming knowledge with new challenges.
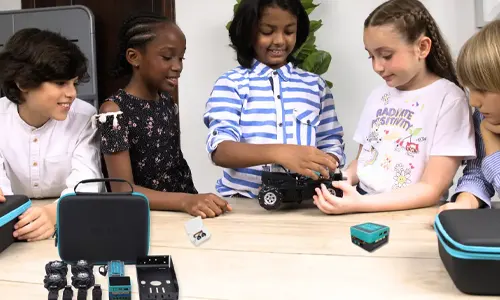
Use classroom sharing deliberately: with 3-4 students per robot, roles can rotate among builder, programmer, tester, and recorder. Switch roles during the project so each learner practices more than one task. For advanced stations using ROS2, plan separate instruction around the software environment and robot setup before assigning an open-ended project.
High school robotics, electronics, and computer vision
High school projects can combine mechanical design, electronics, sensors, and programming in one working system. For example, a mobile robot can use sensor input to change its movement.
Sensors and Mechanical Components
Sensors provide information about a robot’s surroundings, while mechanical parts convert programmed commands into motion. In a line-following project, students can use sensor readings to guide wheel movement and compare how code changes affect the robot’s path. This connects input, decision-making, and physical output in a practical engineering task.
Build investigations around one change at a time. Students might adjust a wheel position, run the robot, and record how its turning changes. Then they can modify a sensor condition and compare results. This makes troubleshooting more systematic than changing several components before testing.
Computer vision adds another layer: a camera captures an image, and software analyzes it for a chosen feature. A classroom project might ask a robot to respond differently to a colored object. Students can examine the camera input, test the program’s response, and discuss conditions that affect recognition. This makes machine perception a concrete topic rather than an abstract term.
Sensor projects also introduce embedded systems, where a small computer runs code that reads inputs and controls outputs. For example, students can trace how a distance reading affects a motor command. A useful lesson asks teams to identify each step: sensor data enters, the program evaluates it, and the robot responds.
Educational Electronics and Microcontrollers
Microcontrollers let students connect programming with electronic inputs and outputs. In a classroom activity, learners can use a button as an input and an indicator as an output, then change the code to alter the response. Compared with a purely mechanical build, this approach emphasizes circuit connections, logic, and relationships between components.
Move from a guided circuit to a student-designed system. First, have learners identify the controller, power source, input, and output. Next, test one connection and one code change at a time. This helps students determine whether a problem comes from wiring, programming, or the component itself.
Advanced classes may use ROS2, an open-source framework for robot applications. Plan the computer setup alongside the robot, software environment, and project goals, so students can focus on testing how sensors, code, and mechanical movement work together.
For a complete project, ask teams to document the system’s sequence: what the sensor detects, how the program processes it, and which component responds. A camera-guided robot offers one example, combining computer vision with movement. Students can explain their design choices and refine the system based on observed behavior.
Interactive robots for student engagement
A robot becomes interactive when students’ choices produce an observable response. In a classroom challenge, learners can send a robot through a route, observe its movement, and revise the commands if it turns too early. That feedback loop gives the lesson a visible focus: students can compare their instructions with what the hardware actually does.
Design tasks with a clear goal and room for different solutions. For example, ask teams to create a robot that signals when it reaches a target. One group might use movement and a light; another might add a sound or remote command. Students can explain how their choices affect the robot’s response, connecting programming decisions to a shared outcome.
Blocks make cause and effect easier to inspect. Students can arrange commands for moving, turning, and stopping, then change one block to test a new route. A teacher can ask them to predict the result first and compare that prediction with the robot’s behavior. This turns a brief build into a cycle of observation, discussion, and revision.
Give each learner a meaningful role during a group project. For a route challenge, one student can plan the path, another can arrange the blocks, and another can record where the robot veers off course. Rotate roles during the next test so everyone contributes to the design and sees how planning, programming, and testing shape the result.
- Route challenge: Program a robot to reach a marked destination, then adjust its turns.
- Signal challenge: Create a response using a light or another available output.
- Remote-control challenge: Compare direct commands with a saved sequence of movements.
- Design challenge: Change one physical feature and observe its effect on movement.
Connect interactive builds to classroom topics through specific prompts. A route task can explore sequencing, while a sensor-based activity can ask what input triggered a response. Students can document each test in a simple table with the instruction, observed action, and next change. This makes discussion more precise than relying on memory alone.
Choose projects where the robot responds clearly to student decisions, rather than simply following a fixed demonstration. Start with one input and one visible response, then invite teams to modify the program or design. For support planning lessons that use block-based programming, discuss classroom robotics learning goals.
For beginners, start with a simple robot kit, then progress to intermediate and advanced projects as students are ready. This gradual path helps learners understand how instructions shape a machine’s actions before they take on more involved builds. Building and programming robots can connect coding concepts with physical movement and real-world results. A robot that responds to a revised command makes an abstract idea tangible, giving learners something concrete to inspect and discuss.
Planning also means considering classroom costs when selecting activities and equipment. These estimates can help teachers compare options and choose a starting point that fits their learners and available resources. A simple kit can introduce hands-on work, with more complex projects added as experience grows.
Maker & Coder
Maker & Coder helps schools connect robotics hardware, programming, and classroom learning through the MC 4.0 Kit and supporting resources. The MC Curriculum (K-12) provides a structured learning pathway, while MC Blocks offers a visual approach to programming. Teacher Training Programs can support educators as they plan lessons and guide projects.
This combination is useful when a school wants to match a robotics kit with its learners’ experience, teaching goals, and plans for progression. Consider how students will move from introductory activities to more challenging builds, and how teachers will support that journey. Contact Maker & Coder to discuss the right fit for your school’s robotics learning goals.
Turn Your Robotics Plans into Classroom Practice
Choosing the top robotics kits for schools is a starting point, not the finish line. Their lasting value comes from making robotics part of how students explore ideas, collaborate, and bring their own designs to life. Decide what you want learners to create and how those projects can grow with their confidence.
Think beyond the first build. Consider how robotics can give students recurring opportunities to test ideas, learn from unexpected results, and take greater ownership of their work. That vision can help your school shape a program that serves both learners and educators.
Maker & Coder can help schools connect robotics learning goals with its educational offerings. Share your school’s priorities with Maker & Coder to explore a direction that fits your classroom plans.
Start with a clear purpose, then give students room to imagine what comes next. Their next idea could be the beginning of something remarkable.
Maker & Coder’s Robotics Kits for Schools
Maker & Coder provides a STEM education ecosystem centered on the MC 4.0 hardware platform and modular MC Blocks. Its lineup includes the MC4.0 Controller and Base, AIoT, and STEAM kits for technical learning.
Turn to Maker & Coder when you want hardware paired with a structured learning pathway. The K-12 MC Curriculum is designed to integrate directly with the hardware, supporting instruction through the curriculum and kits.
Frequently Asked Questions
What should schools consider when choosing robotics kits for different grade levels and budgets?
Schools should match a kit’s construction demands, programming interface, and project complexity to students’ experience and learning goals. For younger learners, prioritize clear instructions and simple controls; for advanced classes, consider whether projects can incorporate sensors, electronics, or computer vision. To manage spending, compare what each classroom package includes and account for computers, replacement components, and lesson materials. A kit’s value depends on how well it supports planned activities.
Which robotics kits align with U.S. K-12 STEM standards and curriculum requirements?
Match lessons to the learning objectives and standards adopted by the school or district. Review whether activities and assessment materials connect to those goals.