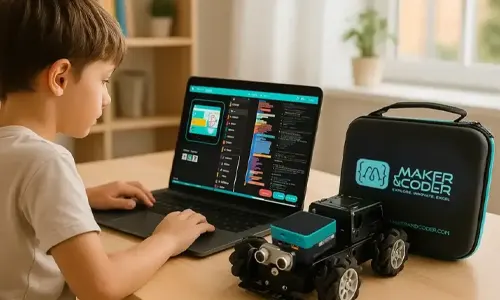
Yes, coding kits can teach students to code when learners write or arrange instructions, run them, and improve their projects when something doesn’t work. The best multi coding kits for students connect programming concepts to hands-on builds, helping learners move from following steps to creating and refining their own ideas.
Choosing among the Best Multi Coding Kits for Students means looking beyond the list of programming languages. Consider what students can build, how much assembly is involved, and whether the activities fit a classroom, lab, homeschool, or enrichment setting. A beginner-friendly kit may also offer a path to more advanced coding as learners progress.
This guide explains how coding kits support programming skills and what to compare before choosing one. Look at programming options, project possibilities, assembly, and learning setting, then match those features to your students’ goals.
Key Takeaways
- See how block-based and text-based coding can support different stages of programming practice.
- Learn which assembly considerations can make a kit more practical for shared or independent projects.
- Match kit features and learning activities to classroom, homeschool, or enrichment settings.
- Understand what can influence the overall cost of educational coding kits.
- Explore how hands-on projects can connect programming practice with creative problem-solving.
1. Do coding toys actually teach kids to code?
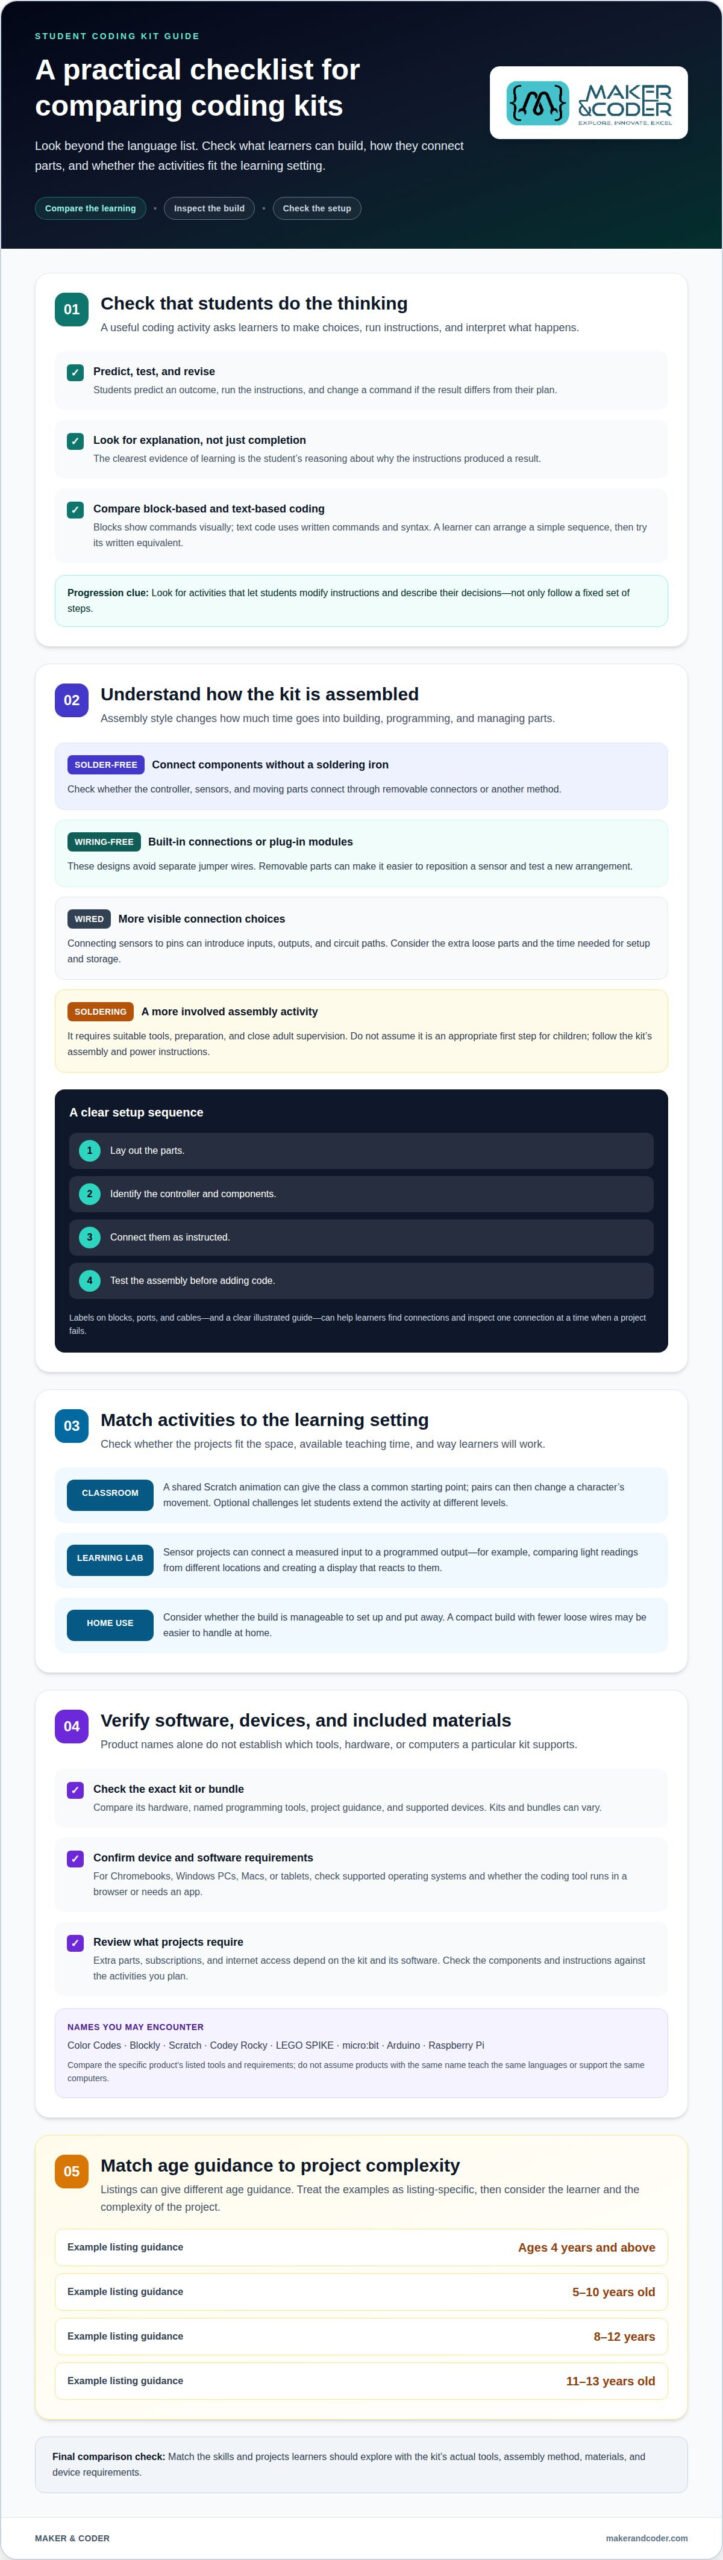
Coding kits teach programming when students make choices, run instructions, and interpret the results. A meaningful activity asks learners to predict an outcome, change a command, and explain the difference. For example, students can plan a sequence for a digital character, test it, then revise the order if the result differs from their plan. The clearest evidence of learning is the student’s reasoning, not the kit’s label.
Block-based and text-based programming offer different ways to give instructions. Blocks display commands visually; text code requires learners to write commands using a language’s syntax. Students can start by arranging a simple sequence, then try the written equivalent of one instruction. Comparing the two helps them see how different representations describe the same action.
Screen-free Color Codes and Blockly are terms worth checking in a kit’s learning materials. Color Codes suggests color-based coding activities, while Blockly refers to a block-based coding environment. A product description alone won’t show how learners progress. Look for lesson examples that explain the task, let students modify instructions, and prompt them to describe their decisions.
Codey Rocky, LEGO SPIKE, micro:bit, Arduino, and Raspberry Pi are names you may encounter when comparing student coding options. Kits and bundles can vary, so compare each specific product’s hardware, named programming tools, project guidance, and supported devices. Don’t assume every product with one of these names teaches the same languages or works with the same computers.
For Chromebooks, Windows PCs, Macs, or tablets, compatibility depends on the kit’s actual software and connection requirements. Compare the supported operating systems and whether the coding tool runs through a browser or requires an app. Age guidance also varies across listings: examples include ages 4 years and above, 5-10 years old, 8 – 12 years, and 11 -13 years old. Match the guidance to the learner and project complexity.
Extra purchases, subscriptions, and internet access depend on the kit and its software. Check the components and instructions against the activities you plan: a project may need parts beyond the base set, and an online coding environment may require connectivity. These details matter when comparing the Best Multi Coding Kits for Students. Choose based on the skills and projects learners should explore, then make sure the listed tools and materials support that plan.
2. Solder-free and wiring-free assembly
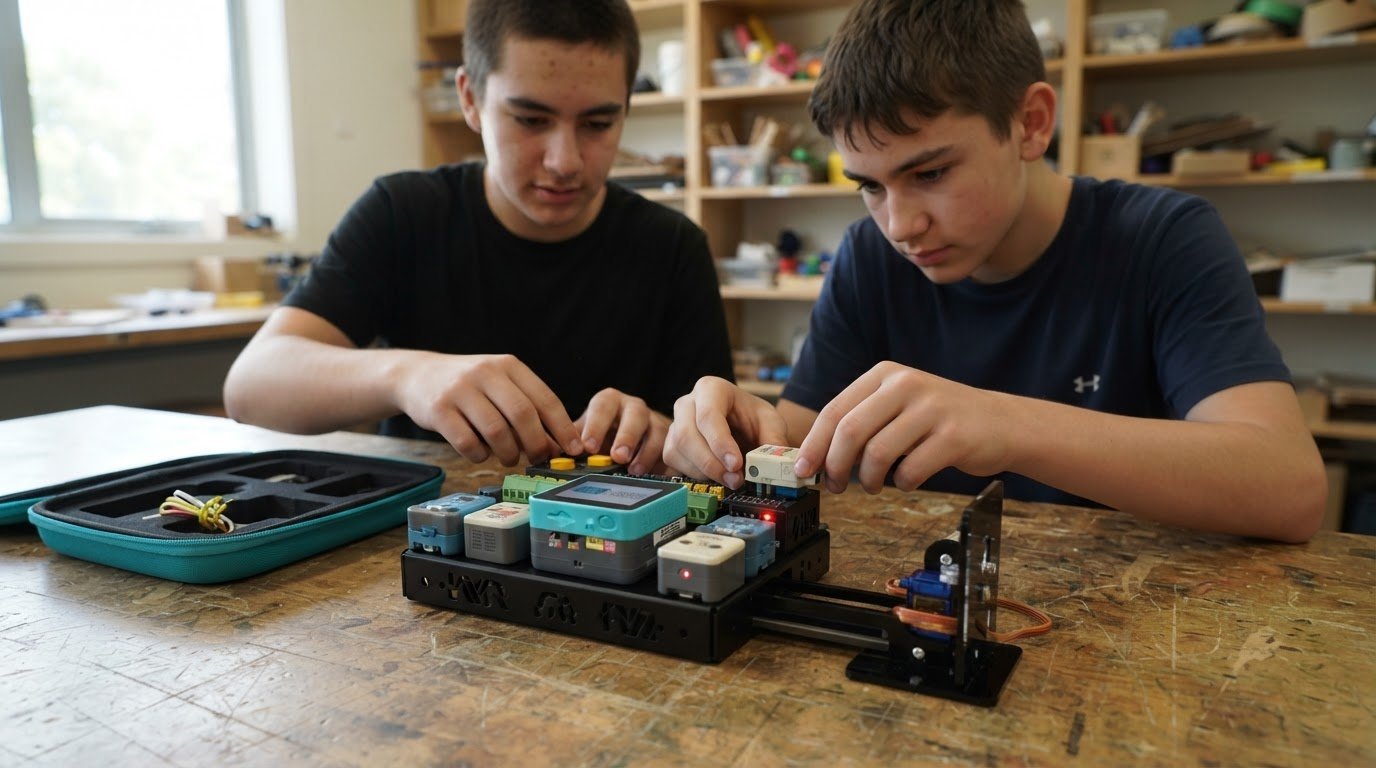
For a first electronics project, solder-free assembly lets students connect components without joining metal parts with a soldering iron. Wiring-free designs go further, using built-in connections or plug-in modules instead of separate jumper wires. Since these terms describe different assembly methods, check how the kit connects its controller, sensors, and moving parts.
Assembly affects how much time students spend building versus programming. Connector-based parts can make it easier to remove a sensor, reposition it, and test a new arrangement. For instance, a learner could connect a light sensor, run a simple program, then move the sensor and observe how its input changes. This links physical components to code without making soldering an early requirement.
Wired kits can also be useful learning tools. Connecting a sensor to the correct pins introduces inputs, outputs, and circuit paths. A clear, illustrated build guide helps learners follow connections and spot a loose wire that may interrupt a project. The trade-off is managing more separate parts, which can make setup and storage more involved.
Soldering adds another layer of hands-on assembly. It can teach learners how permanent electrical connections are made, but it requires suitable tools, preparation, and close adult supervision. For children, don’t assume soldering is an appropriate first step. Start with components that connect without it, and introduce soldering only when the activity, equipment, and supervision are suitable. Follow the kit’s assembly and power instructions, and keep hot tools away from student work areas.
Ease of use also depends on how clearly parts are identified. Labels on blocks, ports, and cables help students find the right connections. A practical setup sequence is to lay out the parts, identify the controller and components, connect them as instructed, then test the assembly before adding code. If a project fails, students can inspect one connection at a time instead of rebuilding everything.
For a classroom project, removable connections can simplify repacking and let learners take turns changing components. At home, a compact build with fewer loose wires may be easier to set up and put away. More advanced learners may value wiring because it makes connection choices visible. The right assembly style depends on the activity, learners’ existing skills, available supervision, and whether the priority is programming practice or deeper electronics construction.
Before choosing a kit, compare its assembly guide, connector design, component labels, and required tools. The right kit should make the build understandable while still teaching the concepts students need to learn.
3. Classroom, Homeschool, and Enrichment Use
A coding kit is most useful when its projects suit the setting and available teaching time. In a classroom, a teacher might use Scratch for a shared animation, then ask each pair to change a character’s movement. Clear project steps help beginners start together, while optional challenges let students extend the same activity at different levels.
In a learning lab, students can use sensors to collect readings and write code that responds to them. For example, they could compare light readings from different locations, then create a simple display that reacts to those readings. This connects a measured input with a programmed output.
Homeschool projects can center on one build and a sequence of small coding goals. A learner might start with Scratch blocks to control a character, then plan a physical model that responds to a button or sensor. Short sessions leave time to build, test, and revise at an individual pace. Parents can focus on the learner’s project rather than doing each step for them.
Enrichment activities work well for students ready to extend a familiar idea. After creating a basic Scratch animation, learners could add a condition, such as changing a scene when a character touches an object. Students ready to explore electronics might use Arduino to program a controller that responds to sensor inputs. Let each learner’s readiness guide the next step.
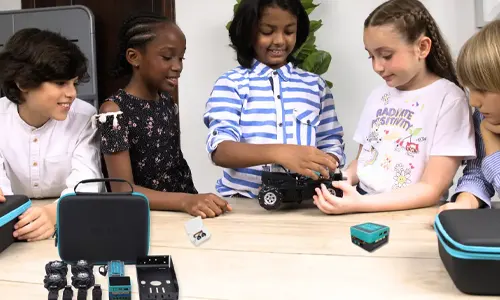
For a group build, rotate roles during the activity: one student plans the model, another arranges the code, and another tests the result. Switch roles for the next project so each learner practises design decisions and debugging. A teacher can assess progress by asking students to explain what a code change did and why they made it.
Compare learning settings by considering device access, storage, project duration, and adult support. A classroom may need activities that are easy to reset between groups, while homeschool may prioritize projects that can pause and resume. An enrichment club can offer extensions for students who finish early. In every setting, match the kit’s programming tools and building activities to learners’ goals rather than choosing by language count alone.
4. Educational kit prices
Compare educational coding kits by what they enable, not by the price label alone. A robotics kit designed around one project may suit a learner exploring a first interest, while reusable components can support several activities. Start by listing intended projects, such as programming a moving model, then compare each kit’s hardware and learning materials against that plan.
Check what comes in the box. One kit may include a controller and components, while a different project may require additional parts. Note what’s included, what your planned activities need, and whether the instructions guide learners through setup. This makes comparisons more useful than product names alone.
Programming options also affect a kit’s educational value. A beginner might start with visual blocks, then move to Python when ready to write code. If a kit supports multiple approaches, check whether its activities introduce them progressively. A language listed as compatible is less useful than a clear project that teaches learners how to apply it.
For classroom use, work out the materials needed for the planned group activity. If students work in pairs, decide how many project sets the lesson requires and whether components can be reused between sessions. For homeschool, consider which projects a learner can complete independently and what instructions are provided. Enrichment programs may value projects that extend beyond the introductory activity.
Subscriptions, software, replacement parts, and internet access can affect the overall budget. Compare each separately: check whether the planned coding environment requires an account, whether an activity needs online access, and which components a project uses or reuses. This helps distinguish the purchase price from the resources needed to run the activity.
Before deciding, use a short checklist: match the kit to a specific project, note the included components, review programming tools, and assess the guidance provided. Then consider the learner’s current skills and next step. A kit that introduces blocks clearly may suit a beginner better than one with advanced options they aren’t ready to use. For experienced learners, Python support or expandable project choices may matter more than introductory activities.
No single price defines the right educational kit for every student. Compare the purchase requirements with the projects, programming practice, and instructions the kit provides. This helps families and educators choose with purpose, whether they’re looking for a first coding experience or a path into more advanced robotics activities.
5. Hands-On Learning Through Projects
Project work gives programming a purpose: learners have something tangible to design, assemble, and improve. Rather than treating code as a finished answer, students use it to control a model, observe the result, and decide what to change. Choose a project with a clear goal and room for meaningful decisions.
For example, students could design a small delivery vehicle to carry a lightweight object along a marked route. They would sketch the vehicle, assemble its frame, plan its movement, and test the result. If it veers off course, they can adjust the design or program, then explain which change improved the outcome. The process connects problem-solving to a visible result.
Project kits can include a controller, building parts, and components such as motors or sensors, but contents vary. Activities might involve a moving model, a programmed response, or a device that reacts to an input. Use the included parts and instructions as a starting point, then identify which decisions learners can make independently.
A strong learning sequence moves from a guided build to a student-designed challenge. First, learners follow instructions to assemble a working model. Next, they change one feature, such as the route or the model’s response. Finally, they set a new goal and decide how to test their solution. Each stage builds on the last without making the first project feel like an endpoint.
In a school group, students can record design choices with a quick sketch and a short explanation. One learner might suggest a wider base, while another changes the movement instructions. The group can test both approaches and compare results. This makes collaboration concrete: learners discuss evidence from the build instead of simply choosing a favorite idea.
When comparing kits, match their components and project instructions to what students want to create. Parts matter most when they support useful choices, repeated testing, and progress beyond copying a model exactly. Look for activities that encourage learners to adapt designs, explain their decisions, and refine their projects.
For educators planning hands-on programming projects, discuss your learning goals and the kinds of models students should create. A well-chosen project can turn a first build into a starting point for independent ideas.
Maker & Coder: Multi coding kit
Maker & Coder’s Multi coding kit offers educators a practical way to connect coding concepts with project-based learning. It can suit students ready to explore programming through hands-on activities, or classrooms seeking a structured approach to coding.
MC Blocks provides a block-based option for learners to work with visual coding concepts. The MC Curriculum (K-12) is designed to integrate with Maker & Coder hardware, helping educators connect kit activities with a structured learning pathway. Together, these offerings can support progression from guided exercises to student-built projects, while keeping programming practice linked to tangible outcomes.
Schools, educators, and families planning a coding program can contact Maker & Coder to discuss their learning goals and the Multi coding kit.
Turn a first project into a learning pathway
Choose a project students can make their own. Let curiosity guide the challenge: a learner might begin by changing a program, then move on to designing an original solution. That ownership can keep programming meaningful beyond a single activity.
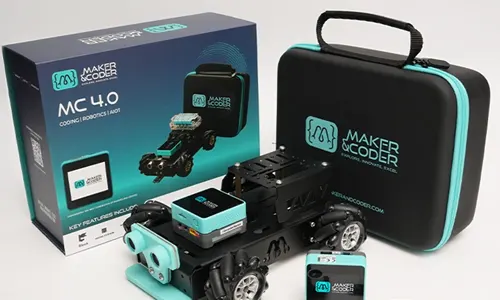
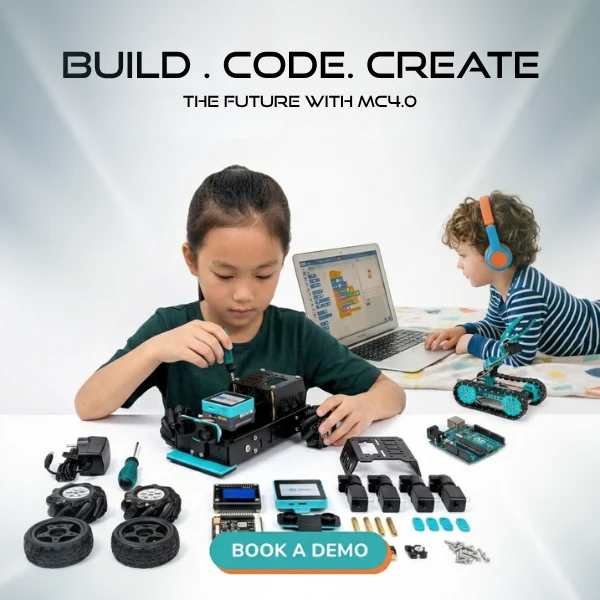
The Best Multi Coding Kits for Students are the ones that fit the learners, setting, and next skill you want to develop. For educators planning that progression, Maker & Coder offers the MC 4.0 Kit, MC Curriculum (K-12), and MC Blocks. These offerings give you starting points to consider as you shape a coding experience around your goals.
Whether you’re planning for a classroom, a learning group, or home projects, focus on what students will create and how they can grow from guided practice to independent ideas. Contact Maker & Coder to discuss your kit needs, and take the next step toward helping learners turn code into something they can imagine, build, and improve.
Continue with Maker & Coder’s Multi Coding Kits
Maker & Coder provides a STEM education ecosystem built around the MC 4.0 hardware platform and modular MC Blocks. Its lineup includes the MC4.0 Controller and Base, AIoT, and STEAM kits for technical learning.
If you’re ready to move from comparing multi coding kits to choosing a structured learning path, explore Maker & Coder’s K-12 MC Curriculum, designed to integrate with its hardware.
Frequently Asked Questions
Do coding toys actually teach kids to code?
Yes, a coding toy can teach real programming concepts when learners decide how it should behave. For example, students can program a robot to respond to a sensor, then explain how their instructions produced that response. Learning comes from planning, testing, and interpreting results, not just assembling a device. After each test, ask learners what they changed and why.
What coding toy grows with my kid the longest?
Choose a kit that offers a route from visual coding toward text-based programming and more complex projects. The MC 4.0 platform supports Scratch, Python, Arduino, Blockly, and MCLab, offering several programming environments to explore. A learner can begin with visual commands and later take on projects requiring written code. Continued growth also depends on matching each project to the learner’s interests and developing abilities.
Which coding kits support multiple programming languages and platforms?
The MC4.0 Controller supports Scratch, Python, Arduino, Blockly, and MCLab. These are programming environments, not a guarantee that every kit works with every computer or tablet. Device access depends on the software and connection requirements of the chosen kit. For a school using mixed devices, plan around the specific coding environment students will use, then align projects and instruction with that setup.
How much do popular student coding kits cost in the United States?
On the market, programmable robot kits typically range between 113 and 295 USD. Treat that as a broad market range, not a price for a particular kit. The contents and project requirements affect the overall budget: compare the hardware, learning materials, and any additional components needed for your planned activities. For classroom purchases, consider how the available kits will be used across lessons.
Which coding kits teach block coding, Python, or JavaScript?
For block coding and Python, the MC4.0 platform supports Scratch and Python, alongside Arduino, Blockly, and MCLab. Don’t assume that support for one language means a kit supports JavaScript too. Programming environments differ in their languages and tools. If JavaScript is essential to a project, select a kit whose stated learning materials and software specifically support that language.
Which coding kits are best for classrooms, homeschooling, or individual learners?
Choose according to who will guide the activity and how learners will use the kit. An educator planning structured lessons can pair hardware with the MC Curriculum (K-12), while a homeschool learner may benefit from projects they can explore at their own pace. For individual learners, compare the programming approaches and project options. The best multi coding kits for students connect their interests with a clear next learning step.
What ages and grade levels are the top coding kits designed for?
The listed age guidance includes ages 4 and above for kindergarten or primary-school children, ages 5–10 for elementary-school coding robots, and ages 11–13 for middle-school coding robots. One listed coding-toy result is intended for ages 8–12; products are not recommended for children under 3 because they may contain small parts.