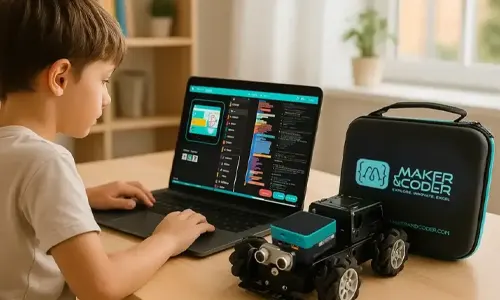
Coding kits can teach children to code by connecting programming instructions to something they can build, control, or change. The top coding kits give beginners a practical way to experiment, see what their code does, and refine ideas through hands-on projects.
It’s reasonable to ask whether a kit teaches more than how to follow instructions. Learners build understanding when they go beyond a guided activity: changing the code and solving a new challenge encourages deeper exploration.
In this guide, you’ll learn how coding kits develop programming skills, what to consider when choosing options for different ages, and how projects can grow from structured activities into open-ended engineering. We’ll also look at how coding, robotics, and creative problem-solving can come together in a practical learning experience, helping you choose a kit that fits a beginner’s interests and next steps.
Key Takeaways
- Look for kits that let beginners write instructions, see the results, and adjust their code rather than only follow fixed activities.
- Match the kit’s programming approach and project complexity to the learner’s experience, interests, and readiness to explore.
- Consider how a kit can support a gradual shift from physical coding activities to more independent building and engineering.
- Choose projects that connect coding with hands-on creation, encouraging learners to apply ideas in practical ways.
- Explore how Maker & Coder’s Multi coding kit, MC 4.0 Kit, MC Blocks, and K-12 curriculum can support a structured learning journey.
1. Do coding toys actually teach kids to code?
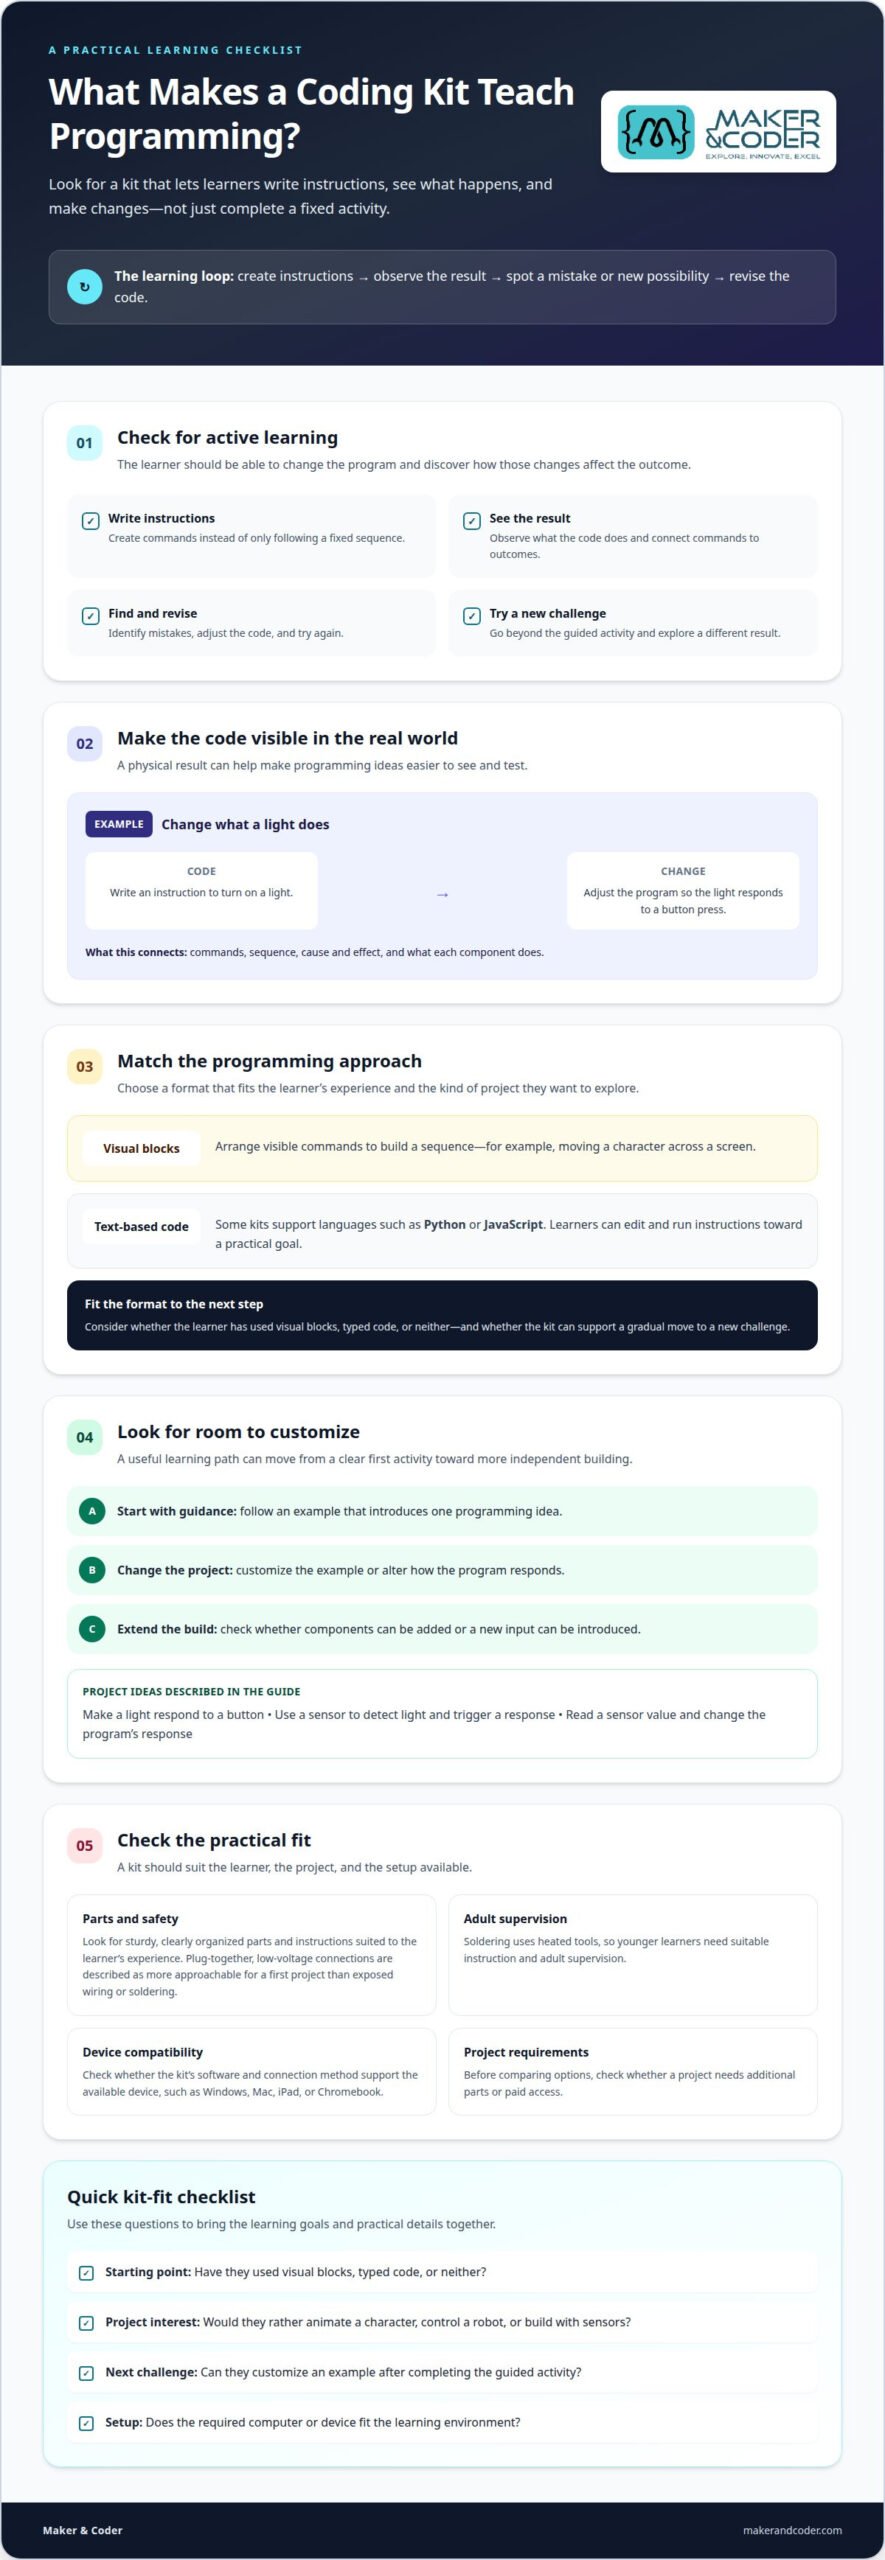
Yes. A coding kit can teach programming when children do more than follow a fixed sequence. They create instructions, observe the result, identify mistakes, and revise the code. For example, a learner might program a device to respond to a button, then change the instructions to produce a different response. This cycle builds practical understanding of commands, sequence, and cause and effect.
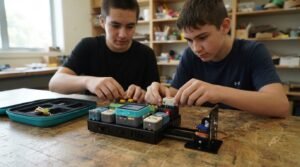
Hands-on electronics make programming ideas visible. A circuit connects components such as a controller, light, button, or sensor so they can work together. A beginner can write an instruction to turn on a light, then change the program so the light responds to a button press. This links code to a physical result and helps learners understand what each component does.
Which coding kits teach Scratch, Python, JavaScript, or robotics? It depends on the kit: some use visual block-based programming, while others support text-based languages such as Python or JavaScript. Robotics kits add a physical system to program, but the available languages and projects vary by product.
How do leading coding kits compare in features and value? Compare what learners can build, the programming approaches included, and whether the activities progress beyond a single guided project. A kit with expandable components may offer more ways to customize a project than one designed for a fixed activity. Platform support matters too: Windows, Mac, iPad, and Chromebook compatibility depends on the kit’s software and connection method.
What are the safest and most durable coding kits for children? Look for sturdy components, clearly organized parts, and instructions suited to the learner’s experience. For a first project, low-voltage connections that plug together are generally more approachable than exposed wiring or soldering. Soldering involves heated tools, so it requires suitable instruction and adult supervision for younger learners.
How much do coding kits cost in the United States? Prices depend on the kit and what it includes, such as a controller, electronic components, building materials, and software. Before comparing options, check whether a project requires additional parts or paid access. For Maker & Coder kits, product pages note that duties and taxes are excluded from listed prices.
Are coding kits suitable for beginners with no programming experience? Yes, if the first activity introduces one idea at a time, such as arranging commands to make a light respond. When choosing, consider the learner’s interests, preferred device, coding format, project complexity, and room to extend builds. For example, an AIoT add-on kit offers a route toward projects involving connected technology.
2. Coding kits for different age groups
For 2026, the best coding kits for kids and beginners are those matched to a learner’s current skills, interests, and next challenge. A first-time coder may benefit from visual commands and a clear project, while an experienced learner may want text-based programming, sensors, or a programmable device.
For early learners, choose activities with visible commands and immediate feedback. Arranging blocks to move a character across a screen, for example, introduces sequence and cause and effect. A physical button or light can make the same idea tangible. Look for easy-to-handle parts and concise instructions that focus on one programming concept at a time.
For learners ready to explore more complex projects, look for a kit that connects code with electronic components. A project might use a sensor to detect light and trigger a response. This introduces input, output, and simple decision-making, while giving learners a practical reason to test their code rather than simply complete instructions.
Older beginners may be ready to move from visual blocks to text-based programming, such as Python. The transition is easier when a kit offers a practical goal, like reading a sensor value or changing a program’s response. Editing and running code on a computer lets learners see how each instruction affects the physical project.
A Raspberry Pi-based project can suit learners interested in computing alongside connected or physical builds. However, the platform alone doesn’t determine whether a kit is a good fit. Consider the setup, programming environment, project guidance, and whether learners can add components as their skills develop.
Use these questions to match a kit to the learner:
- Starting point: Have they used visual blocks, typed code, or neither?
- Project interest: Would they rather animate a character, control a robot, or build with sensors?
- Next step: Can they customize an example after completing the guided activity?
- Setup: Does the required computer or device fit the learning environment?
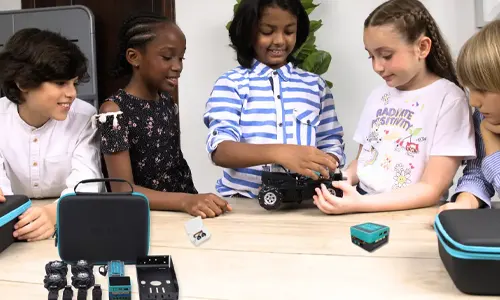
For a group with mixed experience, choose projects with more than one entry point. A beginner can follow an example, while a more confident learner can adjust the program or add an input. This keeps the activity useful across different skill levels without assuming that age alone predicts programming readiness.
Age guidance can help narrow choices, but interests and previous experience matter too. Introduce one new challenge at a time, such as moving from visual instructions to Python or adding a sensor to an existing build. Educators planning learning pathways can discuss age-appropriate coding needs and the project goals they want learners to pursue.
3. Coding toys by age range
Age labels can help narrow down a coding kit, but the better match depends on the task and the learner’s experience. Someone new to programming may need visual steps and a clear result, while a more experienced learner may want to edit code and build an open-ended project. Consider current skills, attention, and interests, not age alone.
For preschool and early elementary learners, start with tangible actions. A simple sequence might move a character forward, turn, and stop at a marked destination. Large blocks or physical pieces make each instruction easy to see and rearrange. Asking children to predict the result before pressing “run” also encourages them to explain what they expect.
For elementary learners ready to explore screens, block-based coding can introduce sequence, loops, and conditions. Repeating an instruction to animate a character, for example, shows how a loop avoids rebuilding each step. A visible display gives quick feedback: if the character turns too early, learners can change the block order and try again.
Older children and early teens may be ready to connect software with a physical build. A programmable device can respond to a button or sensor, giving learners a reason to plan inputs and outputs. One useful progression is to modify a sample project, change an instruction, observe the result, and then add a feature. This develops skills without requiring every project to start from scratch.
Teens with prior experience may prefer text-based programming or kits that allow several project paths. They might change a robot’s movement, create a different response to a sensor, or combine actions in one program. Look for clear guidance and room to experiment; a kit limited to one finished build may not hold a curious learner’s interest.
For mixed-age groups, make the same challenge adjustable. In a “make a character react” activity, one learner can arrange blocks, another can change the timing, and a more advanced student can add a condition. A shared goal keeps the activity cohesive, while different levels of complexity let everyone contribute.
Use a quick selection check before choosing:
- Match the interface: choose visual blocks for learners who benefit from drag-and-drop steps.
- Check the task: favor projects with a visible display, movement, or another clear output.
- Plan the next challenge: make sure learners can customize a completed example.
- Consider independence: select instructions that suit the amount of adult guidance available.
The right coding kit gives a learner a manageable starting point and a meaningful next step. A simple animation can lead to customized block programs, then to projects combining code with physical components. As skills grow, adjust the challenge rather than assuming every child of the same age learns in the same way.
4. Progression from physical coding to open-ended engineering
Start with a physical task that makes commands visible. A learner might arrange cards to move a character forward, turn, and stop. Each card represents an instruction, so changing their order changes the result. This unplugged activity introduces sequence before a screen or programming language enters the project. Learners can predict the outcome, test the arrangement, and explain the character’s path.
Next, transfer the same logic to a tablet or computer. In a block-based editor, learners can drag commands into a sequence and run them. Top Coding Kits can help connect screen-based instructions to projects learners can see and control. For example, they might make an on-screen character repeat a movement or respond to a button. The display gives immediate feedback, while the blocks make the program easy to inspect and revise.
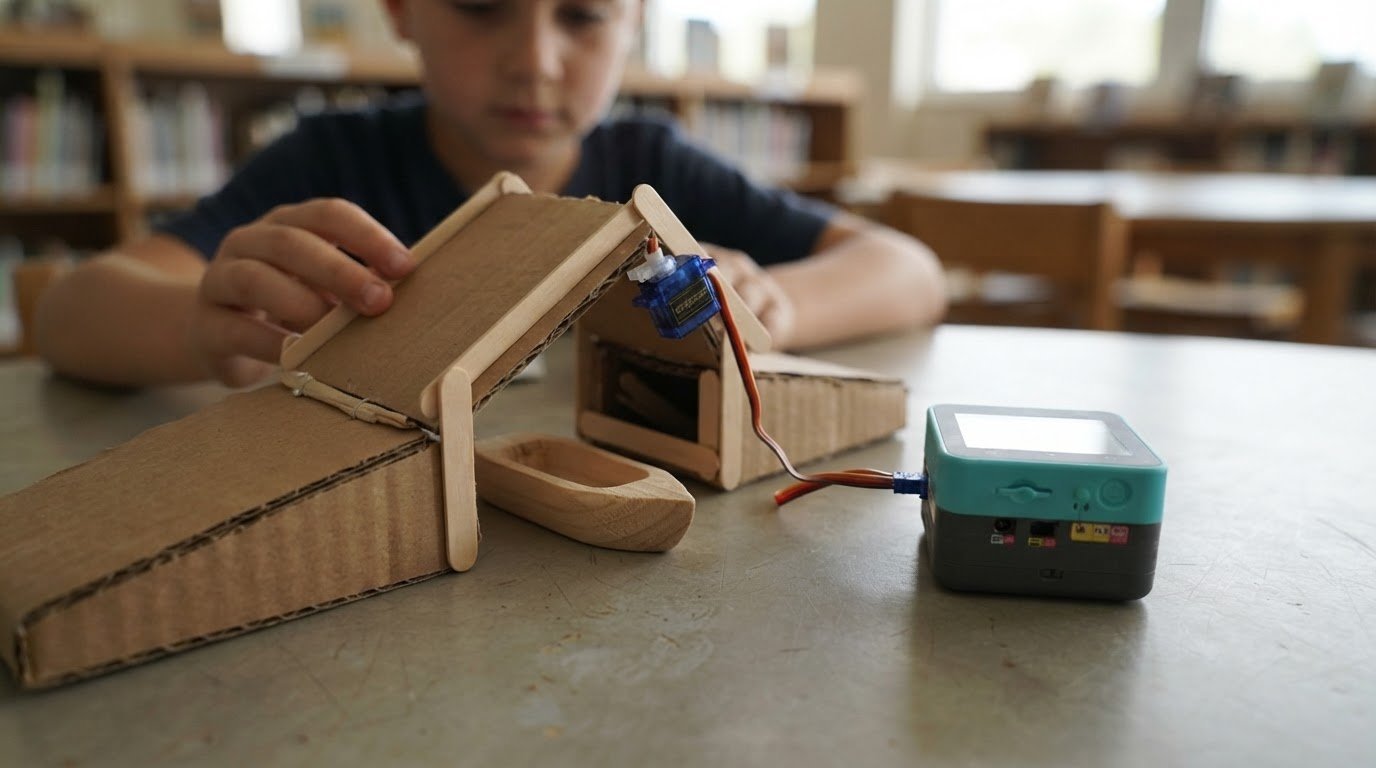
Then connect code to a physical object. A robot or electronic build can translate commands into movement, light, or another visible response. Learners can change one instruction, observe the result, and identify which part of the program caused it. Debugging then has a clear purpose: making the build behave as intended, not just correcting an error.
As confidence grows, introduce a text-based language such as Python. A learner can adapt a short program to change a robot’s movement or response to an input. This transition works best when the project has a clear goal. New syntax then becomes a tool for controlling a familiar build, rather than an abstract exercise on a screen.
Open-ended engineering begins when learners define part of the challenge themselves. Instead of copying a fixed design, they might build a device that signals when a container is full. They choose how to signal, write the commands, test the result, and revise the design. When comparing Top Coding Kits, look for options that leave room for learner-led decisions and different solutions.
A useful progression gives each stage a specific purpose:
- Arrange: use physical cards to plan a short sequence of commands.
- Program: recreate the sequence with blocks on a tablet or computer.
- Connect: send the program to a physical build and observe its response.
- Customize: change the goal, modify the code, and test a new design.
Move forward when learners can describe what their commands do and make a deliberate change. For example, someone who can explain a robot’s turning sequence is ready to adjust its route. A kit supports this progression when learners can revisit projects, explore new code, and extend a build instead of reaching a fixed endpoint.
5. Coding kits for creative, project-based learning
A coding kit becomes more meaningful when learners use software to make something they can share, test, and improve. For example, a team could create an interactive story with a character that responds to buttons. The project connects programming concepts to a clear creative goal, giving learners a reason to plan commands and revise the result.
Block-based coding can make a first draft easier to understand. Learners arrange commands, run the program, and change one instruction at a time. In an animated scene, they might adjust a character’s movement or add a response to a button press. Each change produces a visible result, helping beginners connect coding choices to what appears on screen.
Give each project a clear purpose, while leaving room for individual choices. A group could design a digital greeting, choose its characters, and program an interactive message. One learner might shape the visuals, another arrange the commands, and a third test whether each button triggers the intended response. These roles make space for different strengths.
Open-ended tasks make iteration part of learning. Ask learners to identify one feature they want to improve, such as making an animation easier to follow. They can revise the timing, test the new version, and explain what changed. This turns debugging into a practical design decision rather than a search for one correct answer.
For a classroom activity, connect the coding task to something learners can present. A team might create a short interactive scene, test it with another group, and revise confusing instructions. Feedback is useful when it points to a specific behavior, such as a button triggering the wrong scene or a message appearing too quickly.
Choose kits and activities that let learners progress from guided examples to personal choices. Consider whether learners can:
- Begin with a model: adapt a provided sequence instead of starting from a blank workspace.
- Make design decisions: select characters, sounds, messages, or interactions.
- Test and revise: change one feature and observe its effect.
- Present a finished project: explain the goal, commands, and revisions to an audience.
The strongest takeaway is to make the creative outcome specific while keeping the solution open. A prompt such as “build an interactive story with two choices” gives learners a clear target without dictating every design decision. For guidance matching coding activities to classroom or program goals, discuss your project needs.
Maker & Coder: Multi coding kit
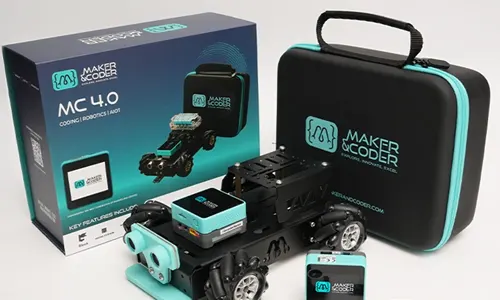
Maker & Coder’s Multi coding kit is a natural next step for learners ready to move from introductory coding activities toward broader projects. Pairing it with the MC 4.0 Kit and MC Blocks can support hands-on exploration, while the MC Curriculum (K-12) provides a structured learning pathway designed to integrate with the hardware.
This approach can suit educators planning a progression from core programming concepts to practical builds. It is particularly relevant when a classroom or learning program needs coding activities and hardware to work together, rather than relying only on screen-based exercises. Consider learners’ experience, project goals, and teaching context when deciding whether this path fits.
Contact Maker & Coder to discuss how the Multi coding kit could support your learning goals.
Turn the Next Project Into a Learning Path
Choosing among the Top Coding Kits is a starting point, not the finish line. The next step is to connect a learner’s curiosity with a project that can grow in complexity, from an initial experiment to a design they can explain and refine.
For educators building that progression, Maker & Coder brings together the MC 4.0 Kit, MC Blocks, and MC Curriculum (K-12). These offerings provide a foundation for connecting hands-on projects with a structured coding pathway. Consider the learners’ current experience and the kind of projects you want them to pursue, then shape a route that leaves room for exploration.
Talk with Maker & Coder about your coding kit goals and the learning experience you’re planning. Every thoughtful project can become a launch point for the next idea.
Maker & Coder for a Structured Coding Kit Pathway
Maker & Coder provides a STEM education ecosystem built around the MC 4.0 hardware platform and modular MC Blocks. Its lineup includes the MC4.0 Controller and Base, AIoT, and STEAM kits for technical learning.
Turn to Maker & Coder when you want a coding kit connected to a structured learning pathway. Its K-12 MC Curriculum aligns with its hardware, while its specialized kits offer options for technical learning.
Frequently Asked Questions
Do coding toys actually teach kids to code?
Yes, when activities ask learners to create or change instructions rather than simply press play. A coding toy follows programmed rules; it doesn’t independently understand a child’s intention. Learners translate a project goal into commands a device can execute. Ask the child to explain in their own words what their program tells the toy to do.
What coding toy grows with my kid the longest?
Look for a kit with more than one programming approach, so the learner can move beyond an introductory interface. The MC 4.0 Robotics Kit supports block-based coding, Python, Arduino, and MCLab. That range gives learners different ways to approach programming as their interests develop. To judge whether it can grow with your child, consider whether they can progress from guided lessons to more independent projects.
What is the best coding toy for a 5-year-old?
For a five-year-old, choose a simple toy or activity with one clear goal, such as directing a character to a picture. Look for easy-to-understand symbols and an outcome the child can see. Keep the first activity short, and let the child explain the plan before starting. This makes the activity approachable without relying on reading ability or previous coding experience.
Which coding kits are best for different age groups?
Use the stated age guidance to narrow the options, then consider the learner’s interests and experience. The MC4.0 Base Kit is suitable for ages 07 Years – 15 Years. The STEAM Kit is for learners aged 12 +, while the AIoT Robotics Kit is suitable for ages 15 +. The MC4.0 Controller is suitable for learners aged 7 +. These ranges help identify an appropriate starting point.
How do leading coding kits compare in features and value?
Compare what learners can build, which programming approaches are included, and whether activities move beyond a single guided project. Expandable components can allow more customization, and the full setup may require additional parts or paid software access.