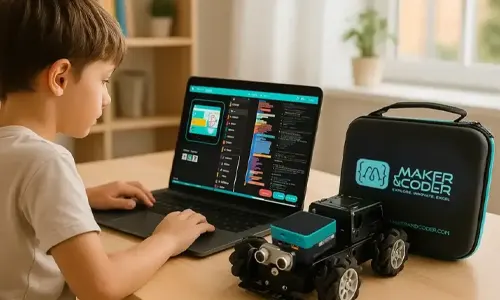
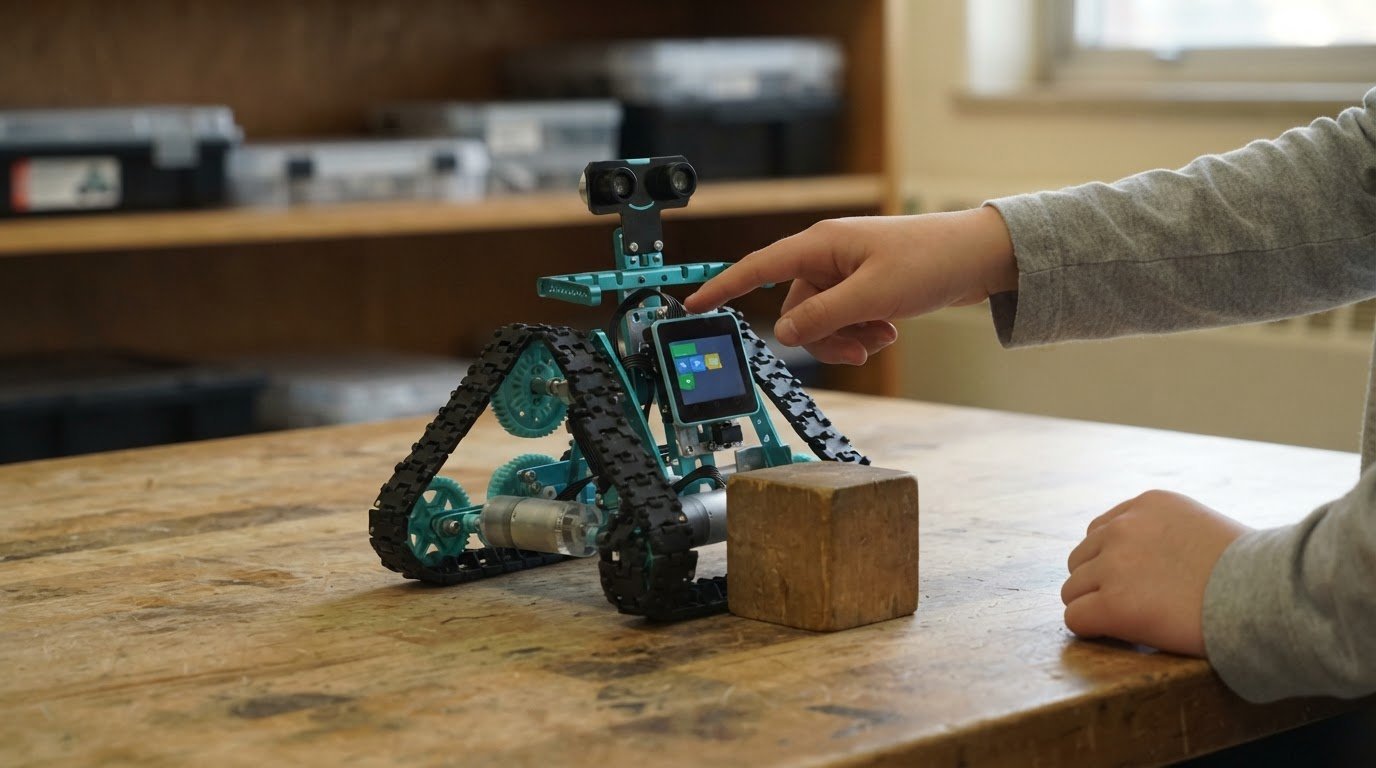
What happens after a student taps “run”? With Touchscreen Robotics Kits, the program must reach the robot’s controller, where it can be translated into actions such as moving, turning, or responding to a sensor. Some systems run code on the touchscreen device; others send it to a separate controller. Knowing which setup a kit uses makes it easier to plan lessons and troubleshoot the first build.
It’s natural to focus on the touchscreen: it gives learners a direct way to interact with code. But the overall experience also depends on how the robot receives programs, how its components fit together, and how students can keep learning when kits are shared across a class.
This guide explains how coding software connects to a robot, what affects kit cost, and how classrooms can organize shared equipment. It also covers assembly and battery use, helping you compare options with a clearer picture of the learning experience, from the first build to more ambitious coding projects.
Key Takeaways
- Follow the path from the coding interface to the robot’s controller to understand how a program becomes movement or a response.
- Assess kit costs in light of the components and classroom needs, then plan how learners will share equipment.
- Consider the assembly process and included tools when estimating the setup support a class may need.
- Plan coding activities around battery life, including when robots will need charging between sessions.
- Compare supported programming languages and platform compatibility with the projects learners aim to build.
Kit price and classroom sharing
A touchscreen robot’s price depends on what the package includes, not just the display. Compare the controller, robot structure, sensors, cables, power components, assembly tools, and software access listed for each kit. A touchscreen bundled with a robot and coding environment serves a different purpose from a display designed for use with a separate controller. Assess each package as a complete learning setup, then identify any parts that must be purchased separately.
Technical compatibility can also affect the value of a kit. A touchscreen may be compatible with Raspberry Pi and Jetson Nano, while a remote’s control inputs may be read by a Teensy 3.2 board. These details describe particular configurations, not every touchscreen robot. For a classroom, write down the hardware needed for the planned activity, such as a touchscreen, controller, and robot components, then compare that list against each package’s contents.
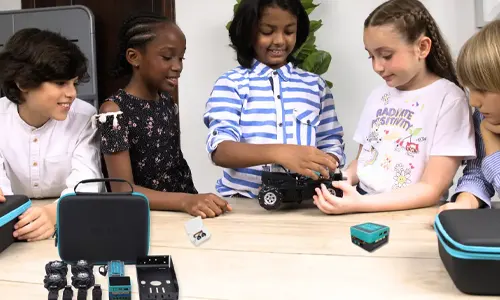
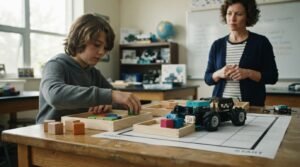
Classroom sharing works best when a kit’s parts and workflow suit the lesson. One team, for example, can assemble the robot while another plans its code, then students can switch roles for the next activity. Before choosing a class set, match the number of kits to the lesson format. If every team needs a robot at once, plan for one kit per working team. If students rotate through stations, fewer kits can support a staged activity, with one group coding while another documents or tests the build.
- Group components together after each session, including cables, tools, and small parts.
- Assign one team member to return the controller and touchscreen to the kit storage area.
- Use a sign-out sheet to track which team has each kit during rotations.
- Keep a shared inventory so missing parts are noticed before the next lesson.
Plan for growth as well as the first project. A school may begin with basic builds, then add components for more advanced activities. Budget planning should account for the cost of those additions and how often learners will use them. For example, a class planning future AIoT projects can consider AIoT add-on kits when mapping its next stage of learning. Compare the components needed for that project with the current classroom setup before deciding how to expand.
Age guidance is specific to each kit, so follow the manufacturer’s stated range when selecting equipment. Supervise learners during assembly and battery handling, and manage small components and moving robot parts during activities.
For a clear price comparison, make a checklist of kit contents, required extras, simultaneous teams, storage needs, and planned extensions. Compare each package against the same classroom scenario. The right option is the one whose included components and sharing plan support the lessons students will actually complete.
Assembly and included tools
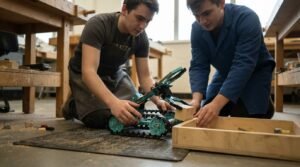
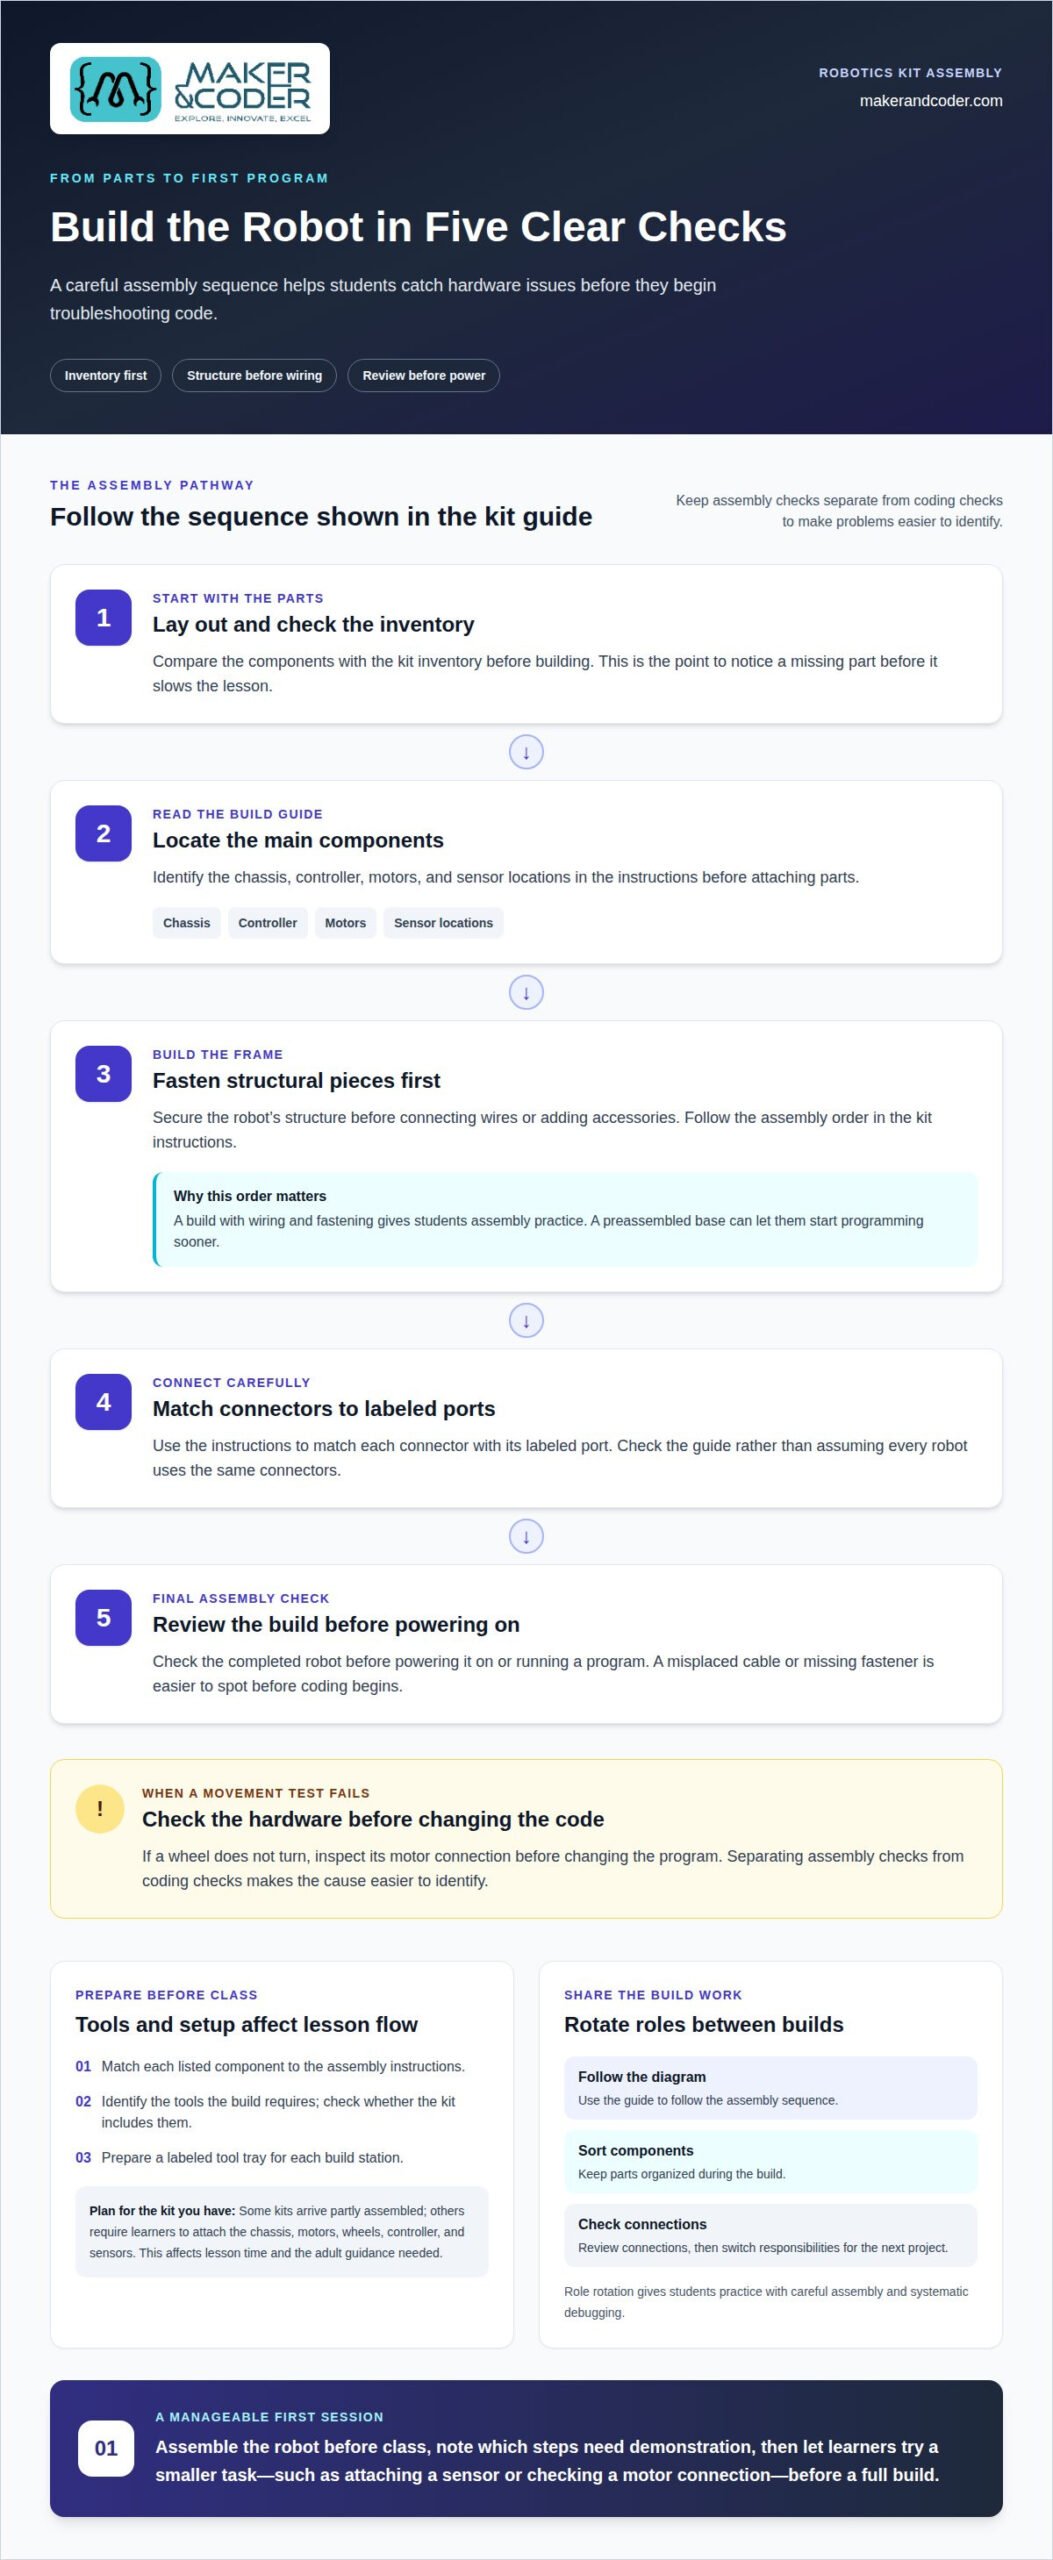
Assembly can be part of the learning, not just a task before coding begins. Learners can connect a motor, mount a sensor, and observe how each part changes the robot’s behavior. The kit’s parts list and assembly guide shape how smoothly the first build goes. Before class, match each listed component to the instructions and identify the tools the build requires.
Check the package contents before planning a lesson. Some kits arrive partly assembled; others require learners to attach the chassis, motors, wheels, controller, and sensors. These differences affect lesson time and the adult guidance needed. A build involving wiring and fastening, for example, gives students more assembly practice, while a preassembled base lets them start programming sooner.
Follow the kit’s instructions for the assembly order. A practical classroom sequence is:
- Lay out the parts and compare them with the kit inventory.
- Identify the chassis, controller, motors, and sensor locations in the guide.
- Fasten structural pieces before connecting wires or adding accessories.
- Match each connector to the labeled port shown in the instructions.
- Review the completed build before powering on or running a program.
This sequence helps teams spot a missing screw or misplaced cable before troubleshooting code. If a wheel doesn’t turn during a movement test, for example, students can inspect its motor connection before changing the program. Separating assembly checks from coding checks makes the cause easier to identify.
Included tools matter, too. A kit may include tools for its fasteners, or the instructions may call for separate classroom tools. Review the parts list for items such as a small screwdriver, then prepare a labeled tool tray for each build station. Don’t assume every robot uses the same fasteners or connectors. Identifying the required tools in advance helps prevent delays and improvised assembly.
In a shared classroom, rotate roles between builds. One learner can follow the diagram, another sort components, and a third check connections. Switch responsibilities for the next project. This gives students practice with both careful assembly and systematic debugging, rather than leaving hardware work to one confident builder.
For a first session, assemble the robot before class and note the steps that need demonstration. Then let learners complete a smaller task, such as attaching a sensor or checking a motor connection, before attempting a full build. If you’re planning a classroom setup, discuss your assembly needs.
Battery life
Runtime depends on what the robot powers and how learners use it. A touchscreen, controller, motors, sensors, and wireless connection may draw power from one source or separate sources. Continuous driving puts different demands on a battery than brief sensor tests. When planning a classroom activity, consider whether the setup can run between charging opportunities.
Start by identifying every power source in the kit. Check whether the touchscreen and robot share a supply or need separate charging. Then note which components will be active during a lesson. A driving challenge may run motors repeatedly, while a stationary coding task may keep the display active longer. These usage patterns affect power consumption, so a single runtime figure won’t represent every activity.
Battery capacity is one factor, but the complete electrical setup matters as well. Voltage must suit the connected hardware, and power demand changes with the active components. If a product lists capacity in amp-hours and voltage, multiplying those values gives watt-hours, a way to compare stored energy. This is useful when the figures describe the battery and the setup has compatible power requirements.
Plan a routine around the actual lesson:
- Begin with the battery charged according to the kit instructions.
- Run the robot through the planned activity, such as repeated turns or sensor readings.
- Record the task and conditions alongside the battery indicator or runtime reading.
- Use those observations to schedule charging between lessons or class rotations.
Keep the activity consistent when assessing performance. A short movement test followed by a long idle period doesn’t represent continuous driving. Running a touchscreen and motors together creates a different load from testing either component alone. Note whether the screen stays bright, motors run often, or wireless functions remain active. These details help explain why one session ends sooner than another.
In shared settings, label charging equipment and assign a storage place for each battery or cable. Separate charged units from those awaiting charging, and don’t mix chargers unless the product instructions allow it. Before students begin, check that controllers are charged and power leads connected, so the first coding activity doesn’t become a troubleshooting session.
Battery performance can change with age and repeated use. One customer review notes that the battery base can drain quickly during extended sessions, so include charging breaks in longer activities. If runtime changes, compare the same task under similar conditions and inspect the power connections. Follow the kit’s charging instructions, and stop using a battery that appears damaged. Recording classroom observations helps educators plan around actual operating conditions.
What programming languages do touchscreen robotics kits support?
A touchscreen is the control surface, not the programming language. A kit’s supported languages depend on its controller, coding application, and software that transfers programs to the robot. One touchscreen setup may offer block-based coding, while another may support Python or MicroPython. Check the complete software path, from editing code to running it on the controller.
Block-based coding lets learners arrange commands visually. For example, a student can sequence blocks to move a motor, pause, and then read a sensor. This makes program order visible and helps beginners explore cause and effect. Confirm that the blocks control the robot’s actual components, rather than only demonstrating commands onscreen.
Text-based options offer a different progression. Python uses readable commands, while MicroPython is designed for microcontrollers with constrained resources. Arduino commonly refers to a development environment and compatible programming approach, rather than a language name alone. A kit’s controller and supported software determine whether learners can use these options with its motors and sensors.
Use this sequence to evaluate language support for a particular kit:
- Identify the controller model named in the kit documentation.
- Find the coding application used to create or edit programs.
- Confirm which languages that application supports for the controller.
- Look for an example that controls a physical component, such as a motor.
- Check how the finished program transfers to the robot.
The transfer step matters. A touchscreen can run the coding app while sending a program to a separate controller. In another design, code may run on a touchscreen-connected computer and communicate with the robot. These workflows affect whether a class needs a cable, wireless connection, or separate software installation. Don’t assume a kit supports a language simply because its screen can open a coding tool.
Match the language to the project and learners’ current experience. For a first activity, blocks can make a sequence such as “move, then stop” easy to inspect. Later, Python can expose commands, variables, and conditions in text. For a microcontroller project, MicroPython may be relevant if the controller and its environment support it. A language list alone doesn’t show how well students can use it with the kit’s hardware.
Teachers can plan a progression across lessons: begin with a visible block sequence, translate its logic into text, then modify a program to respond to a sensor. Before committing to that path, try a sample project to assess the editor, controller connection, and available component examples. This practical test shows whether the touchscreen experience supports the intended learning journey, from a first command to independent robot programming.
Are touchscreen robotics kits compatible with LEGO or other robotics platforms?
Compatibility isn’t automatic. A touchscreen robot may use LEGO-style building pieces, custom brackets, or a chassis designed for its own components. Even when two platforms connect physically, their motors, sensors, controllers, and coding software may not work together. Treat compatibility as several separate questions, not a single yes-or-no feature.
Start with the mechanical connection. Compare the mounting points, dimensions, and fasteners on the robot with the pieces you plan to use. A LEGO beam might attach to a chassis with a suitable connector, but that doesn’t mean the controller can operate a LEGO motor. Physical fit is only the first test.
Next, consider electrical and software interfaces. A motor or sensor needs compatible power, wiring, and control signals. A plug that fits a controller port, for example, may still use a different pin arrangement or communication method. The coding environment also needs a way to control that component. Without suitable hardware support and software commands, a physical connection may not produce a working project.
Evaluate a proposed combination in this order:
- Identify the robot controller and the exact motor or sensor model.
- Compare mounting points and connector types for physical fit.
- Check voltage, pin layout, and communication requirements in product documentation.
- Confirm the coding software supports commands for the connected component.
- Test one component before building a larger combined robot.
The same questions apply to other robotics platforms. Two kits may both use block-based coding but have different blocks and controller libraries. A program made for one platform won’t necessarily control another platform’s motor. Likewise, a shared connector standard doesn’t guarantee that software can recognize every attached sensor.
For a classroom project, define the intended result first. If learners want to add LEGO pieces as decorative structure, the main concern may be a stable mechanical attachment. If they want a LEGO motor to drive a touchscreen-controlled robot, electrical and software support become essential. Keep the first test simple, such as commanding one motor to turn, before adding sensors or structures.
Compatibility is strongest when both the physical connection and the control path are documented for the specific parts. Record component model names, connector details, and the coding environment together. That record helps students distinguish a loose mount from a wiring or programming issue. For help planning a robotics platform integration, discuss your compatibility requirements.
Maker & Coder
Maker & Coder helps schools connect robotics hardware, coding activities, and classroom learning through its MC Curriculum (K-12), MC Blocks, and Teacher Training Programs. These offerings are relevant when educators want a structured route from introductory coding concepts to practical robot projects, with learning materials and teacher support alongside hardware.
For a touchscreen setup, the key decision is how the interface, controller, and coding environment work together. Align those requirements with the lessons you plan to teach, then consider how a curriculum and teacher preparation can support consistent classroom use. MC Blocks offers a block-based coding approach, while the curriculum provides a broader learning structure.
If you’re planning robotics learning for your school, contact Maker & Coder to discuss your goals.
Turn a First Build into the Next Learning Step
Choose a project that gives learners room to move from following instructions to making independent design decisions. Touchscreen Robotics Kits can support that progression when the screen, robot, and coding activities serve a clear classroom goal. The next step is to shape a pathway that fits your learners, teaching plans, and available equipment.
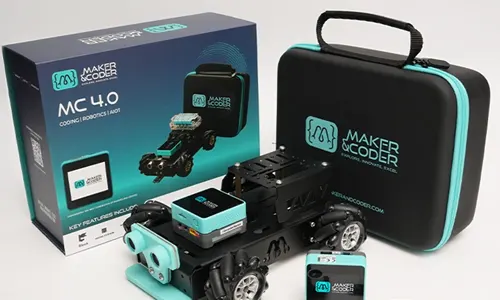
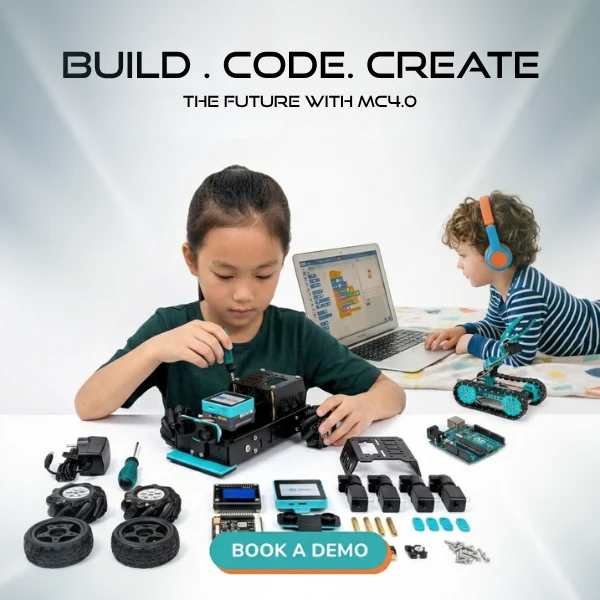
Maker & Coder offers the MC 4.0 Kit, MC Curriculum (K-12), and MC Blocks to support hands-on robotics and coding activities. These offerings can help educators connect practical builds with structured learning. Consider which projects learners should explore first, how their skills can develop, and what support teachers need to guide the experience.
Start with the learning outcome you want students to reach, then plan the project around it. A thoughtful progression can turn an initial build into a foundation for experimentation, collaboration, and more confident problem-solving.
Contact Maker & Coder about classroom kits to discuss your educational goals. The next great idea can begin with one well-chosen project.
Maker & Coder for Touchscreen Robotics Kits
Maker & Coder offers a range of learning products centered on the MC 4.0 hardware platform and modular MC Blocks. If you are choosing touchscreen robotics kits for structured technical learning, its MC4.0 Controller and Base, AIoT, and other kits offer hardware options to consider.
Maker & Coder also offers a K-12 MC Curriculum designed to align with its hardware. Turn to its curriculum and kits when you want a structured educational pathway alongside the MC4.0 platform.
Frequently Asked Questions
How do programs get onto the robot?
Programs reach a robot through a software and controller connection supported by that model. The coding interface sends instructions to the controller, which operates connected hardware. A class can start with a short command that activates one motor, then add a sensor response. Before a lesson, confirm that the selected coding application can communicate with the robot’s controller and components.
What budget should U.S. classrooms plan for?
Duties & Taxes Excluded applies to these prices. Classroom budgets should account for the selected package and how many teams will use the equipment at once.
Which robotics kits suit classroom learning?
The best fit depends on learner age, teaching goals, and the projects planned. Maker & Coder lists the MC 4.0 Base Kit for ages 07 Years – 15 Years, the STEAM Kit for ages 12 + years, and the AIOT Robotics Kit for ages 15 + years. Match the listed age range with the intended activities, then consider how the kit can support a progression from guided builds to student-designed projects.