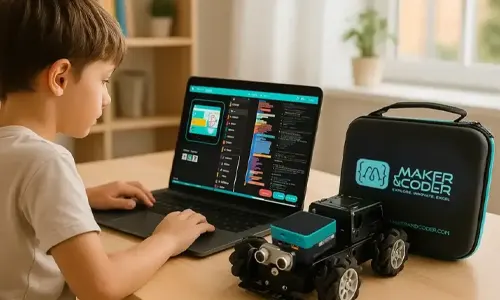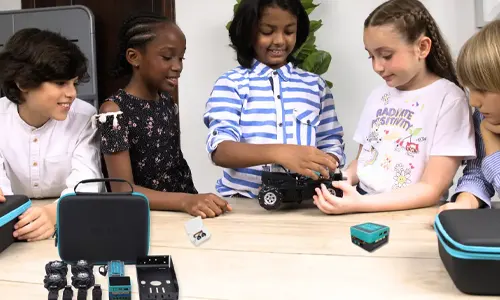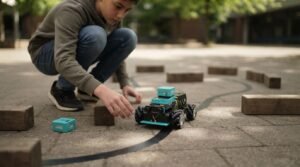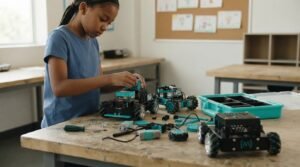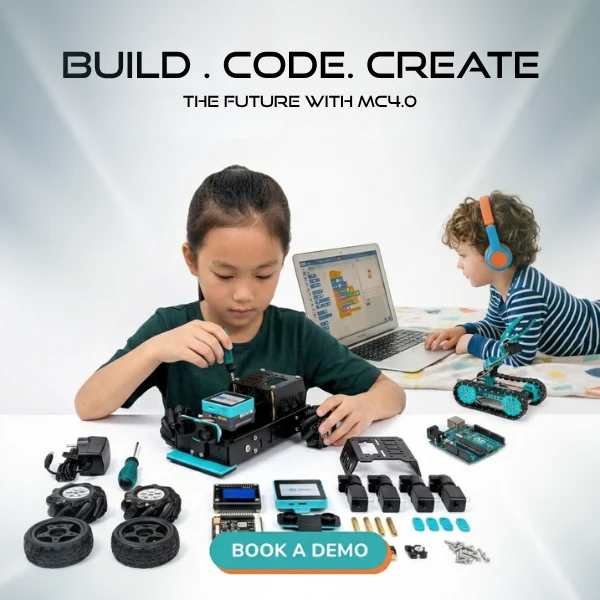
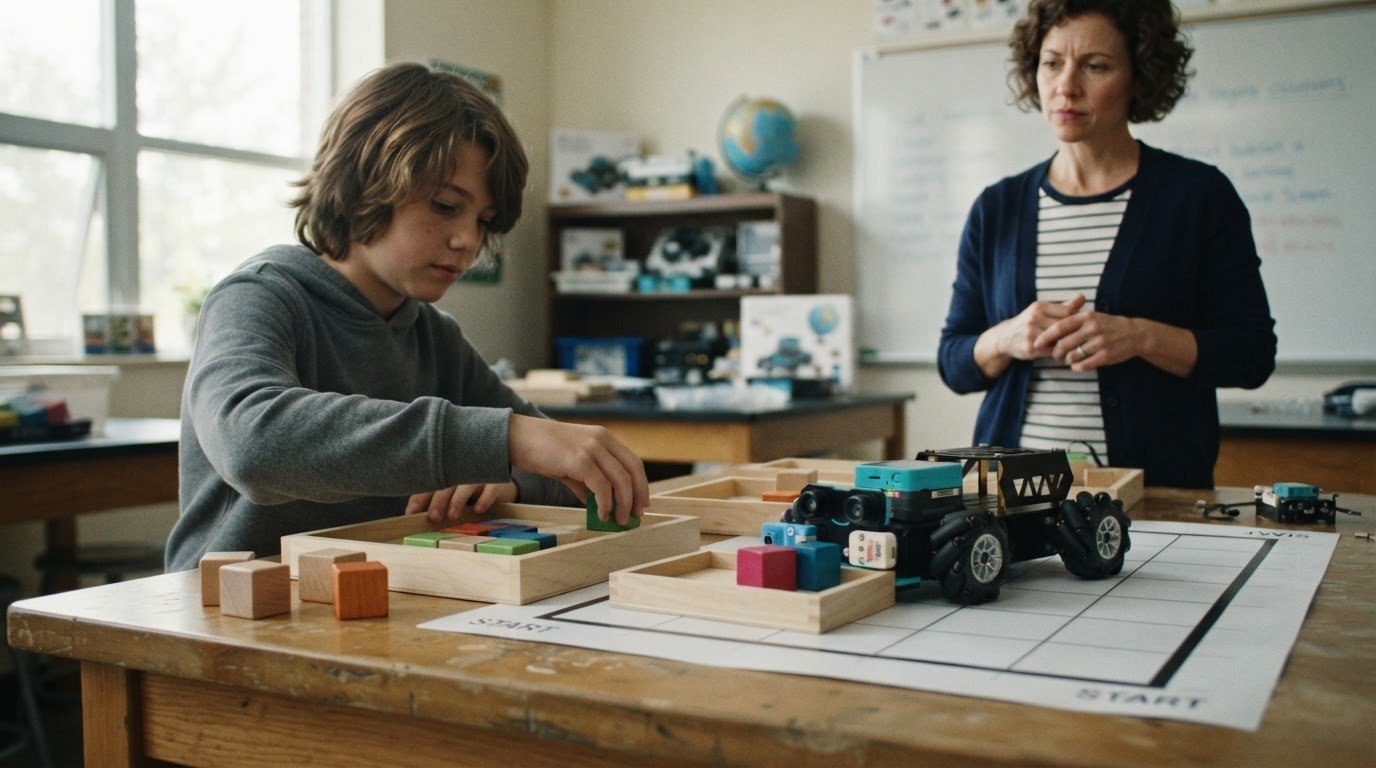
The best robotics projects do more than move: they help learners turn code, sensors, and creative ideas into something they can see in action. AI Kits make that learning hands-on, connecting artificial intelligence concepts with practical robotics challenges.
It’s natural to want a project that feels exciting without making the technology seem out of reach. A clear starting point helps learners build confidence step by step, from understanding how a robot responds to information to exploring how AI can shape its decisions.
In this guide, you’ll explore engaging AI-powered robotics projects and what each can teach about programming, robotics, and intelligent systems. Examples include object-recognition robots, gesture-responsive machines, and automated sorting projects, along with ways to match a build to learners’ experience and goals. The aim is to help you move from curiosity to a project that inspires experimentation and deeper robotics and coding learning.
Key Takeaways
- Learn what to consider when comparing kit pricing and deciding whether a free plan fits your project.
- Match a kit’s complexity to the learner, from a first hands-on build to more advanced development.
- Understand how hardware and software work together to turn an idea into a working robotics project.
- Follow a practical setup approach that helps learners move from assembling components to testing their code.
- Identify the programming skills that support each stage, and explore how structured learning resources can help build them.
Pricing and free-plan availability
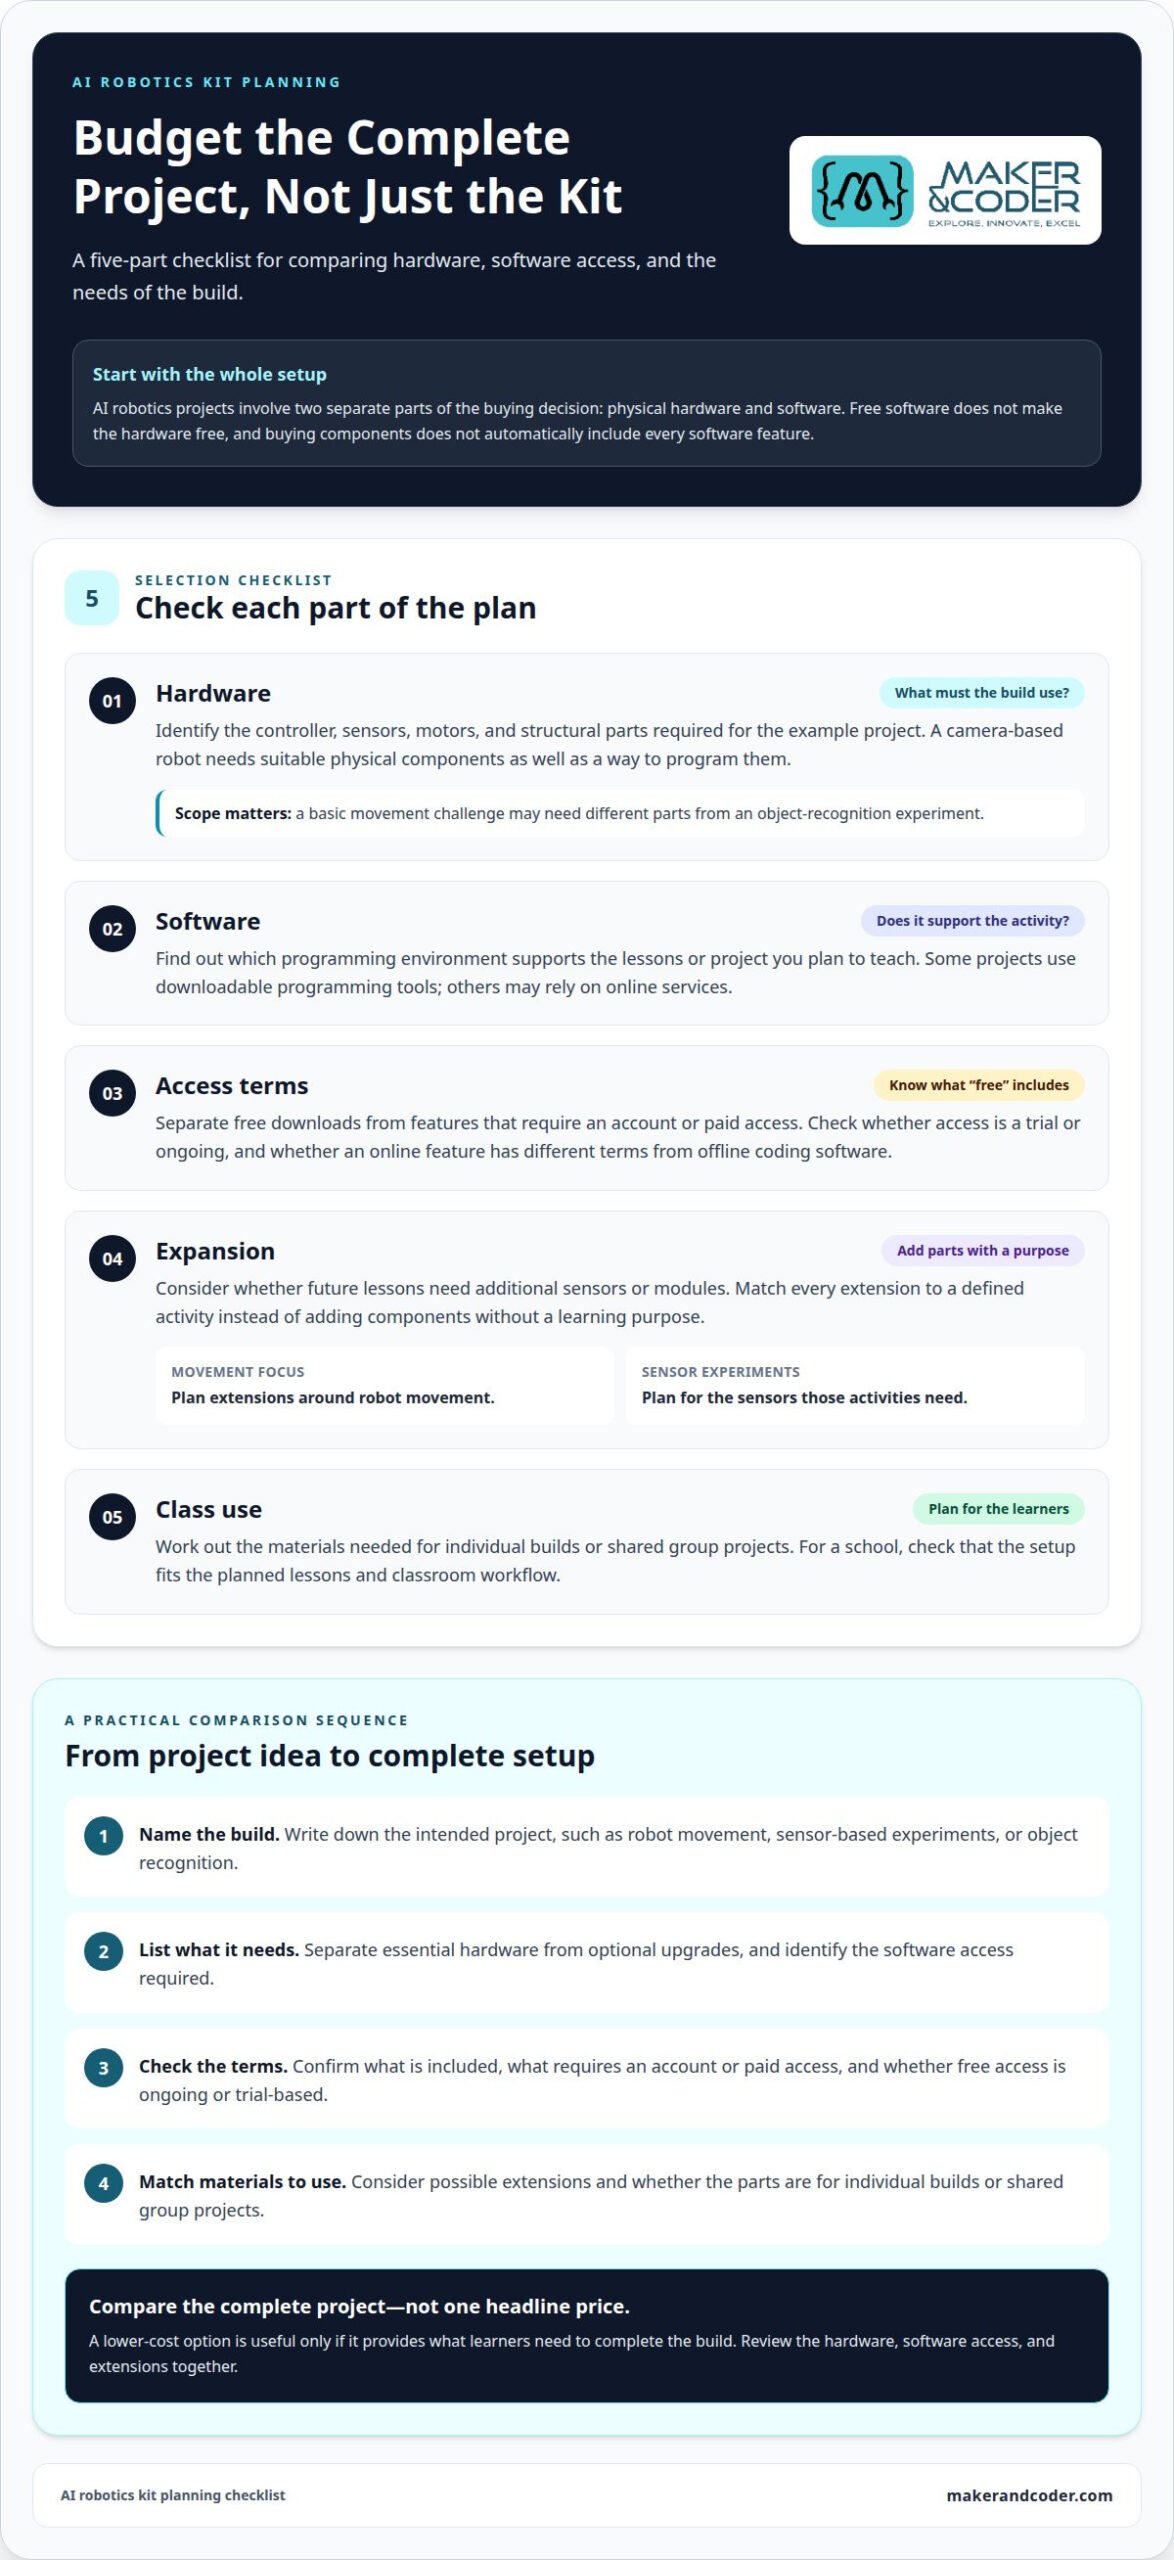
AI robotics projects combine physical hardware and software, two separate parts of the buying decision. Free software, when offered, doesn’t make the hardware free, and purchasing components doesn’t automatically include every software feature. Compare both before choosing. A classroom building a camera-based robot, for example, needs suitable physical components and a way to program them. Budget for the complete setup, not just one headline price.
There’s no universal pricing model or free-plan rule for robotics kits. Each provider sets its own product and software terms. Some projects use downloadable programming tools; others may rely on online services or additional components. These differences affect what learners can build and which expenses matter. Start by listing the project’s requirements. A basic movement challenge may need different parts from an object-recognition experiment. Separate essential hardware from optional upgrades and software access.
Use this comparison checklist before selecting a kit:
- Hardware: Identify the controller, sensors, motors, and structural parts required for your example project.
- Software: Find out which programming environment supports the activities you plan to teach.
- Access: Distinguish free downloads from features requiring an account or paid access.
- Expansion: Consider whether future lessons need additional sensors or modules.
- Class use: Calculate the materials needed for individual builds or shared group projects.
For a modular project, scope matters. An added component can change both the build and lesson plan. For instance, a class planning sensor-based experiments may need different extensions than one focused on robot movement. A relevant option is modular AIoT learning extensions. Match each addition to a defined activity, rather than adding parts without a learning purpose. This keeps purchasing decisions connected to what learners will actually build.
Free access also deserves a closer look. A tool may be free to download but require separate hardware. An online feature may have different access terms from offline coding software. Read the stated inclusions and distinguish trial access from ongoing free use. For a school, make sure the setup suits the planned lessons and classroom workflow. Independent learners can start with one achievable project, then identify essential components before expanding the build.
In short, compare the complete project, not a single price label. List the intended build, required parts, software access, and possible expansion needs. Then assess whether any free software option supports that workflow. This helps teachers, families, and learners make a practical decision without mistaking software access for a complete robotics kit.
That is an individual account, not a general price guarantee, so compare your own project’s kit and service needs. Review the required hardware, software access, and extensions together, then confirm the setup supports the planned activity. A lower-cost option is useful only if it provides what learners need to complete the build.
What types of AI kits are available for beginners, students, and developers?
Choose a kit by matching its tools to the learner’s next project. A beginner might start with a line-following robot; a student could build a machine that sorts objects; a developer might prototype a vision-guided rover. Each project calls for different hardware, programming control, and levels of complexity. A good fit supports clear progression, from observing a sensor response to shaping a system’s decisions.
Beginner kits make the first steps approachable, often using guided activities, visual programming, or ready-to-use components. A learner, for example, can program a robot to react when an obstacle appears. The task introduces input, decision, and action without requiring complex code. Look for clear project steps and room to change the robot’s response, so learners can move beyond copying instructions.
Student-focused kits support longer investigations. A classroom team could compare how a robot responds to different light levels, or use a camera to distinguish selected objects. These builds connect programming choices with observable results and encourage learners to test, record, and refine their approach. For teachers, a kit is most useful when activities can develop across lessons rather than end after a single demonstration.
Developer kits prioritize flexibility and experimentation. They may suit learners who want direct control over components, code, or system design. A developer might prototype a mobile robot, then adjust its sensing logic. This work benefits from programming and hardware familiarity, and may involve more troubleshooting than a guided beginner activity. Match the kit to the intended prototype, not just its advanced-sounding label.
- First build: Choose guided tasks, such as obstacle response.
- Class project: Seek adaptable activities, such as light-based navigation.
- Advanced prototype: Prioritize control over code and system changes.
Before choosing, write down the project goal and the learner’s current skills. Identify the task, such as movement, sensing, or image recognition, then compare the guidance the learner needs with the control the project demands. A classroom demonstration calls for a different starting point from an open-ended prototype. This selection process helps teachers and families focus on learning outcomes instead of product labels.
For a classroom, also consider how learners will share materials and document results. A team might build one robot together, then take turns changing its behavior. A developer working independently may prefer a setup that invites repeated hardware and code adjustments. If you’re planning a learning pathway, discuss your classroom project goals to identify a suitable direction.
What hardware and software are included in popular AI kits?
A robotics build needs hardware, code, and a clear connection between them. A controller receives information, processes instructions, and sends commands. Sensors provide input; motors create movement. Software gives learners a way to program those responses. For example, an obstacle-aware robot uses a sensor reading to change direction. Components vary by project, so match each part to its intended task.
Start with the physical platform. A mobile robot commonly needs a chassis, wheels, motors, and a controller. A sensor can detect light, distance, sound, or movement, while a camera can provide visual input for image-based activities. Cables connect the components, and a suitable power source runs the build. A light sensor might trigger a robot’s movement; a camera project needs compatible vision hardware and supporting software.
Look for these component roles when reviewing a kit:
- Controller: Runs instructions and connects electronic components.
- Sensors: Gather data, such as light or distance.
- Actuators: Motors or servos turn code into movement.
- Structure: Chassis and supports hold the build together.
- Connections: Cables and ports link hardware to the controller.
- Power: Supplies energy to the controller and connected parts.
Software determines how learners interact with the components. Block-based environments let beginners assemble instructions visually, such as connecting a sensor input to a movement command. Text-based tools offer code editing and more detailed control. Python, MicroPython, and Arduino are programming approaches used in coding projects. The right environment depends on the controller and task, so confirm that the software supports the hardware’s programming workflow.
Some projects also use machine-learning tools to train or apply a model, such as one that classifies images. The model’s output must connect to the robot’s instructions. A program, for example, might respond differently to two recognized objects. This involves more than installing an application: learners need suitable input data, a compatible tool, and code that turns model results into an action.
Before building, map each intended action to its parts. Write down the input, processing step, and output. For an obstacle-avoiding rover, the sensor supplies input, the controller’s logic selects a response, and the motors change direction. Identify the software used to create that logic, too. This simple map reveals missing components early and helps teachers explain how hardware and programming combine in a working project.
How do you set up and use an AI kit?
Begin with one defined outcome, such as a robot responding to an obstacle. That goal determines the build, code, and test. Lay out the components on a clear work surface and identify the controller, sensor, motor, and connection points. Assemble the structure using the kit’s instructions. Keep the robot stationary until its first program runs. This sequence makes problems easier to isolate.
Follow a deliberate setup sequence before testing movement:
- Plan the task: Write what the robot should sense and do.
- Assemble the structure: Attach the controller and project components securely.
- Connect the inputs: Link the sensor to its designated connection point.
- Prepare the software: Open the programming environment for the controller.
- Run a simple test: Confirm that one input produces one expected response.
Start small. For an obstacle response, first read the sensor value without moving the robot. Observe how the reading changes near an object. Then add a simple condition: if an obstacle is detected, stop or turn. Test the instruction with the robot safely supported. Separating sensing from movement makes mistakes easier to diagnose.
Next, connect the program to the complete build. Place the robot on a clear surface and run the same test. If it turns too early, adjust the decision point in the code. If it doesn’t respond, inspect the sensor connection and confirm that the program reads the intended input. Change one factor at a time to make each test informative.
For a camera-based activity, follow a different sequence. Position the camera toward a clear example object. Run the supported recognition activity and observe the result. Connect that result to a single robot action, such as stopping. Test with another object and compare the response. Keep the environment consistent during early trials: lighting, camera position, and object placement can affect what the system receives.
Record each test in a simple project log. Note the input, code change, and observed action. For example, “sensor detects object, robot turns left” captures a useful result. If behavior differs, repeat the test before changing several instructions. Once the basic response works, add another condition or action. Building complexity in manageable steps helps learners see how their code shapes behavior.
In a classroom, assign clear roles: one learner checks connections, another edits code, and another records results. Rotate roles during later tests. For help planning a guided classroom activity, discuss your project goals.
What programming skills are needed to use AI kits
Start with the project, not advanced coding. A beginner can use visual blocks to control a robot’s movement, while more complex builds may call for Python, MicroPython, or Arduino. The skills required depend on the controller, software, and task. A line-following robot, for example, needs instructions that read sensor input and adjust motor output. Image-based projects add the challenge of interpreting recognition results.
Build these programming foundations first:
- Sequences: Arrange commands in order, such as start, move, and stop.
- Events: Trigger an action when a button or sensor responds.
- Conditions: Use “if” logic, such as turning when an obstacle appears.
- Variables: Store a sensor reading for later decisions.
- Loops: Repeat a check while the robot continues moving.
Block-based coding makes these ideas visible. Learners can connect a sensor reading to a condition, then attach a movement command to see how instructions affect behavior. As confidence grows, text-based coding can express similar logic with written commands. Python and MicroPython introduce code structure and syntax. Arduino programming can support controller-based projects when the selected hardware and environment are compatible.
AI-focused activities add another layer. Learners need to understand that a model produces an output from input data. An image classifier, for example, may identify a familiar object, and a program can use that result to choose an action. Students can build the process in stages: provide an input, inspect the model’s result, add a decision, and connect it to robot behavior. This links AI concepts with practical programming.
Debugging matters at every level. If a robot fails to turn, test the sensor reading first, then inspect the condition and motor command. Change one instruction at a time and record what happens before and after each change. This helps learners locate the issue in the input, logic, or output. A simple test log also makes classroom collaboration more focused.
Teachers can guide learners from block sequences toward text-based code through projects with clear stages. A first activity might detect light; a later extension could use that reading to control movement. Teacher Training Programs can help educators develop the programming knowledge and teaching approach for these learning activities. Discuss teacher training for robotics and coding lessons to plan a suitable learning pathway.
Maker & Coder
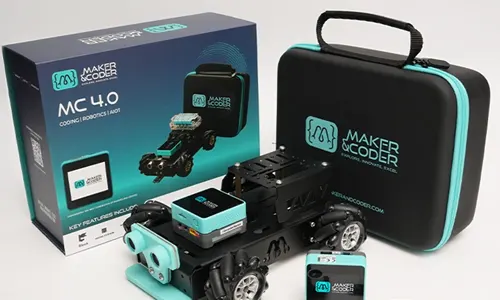
Maker & Coder helps schools and educators connect robotics projects with structured learning. The MC 4.0 Kit, MC Blocks, and MC Curriculum (K-12) can support a pathway from introductory coding activities to more advanced builds. For example, learners can begin by creating block-based instructions, then apply programming concepts through hands-on robotics projects.
Choose this approach when you need classroom-ready learning resources alongside practical building activities. The MC Curriculum (K-12) provides a structured educational pathway, while Teacher Training Programs can help educators develop confidence guiding robotics and coding lessons. Together, these offerings support teachers planning activities for different learner stages.
For guidance on matching robotics learning resources to your classroom goals, contact Maker & Coder.
Turn a Robotics Idea Into Your Next Build
Next, choose a project learners can shape, test, and improve. An AI-powered robot becomes more meaningful when each build connects programming choices to visible results. Start with a clear learning goal, then select tools that support the skills learners need to develop.
Maker & Coder offers the MC 4.0 Kit, MC Curriculum (K-12), and MC Blocks for hands-on robotics and coding learning. Together, these offerings can help educators connect physical builds with structured activities and visual programming. They provide a starting point for moving from an initial idea toward practical experimentation.
Whether you’re planning a classroom pathway or exploring a project for learners, choose an activity that invites curiosity and iteration. The most rewarding build is one learners can keep refining as their understanding grows.
Contact Maker & Coder to discuss your robotics learning goals, and take the next step toward turning ideas into working projects.
Frequently Asked Questions
What are AI kits?
AI Kits are learning tools for exploring how artificial intelligence interprets information and supports decisions. A useful distinction is whether a project uses fixed instructions or a model that recognizes patterns. With fixed instructions, a robot follows rules written into its program. In a model-based activity, learners examine how an AI system responds to examples and consider how its output could inform a project’s behavior.
How much do AI kits cost in the United States?
Duties & Taxes Excluded applies to both listed prices. These are specific product prices, not a general price range for every robotics kit.