The most advanced robotics project isn’t always the best place to start. The right Robotics Learning Kits match a learner’s age and experience, then build confidence through challenges that grow in complexity. A good fit combines hands-on construction, coding, testing, and creative problem-solving.
Choosing a kit can feel difficult when options range from guided builds to open-ended technical projects. Look beyond the robot itself: consider how learners will program it, what they can build with its components, and whether the activities suit independent learning or a classroom.
This guide explains how to choose a kit by age and experience, with practical ideas for coding activities and robot-building projects. You’ll also explore how to use kits in classrooms and how structured learning resources, including Maker & Coder’s K-12 MC Curriculum, can connect hands-on builds with a progressive learning pathway.
Key Takeaways
- Match a kit’s building and coding activities to the learner’s age, experience, and next challenge.
- Choose block-based or text-based coding based on learners’ current skills and goals.
- Plan for the learning setting by considering group activities, classroom resources, or homeschool projects.
- Progress from guided builds to projects involving sensors, circuits, and programming moving parts.
- Explore how the AIOT Learning kit, MC 4.0 Kit, MC Blocks, and MC Curriculum (K-12) can support structured learning.
Age-appropriate coding activities
Choose activities that match a learner’s current skills, then add complexity gradually. A natural progression moves from visual commands to code that controls a robot’s movement.
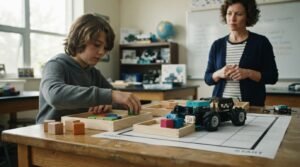
For a first activity, arrange arrows to guide a robot through a paper maze. More experienced learners can adjust commands, test the result, and troubleshoot unexpected turns.
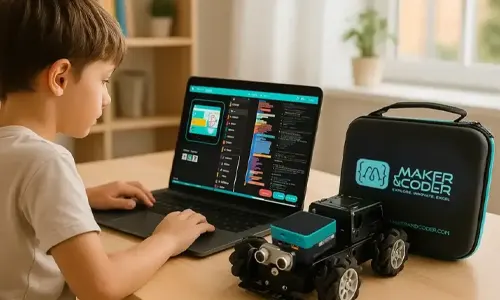
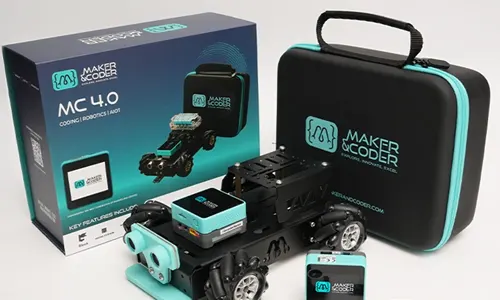
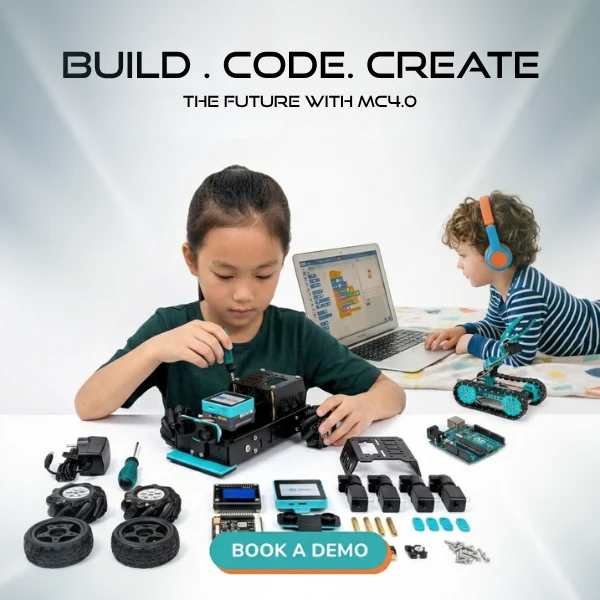
Robotics Learning Kits commonly combine a controller, building parts, motors, wheels, sensors, connecting cables, and instructions. Depending on the project, learners may also use a computer or tablet with a coding environment.
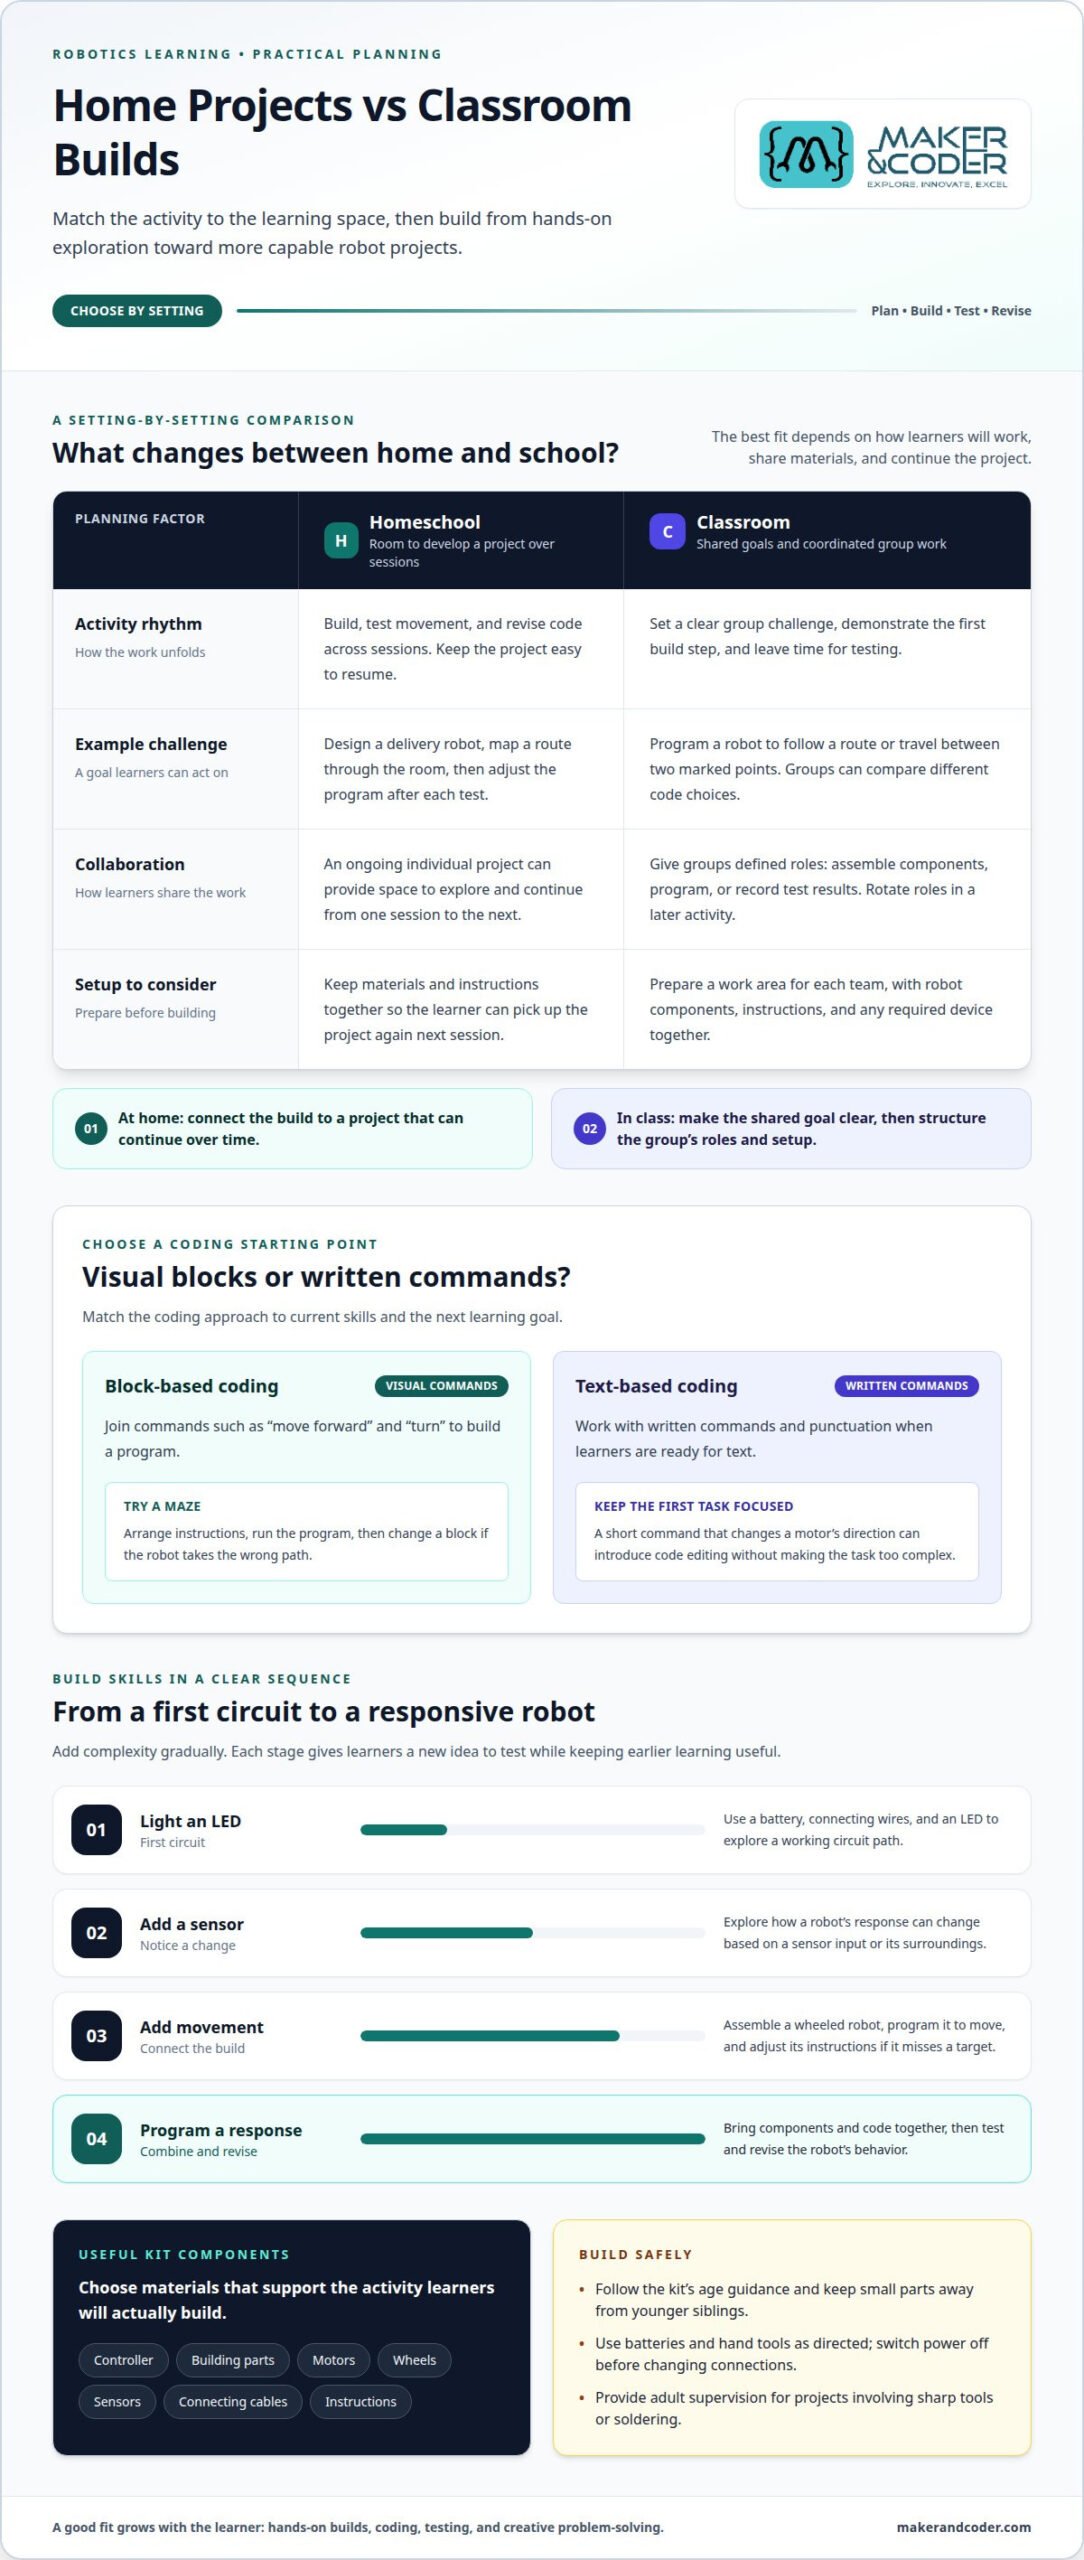
For children, follow the kit’s age guidance and keep small parts away from younger siblings. Use batteries and hand tools as directed, switch power off before changing connections, and provide adult supervision for projects involving sharp tools or soldering.
Block-Based and Text-Based Coding
Block-based coding lets beginners build programs by joining visual commands such as “move forward” and “turn.” A maze challenge makes sequencing visible: learners arrange instructions, run the program, then change a block if the robot takes the wrong path.
Text-based coding suits learners ready to work with written commands and punctuation. Match the activity’s instructions to the learner’s experience. A short command that changes a motor’s direction can introduce code editing without making the first task too complex.
Hands-On Robotics and Coding Kits
Hands-on activities connect code to physical results. Learners can assemble a wheeled robot, program it to move, and adjust its instructions if it misses a target. This build-test-revise cycle makes abstract commands easier to observe.
Look for projects that pair a clear goal with opportunities to experiment. For example, a sensor activity can prompt learners to change a robot’s response to its surroundings. Sensor-focused AIoT extensions can provide a direction for exploring connected hardware and coding together.
Crafting and Coding Robot Kits
Craft-and-code projects combine a simple robot mechanism with materials such as cardboard, paper, or reusable decorations. Learners might build a creature, then use a motor to make one part move. The craft gives the robot a personal design; the code controls its action.
Choose an activity with a manageable build before adding programming. First assemble the body, then connect the movement components, and finally test one command. This sequence helps learners identify whether a problem comes from the construction or the code.
Robotics for homeschool and classroom learning
Choose a robotics activity that fits the learning space and available time. At home, a learner can build a robot, test its movement, and revise its code across sessions. In a classroom, a shared challenge can give each group a clear goal, such as programming a robot to follow a route.
Plan activities for each setting
For homeschool learning, connect a build to an ongoing project. A learner might design a delivery robot, map a route through the room, then adjust the program after each test. Keep materials and instructions together so the project is easy to resume next session.
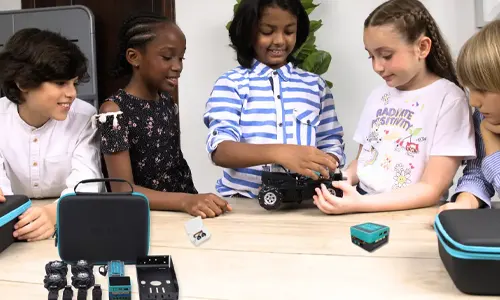
Classroom activities benefit from defined roles. One learner can assemble components, another can program, and a third can record test results. Rotate roles in a later activity so everyone gains experience with construction, coding, and troubleshooting.
Make group activities manageable
Multi-pack activities can support parallel builds during a class event or robotics-themed party. Give each group the same challenge, such as making a robot travel between two marked points. A shared goal is easy to explain, while different code choices let groups compare outcomes.
Before the activity, prepare a work area for each team. Place the robot components, instructions, and any required device together. Explain the challenge, demonstrate the first build step, and leave time for testing. This setup helps learners spend the session building rather than searching for parts.
Choose classroom sets and lesson plans
A classroom robot set is most useful when its activity supports a defined learning objective. For example, a lesson can ask learners to program a robot to respond to a sensor input. The teacher can introduce the concept, guide a short build, and ask groups to explain how their code changes the robot’s behavior.
Lesson plans also help connect sessions. Start by assembling and identifying components, move on to programming a basic action, and finish with a challenge that combines both skills. Robotics learning kits can support this progression when the project materials match the lesson and learners’ experience.
For homeschool and group use, select activities based on setup needs, build time, and collaboration style. A route challenge suits a shared classroom task; an open-ended design project gives a homeschool learner room to explore. Match the kit and lesson to the setting, then build the next activity on what learners have already tested.
Progressing from beginner to advanced projects
A clear project sequence turns first experiments into more capable designs. Begin with a circuit that lights an LED, then add a sensor, movement, and programmed responses. Each stage introduces a new idea while keeping the earlier build useful. For example, a learner can adapt a light circuit into a robot that reacts to changing surroundings.
Start with circuits, then introduce soldering
Beginner circuit activities can use a battery, connecting wires, and an LED to show how components form a working path. Learners can change one connection and observe whether the light responds. Next, a circuit diagram can help them map each component before assembly. Soldering projects introduce permanent connections, so start with a simple board and clear instructions.
Build circuit understanding before combining several components. A useful next step is connecting a switch to control an output, then explaining how the switch changes the circuit. For soldering, learners should follow the project’s tool instructions and work with appropriate supervision. The goal is to understand each connection, not simply complete the assembly.
Add sensors to robotics projects
Once learners can assemble a basic robot, introduce one sensor at a time. An infrared sensor, for example, can support a project where a robot reacts to an obstacle. The learner connects the input, writes a response, and tests the result. Changing behavior based on sensor readings adds a layer beyond fixed movement commands.
Make each test purposeful. Ask the learner to predict what the robot will do, run the program, and compare the outcome. If it behaves unexpectedly, check the sensor connection and relevant code before changing anything else. This step-by-step approach helps isolate problems and makes debugging part of the design process.
Use servo motors for controlled movement
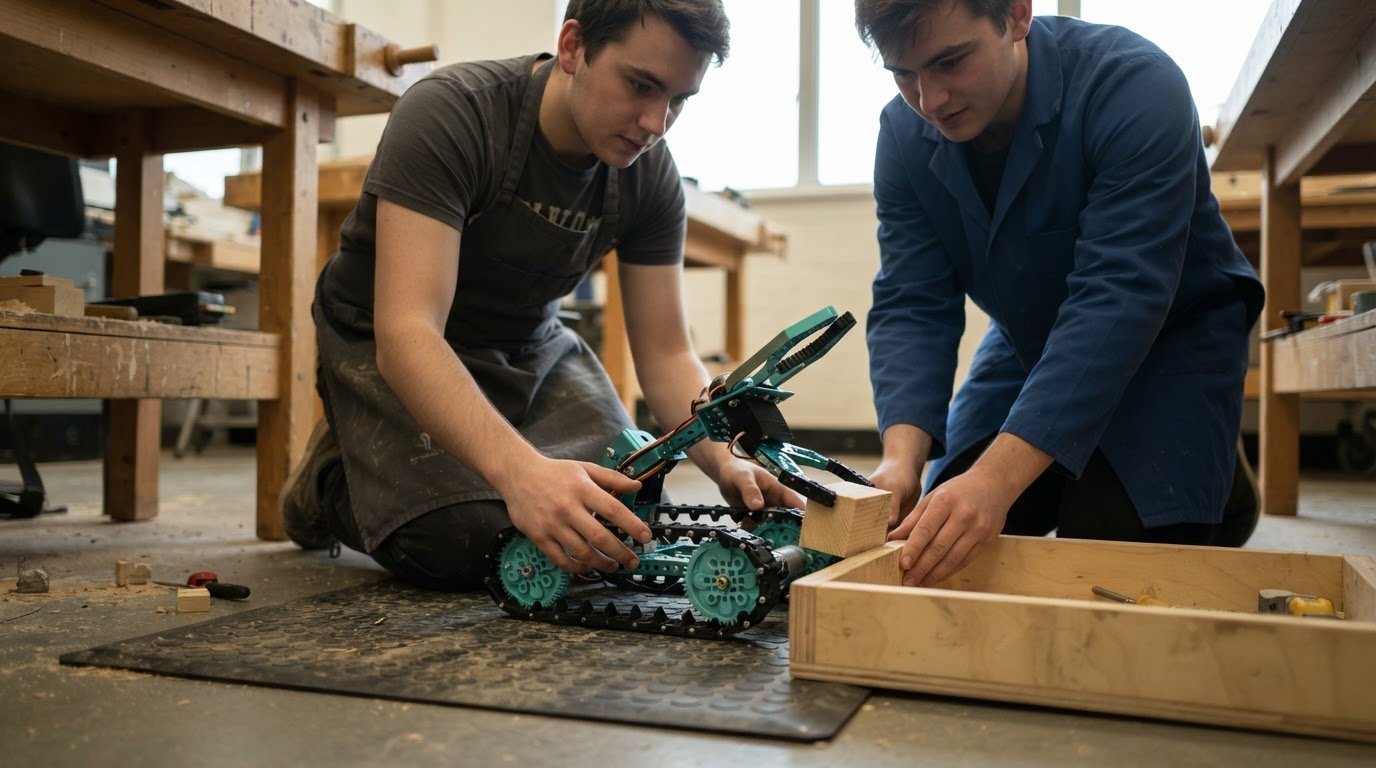
A servo motor can move a component to a chosen position, making it useful for a small robotic arm or opening panel. Start by programming one movement, then adjust the command and observe the change. Add a second movement only after the learner understands how the first affects the build.
Advanced projects combine these ideas into a working system. For instance, a sensor can trigger a servo-powered gate on a robot. Learners plan the circuit, connect the input and motor, write the response, and test the sequence. Progress from a single action to coordinated behavior, adding components only when each new task has a clear purpose.
Robotics kits by age and experience level
Choose a kit by matching its build steps and coding demands to the learner. Age guidance offers a starting point, while prior experience helps refine the choice. A learner who can follow illustrated instructions may enjoy assembling a simple wheeled robot. Someone already editing code may prefer a project with sensors or adjustable movement.
For first-time builders
Start with a guided build that has clearly labelled parts and a defined outcome. A basic moving robot lets a beginner connect components, follow instructions, and see a program produce motion. Look for activities that introduce one idea at a time, such as changing a command to make the robot turn. This keeps the first project focused without limiting experimentation.
For younger learners, consider whether the instructions rely on reading, small connections, or independent device use. A picture-led assembly task may be more approachable than a project requiring lengthy setup. An adult can read the steps aloud while the learner identifies parts and assembles the frame. Choose projects with achievable milestones, such as completing the chassis before starting the code.
For learners building confidence
A learner who has completed a guided robot can move on to a kit with more choices. They might change a route, compare programs, or add a sensor to influence movement. Look for projects that encourage testing and revision rather than requiring one fixed solution. The right next step adds a challenge without repeating the entire build process.
Consider the learner’s preferred coding approach, too. Someone comfortable arranging visual commands may be ready to explore written code through a short, explained example. A useful progression is to modify an existing program, test it, then create a small variation. This makes the shift from following instructions to making design decisions more manageable.
For experienced makers
Experienced learners may benefit from kits that allow custom designs and combined functions. A project might use a sensor to trigger a robot’s movement or a servo motor to operate a simple mechanism. Check that the project instructions explain connections and programming concepts, not just assembly. Learners should be able to adapt the build to answer a new question.
Before choosing, identify one realistic next goal: build a robot, change its behavior, or add a component. Compare that goal with the kit’s guidance, coding demands, and build complexity. A learner ready to troubleshoot can move beyond step-by-step builds; a newer maker may benefit more from completing a clear, guided project first.
Building and programming robots
Turn a robot idea into a working build through practical decisions. Start with a task, such as moving a model across a marked path. Identify the required parts, assemble the frame, connect the controller, and program one movement. Testing each stage helps reveal whether a change belongs in the structure or the code.
Build a stable foundation
Begin with the chassis, wheels, motors, and controller. Follow the kit’s assembly guide, then inspect each connection before powering the build. A wheeled robot that veers sharply may need a wheel adjustment before its program changes. Keeping the structure stable makes later coding tests easier to interpret.
Next, connect the motors to the controller as directed by the kit instructions. Use a short test program to make the robot move forward, then stop. If it turns instead, review the motor connections and command sequence. This simple test separates assembly issues from programming errors without changing several things at once.
Program one behavior at a time
Choose a coding environment that matches the learner’s experience. Block-based commands can show a clear sequence, while Python or MicroPython introduces written instructions. Start with a forward movement, add a pause, and then program a turn. Change one command per test so the learner can connect each edit with the robot’s response.
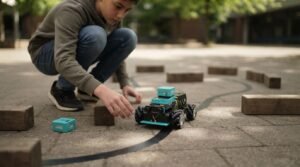
For a route challenge, mark a start and finish on the floor. Program the robot to travel between them, observe where it stops, and adjust the movement sequence. If the robot overshoots, reduce the movement command or add a pause where appropriate. Record each change to compare results rather than relying on memory.
Test, debug, and extend the design
When a robot behaves unexpectedly, troubleshoot in a repeatable order. Check the battery and connections first, then review the relevant code, and test the movement again. If one wheel does not turn, for example, inspect its motor connection before rewriting the entire program. This process keeps debugging focused.
Once the basic route works, add one new function. A sensor can make the robot respond to an obstacle, while a servo motor can operate a simple arm or panel. Connect the new component, program its intended response, and test that behavior separately. Then combine it with the movement sequence to create a more capable robot.
For beginners learning robotics, start with a simple robot kit, then progress to intermediate and advanced projects as skills develop. Practice assembly and programming on a straightforward build before carrying those skills into more demanding challenges.
Maker & Coder: AIOT Learning kit
Maker & Coder’s AIOT Learning kit is a natural next step when learners are ready to connect coding with AIoT concepts. It supports technical learning through a hardware-based pathway, helping educators build from introductory robot projects toward broader technology topics.
Consider an AIoT project when learners already understand basic programming and want to explore connected devices and artificial intelligence. A prompt might ask what information a device gathers and how software could use it. The focus expands from programming one movement to examining how digital systems interact.
The kit belongs within Maker & Coder’s wider MC 4.0 learning ecosystem. MC Blocks provide modular learning resources, while the MC Curriculum (K-12) is designed to align with the hardware. Together, these offerings give educators a way to connect practical builds with structured learning rather than treating each activity as an isolated project.
For example, a lesson could begin with a familiar robot-building task, then introduce a question about how a connected device might respond to information. Learners can discuss the parts of that idea, plan a program, and reflect on what their design would need. The exact activity depends on the lesson’s objectives and learners’ experience, so educators can use the curriculum to shape an appropriate progression.
For schools and educators, this approach can help connect hands-on building with a planned sequence of concepts. For learners, it creates a route from assembling and coding toward asking broader questions about intelligent, connected technology. The AIOT Learning kit is worth considering when a class or program is ready to extend robotics activities into AIoT learning.
Choose the next step by considering learners’ current coding skills, the project goals, and how the kit will fit the teaching plan. If you’re exploring whether this learning pathway suits your setting, contact Maker & Coder.
Maker & Coder: Robotics Learning Kits for Structured Technical Learning
Maker & Coder provides a robotics and coding learning ecosystem built around the MC 4.0 hardware platform and modular MC Blocks. Its lineup includes the MC4.0 Controller and Base, AIoT, and robotics kits for technical learning.
When you’re ready to connect robotics hardware with a guided learning path, Maker & Coder also offers an MC Curriculum for K-12 designed to integrate with its hardware. Together, the curriculum and kits provide a structured way to explore robotics and coding.
Frequently Asked Questions
What are the best robotics learning kits for beginners in 2026?
The MC 4.0 Base Kit is a practical option for beginners interested in building a mobile robot. Its listed components include a chassis, four DC encoder motors with mecanum wheels, an ultrasonic sensor, and a line-follower sensor. These parts support projects where learners can explore movement and sensing in one build. Consider this kit when a learner wants to work with both robot hardware and programming.
Which robotics kits are best for kids by age group?
Maker & Coder lists the Base Kit for ages 07 Years – 15 Years, the STEAM Kit for 12 + years, and the AIOT Robotics Kit and AIoT Add-On Kit for 15 + years. Use these product age ranges to narrow the options, then match the kit’s project focus to the learner’s interests. For example, compare a base robotics build with a more advanced AIoT project.
What programming languages do popular robotics kits teach?
The MC 4.0 platform supports Scratch, Blockly, Python, Arduino, and MCLab. Scratch and Blockly use visual blocks, while Python and Arduino involve written code. The best choice depends on the learning goal: visual environments can make program structure easier to inspect, while written languages let learners practise text-based syntax. Check that the planned course or project uses an environment supported by the selected kit.
How can you choose a robotics kit for classroom or homeschool use?
For classroom adoption, compare the lesson resources and kit format with the teaching plan. Maker & Coder lists Base Kit, AIOT Robotics, and STEAM class packs, as well as school kits with lesson plans and a learning portal. For homeschool planning, focus on whether the chosen project fits the learner’s goals and available study time. A curriculum-aligned pathway can help educators connect activities across lessons.
How much do robotics learning kits cost in the United States?
Where can you buy robotics learning kits in the United States, and what are their warranties?
Amazon lists over 7,000 results for “robotics kit.”