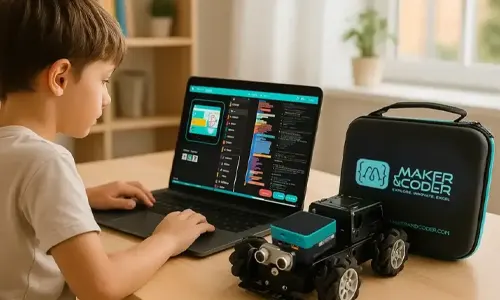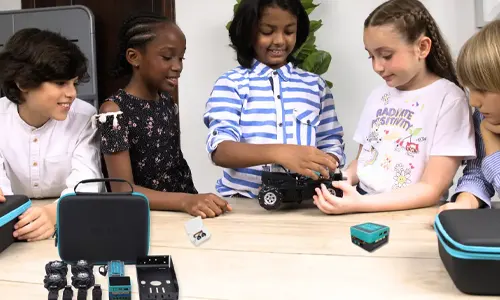
The most capable AI kit isn’t automatically the right choice. The Best AI Kits match a learner’s coding experience, project goals, learning support, and budget. Beginners often benefit from step-by-step guidance and visual coding, while experienced learners may want more programming options and room to expand.
Choosing a kit means balancing hands-on building with the tools needed to explore artificial intelligence. The right match can help learners progress from a first program to projects involving sensors, data, or connected devices. This guide compares what to look for so you can choose with confidence.
You’ll see how AI kits differ in capabilities, learning resources, skill fit, features, and overall ownership costs. We’ll also compare four kinds of options and finish with a practical decision guide for finding a kit that supports your learner’s next step.
Key Takeaways
- Match a kit’s AI, vision, and connectivity tools to the kinds of projects learners want to build.
- Compare tutorials, documentation, and educator support to find a learning path that can sustain progress.
- Choose a kit that fits learners’ current skills and goals, with a suitable path toward more advanced work.
- Look at programming options and expansion potential to understand how a kit can support learning over time.
- Assess total ownership costs, including what may need replacing or adding, rather than judging a kit by its initial price alone.
AI, vision, and connectivity capabilities
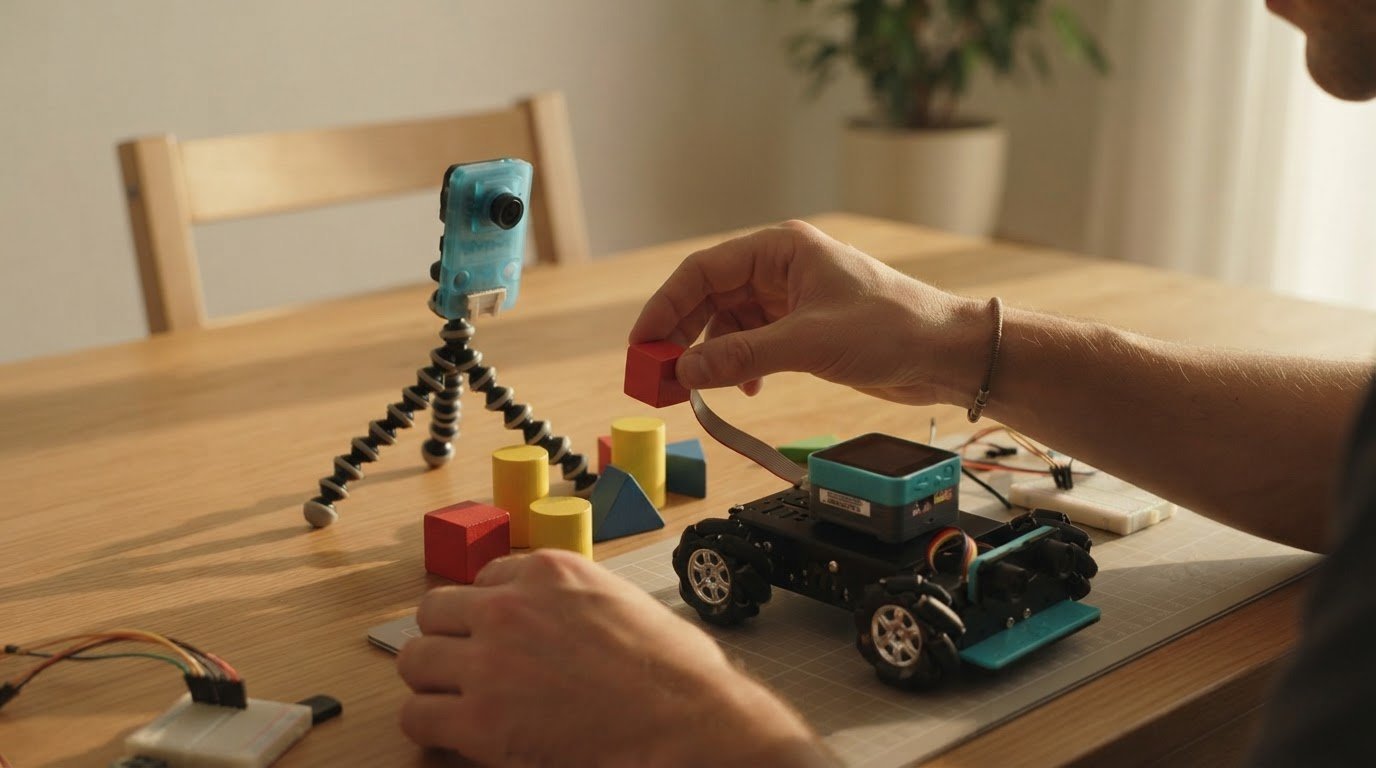
Compare what each kit lets a learner sense, process, and communicate. A robotics project might use a camera to identify colored objects, then send a movement command to a robot. That combines hardware, code, and a clear AI task. The Best AI Kits bring these parts together in practical projects, rather than using “AI” as a label without a hands-on activity behind it.
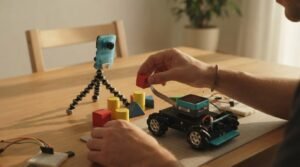
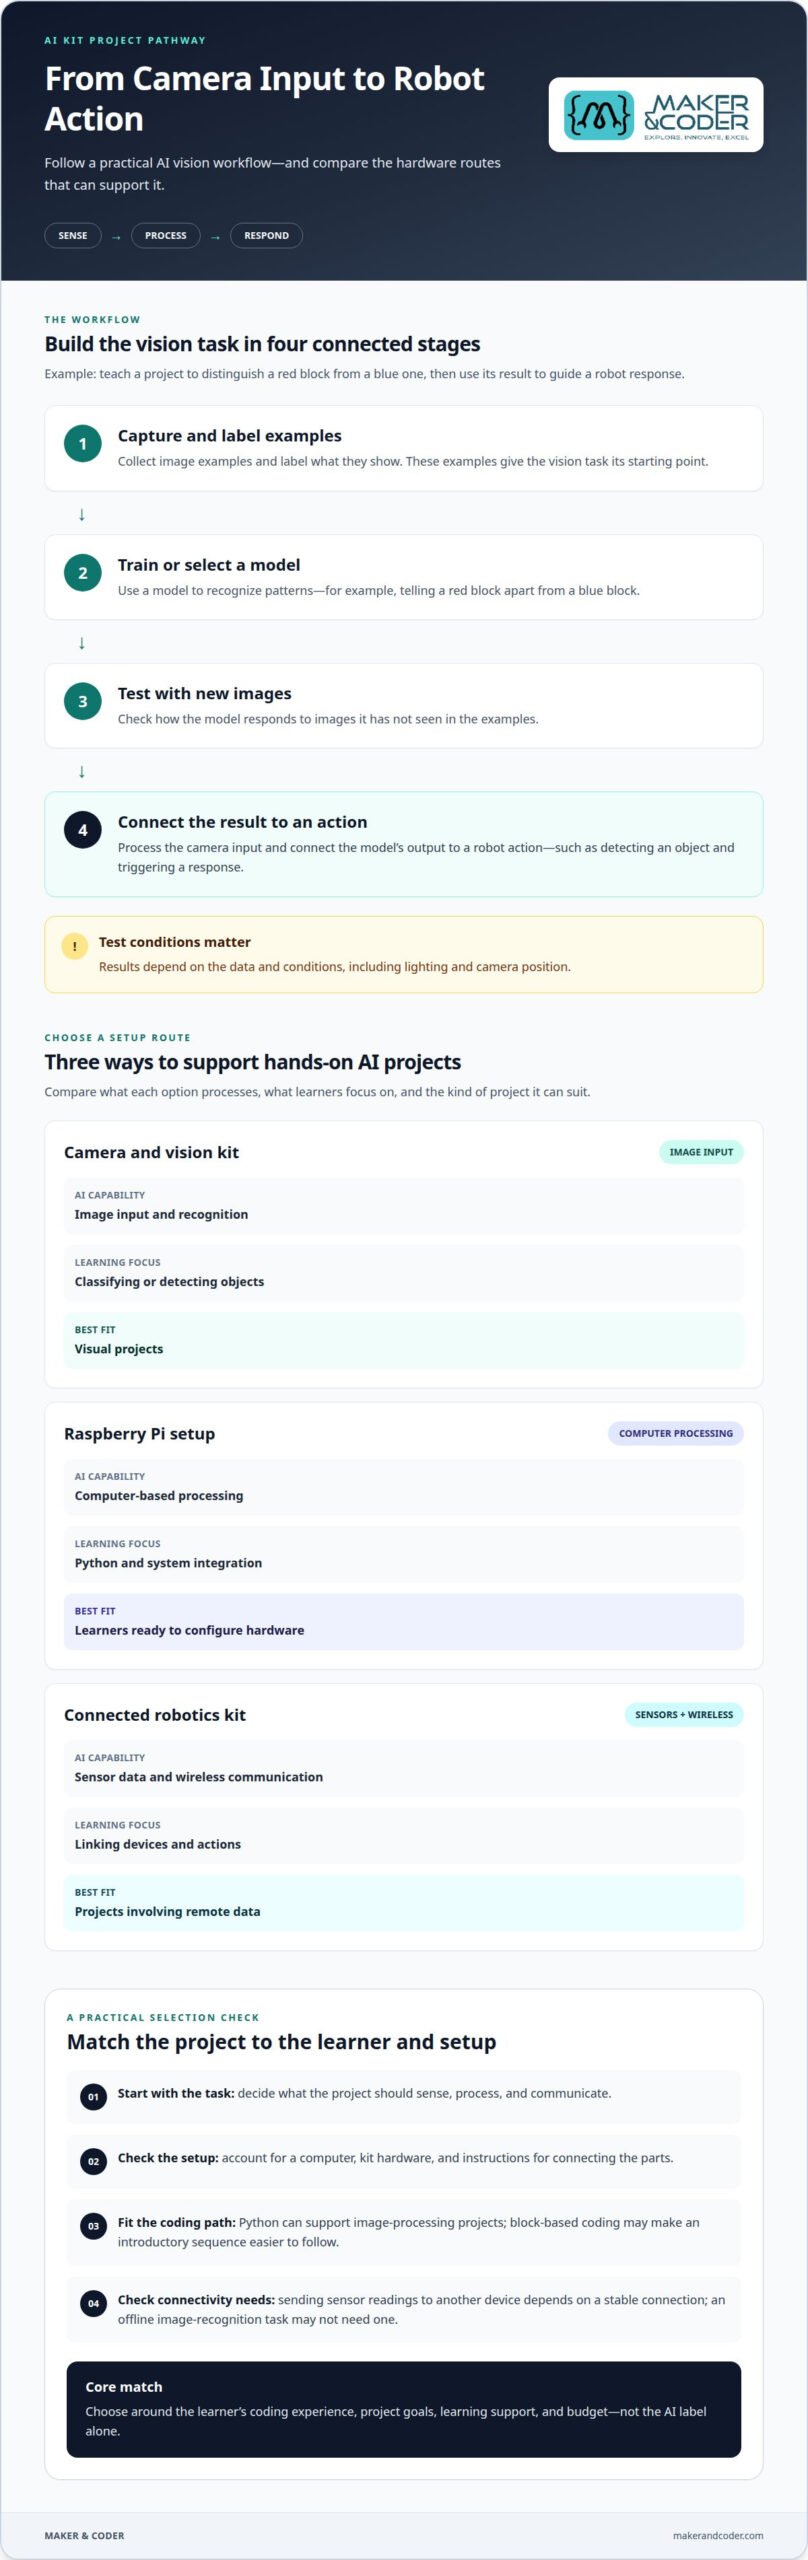
Computer vision helps a computer interpret images. Machine learning can train a model to recognize patterns, such as distinguishing a red block from a blue one. A useful learning sequence is to capture and label examples, train or select a model, then test it with new images. Results depend on the data and conditions, including lighting and camera position.
Raspberry Pi boards are used in some projects as compact computers. With Python, learners can write programs to process camera input and connect a model’s output to a robot’s actions. Before choosing this route, compare the hardware, software setup, and learning materials required. A kit that bundles compatible components can simplify setup, while a more open configuration may offer more scope to customize.
AI vision add-on kits can bring camera-based projects into a broader robotics setup. Check how the camera connects, which computer or controller processes its input, and whether the learning materials explain the full workflow. For example, a learner could build a project that detects an object and triggers a response. Explore the topic through AIoT add-on kits as one possible route to extending hands-on projects.
What skills and equipment are needed to build an AI kit? Start with basic coding concepts, a computer, the kit’s hardware, and instructions for connecting its parts. Python can support image-processing projects, while block-based coding may make an introductory sequence easier to follow.
What are the privacy and safety risks of AI kits with cameras or microphones? Camera or microphone data can capture personal information, so use them only for a clear project purpose and manage recordings carefully. Privacy requirements may apply when robots collect personal information from children, so handle any recordings carefully.
For wireless features, check the device documentation and intended operating environment. The Federal Communications Commission identifies FCC Part 15 as a relevant US standard for Wi-Fi and Bluetooth devices. Connectivity also affects project design: a robot that sends sensor readings to another device depends on a stable connection, while an offline image-recognition task may not need one.
| Option | AI capability | Learning focus | Best fit |
|---|---|---|---|
| Camera and vision kit | Image input and recognition | Classifying or detecting objects | Visual projects |
| Raspberry Pi setup | Computer-based processing | Python and system integration | Learners ready to configure hardware |
| Connected robotics kit | Sensor data and wireless communication | Linking devices and actions | Projects involving remote data |
Match the project’s inputs, processing needs, and connection method to the learner’s coding experience.
Documentation, tutorials, and community support
Strong learning resources turn an AI kit from a collection of parts into a sequence of achievable projects. Before choosing, review a sample lesson: does it explain setup, code, expected results, and troubleshooting? A camera activity, for example, should show how to connect the camera, run the program, and interpret what appears onscreen. Clear instructions help learners understand each step instead of copying directions without grasping the AI task.
Look for lessons that build skills progressively. An introductory activity might use sensors to make a robot respond to light; a later project could add a vision task or combine several behaviors. Check whether instructions identify the required components and explain unfamiliar terms. When an error occurs, useful guidance offers specific checks, such as confirming a cable connection or comparing the code with a working example.
Community support can extend learning beyond a printed guide. A discussion space, educator group, or project gallery can help learners compare approaches and work through common coding challenges. Check whether examples explain how projects work, not just show the finished result. A robot car project is more instructive when its creator explains how the code changes the robot’s movement and what they adjusted after testing.
For classroom use, teacher preparation matters as much as student tutorials. Educators need time to explore components, understand lesson flow, and plan how to guide learners through debugging. One lab package described in the research includes a five-day teacher development program and two three-day refresher programs. Those figures illustrate the value of structured preparation and follow-up, rather than assuming one introduction covers every classroom need.
Review ongoing support as a practical workflow. Identify where teachers can find lesson materials, how learners can revisit instructions, and what guidance is available when a project behaves differently from its example. Useful resources help instructors prepare for class and students continue independently afterward. Check whether activities can suit learners with different starting skills while retaining the core learning objective.
- Test a sample tutorial from setup through the finished project.
- Look for explanations of code, sensors, camera input, and troubleshooting.
- Assess whether community examples teach the reasoning behind each build.
- Match educator preparation and follow-up support to the teaching setting.
Compare resources against the projects learners will actually build. If teachers are planning a structured AI learning pathway, discuss the classroom’s goals and support needs through a conversation about educational AI projects.
Matching kits to age, skill level, and goals
Match the kit to what learners can do now and what they want to build next. The available curriculum and kits are recommended for ages 7+ to 17 years and Grades 1 to 12, while individual project complexity should guide the choice within that span.
Beginner AI Kits
For a first build, choose a platform with guided activities, visual programming, and a clear progression from simple commands to a working project. A learner might begin by making a robot respond to an input, then add a decision rule. Compared with a kit aimed at experienced hobbyists, this approach prioritizes accessible instructions over open-ended hardware configuration.
What are the best AI kits for beginners in 2026? Choose a kit with step-by-step learning materials, a manageable first project, and room to advance into more complex coding. A guided robot car activity can give beginners a concrete starting point.
Kits for Kids and Students
For school or home learning, compare age guidance with students’ experience and the activity’s demands. One listed AI Robot Car Kit is intended for children ages 8 to 12 and 12 to 16. Those age bands point to different starting groups, but prior coding practice and the project’s complexity also matter when selecting a platform.
Which AI kits are best for kids and students? Choose one with age-appropriate instructions and projects that connect coding to visible results, such as a robot car responding to a command. For classroom learning, a structured sequence can help students progress together while giving experienced learners room to explore further.
Age is a starting point, not a complete measure of readiness. A student new to Arduino, for example, may need a more guided first activity than someone who has already built and programmed devices. Compare the first task, assembly involved, and coding concepts before choosing a kit.
What are the best AI robotics kits for adults and hobbyists? Choose according to the intended project, whether it involves experimenting with a mobile robot, programming sensors, or creating a humanoid robot. Adults with Arduino experience may prefer a platform with more room to customize; beginners can benefit from a guided route into the same skills.
Use these steps to narrow the options:
- Set the goal: Identify a target project, such as a mobile robot or camera-based activity.
- Check the starting point: Match instructions and coding demands to learners’ current experience.
- Plan the next step: Choose a kit that can build toward more advanced programming or hardware projects.
Choosing among the Best AI Kits means balancing learner readiness with a worthwhile next challenge. For younger students, prioritize accessible activities; for experienced hobbyists, focus on project goals and the flexibility needed.
Product features, programming, and degrees of freedom
A robot kit teaches more when its programming options and hardware support a clear path from first commands to independent projects. Beginners can start with visual, block-based programming, then move to text-based code such as Python. Compare that progression with the physical features: sensors, motors, and adjustable components shape the projects learners can build and extend.
Block-based programming makes logic visible. Learners connect command blocks to create sequences, conditions, and responses without starting with syntax. For example, they might program a robot to move when a sensor detects an obstacle, then change the condition and observe the result. Step-by-step instructions help learners trace commands and debug one part at a time, building coding skills before they move to text-based programming.
Python offers a different level of control. Learners can inspect and edit lines of code, organize steps into functions, and change how a robot responds to input. A kit designed for continued learning can support a transition from block-based programming to Python, building on earlier concepts. Check that its tutorials connect the two approaches instead of treating them as unrelated activities.
Hardware shapes the next challenge. Modular robot kits can expand with sensors, interchangeable grippers, or a mounted arm. A learner might first program movement, then attach a gripper and adjust its behavior through code. Compare how components connect and whether lessons explain each addition. Expansion is most useful when a new part enables a meaningful project, not merely a longer component list.
Some advanced platforms offer options such as C++ or ROS alongside block editors and Python. Open-source platforms compatible with ROS and a data-collection SDK can support repeatable robotics experiments and dataset creation. These tools suit learners ready to investigate how software, hardware, and recorded data work together. For beginners, a guided sequence may matter more than access to advanced frameworks.
Use this checklist to compare features with the skills learners want to develop:
- Start: Confirm a first activity uses clear blocks and explains each command.
- Progress: Look for a connected route from blocks into Python.
- Extend: Identify useful sensor, gripper, or arm projects.
- Advance: Consider C++ or ROS when learners need deeper control.
Choose a kit whose next feature creates a practical learning step. If learners can start with a simple movement sequence and later add sensors or a mounted arm, the same kit can support more complex programming without making the first project overwhelming.
Prices, budgets, and total cost of ownership
A kit’s purchase price is only one part of its cost. For a useful comparison, list the hardware, required computer, learning materials, replacement parts, and additions needed for the intended project. A camera-based computer vision activity, for example, may need different components from a basic motor-coding project. Compare complete setups, not just what comes in the box.
Start with the project goal, then identify every required component. If learners plan to explore machine learning, check whether the kit includes the hardware and instructions for that activity. If the goal is programming motor movement, focus on the controller, motors, and coding resources. This prevents a low initial price from obscuring the cost of putting together a functional project.
For schools, calculate the budget around the number of learners and how equipment will be shared. A classroom plan may use kits in small groups, while individual projects require more sets. Include storage and replacement planning in the same calculation. Batteries degrade with use, and educational robots are advised to have batteries replaced every 2-3 years. That recurring need belongs in a long-term ownership plan.
Advanced features can add value when learners will use them. A kit with machine-learning activities, computer vision, or additional motors can support more complex work than an introductory coding set. But extra components make sense only when lessons or project goals use them. Compare a basic build with the advanced project requirements, then set aside features that don’t support the learning plan.
What should you compare in the total cost of ownership? Use a simple checklist:
- Core setup: Identify the kit, computer, and components required for the first project.
- Learning resources: Include any materials needed to teach coding or machine learning.
- Expansion: List add-ons needed for planned projects, such as computer vision.
- Upkeep: Plan for battery replacement and parts that may wear during use.
- Reuse: Consider whether the kit can support later projects without replacing the whole setup.
Where can you buy the best AI kits in the United States, and what warranties are available? Purchase through the kit maker or an educational supplier whose product suits your project, and compare the written warranty for coverage, duration, and exclusions. Those terms differ by product, so include them in your ownership comparison rather than assuming every kit offers the same protection.
For a school or learning program, build a project-based budget before choosing equipment. Discuss your educational kit requirements to connect the planned activities with the right setup.
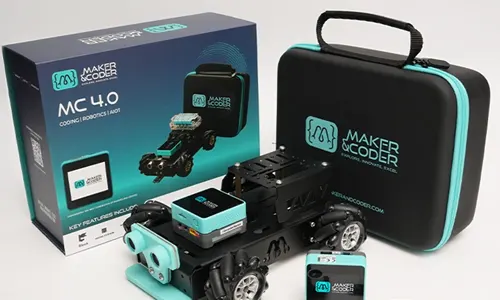
Maker & Coder: MC 4.0 Kit
Maker & Coder’s MC 4.0 Kit is a relevant next step for schools and learners seeking hands-on coding projects with a structured learning path. The MC Curriculum (K-12) is designed to work with the hardware, while MC Blocks provides a block-based programming option for building coding skills. Together, these offerings can help educators connect practical builds with guided learning.
For schools building staff confidence with classroom activities, Maker & Coder’s Teacher Training Programs can support implementation alongside its MC Curriculum and hardware. Consider this coordinated learning pathway when choosing a kit for classroom use.
Contact Maker & Coder to discuss how the MC 4.0 Kit could fit your learning goals.
Turn curiosity into a first build
A valuable next step is to choose a project learners want to make, then give them room to test ideas and improve their design. A small first build can lay the foundation for more independent exploration as confidence grows. Let curiosity guide the project, and let each new challenge deepen learners’ understanding of how intelligent systems respond to the world around them.
Choosing among the Best AI Kits is not about finding one universal winner. It’s about creating a meaningful starting point for the learner, educator, or classroom. Maker & Coder’s educational offerings provide one route for connecting hands-on building with a structured learning pathway.
Have a project or classroom goal in mind? Share your learning goals with Maker & Coder and explore a practical next step. Every thoughtful build begins with a question, and the right first experiment can open the door to discoveries learners will be proud to create.
Maker & Coder: A Structured Pathway for Learning with AI Kits
Maker & Coder provides a STEM education ecosystem centered on the MC 4.0 hardware platform and modular MC Blocks. Its lineup includes the MC4.0 Controller and Base, AIoT, and STEAM kits for technical learning.
If you’re choosing an AI kit as part of a broader, structured learning pathway, Maker & Coder also offers a K-12 MC Curriculum designed to integrate with its hardware. This provides a way to connect hands-on kit activities with curriculum-based learning.
Frequently Asked Questions
How much do popular AI kits cost in the United States?
Kit budgets depend on package contents and the projects you plan to build. Compare the controller, camera, sensors, motors, learning materials, and any computer or add-ons required. A basic coding activity and an advanced computer vision project may call for different equipment. Schools should also account for shared use and replacement parts. Comparing these needs gives a more useful budget than judging the Best AI Kits by headline price alone.
Which AI kits include cameras, sensors, and edge AI hardware?
Look for product descriptions that explicitly list a camera, named sensors, and the computing hardware that processes their input. A camera captures images, while sensors detect or measure other conditions. Edge AI means processing happens on the device rather than relying entirely on a separate computer. For a classroom object-recognition activity, check that the camera and processing hardware support the intended workflow.
How do AI kits compare for coding languages, tools, and ease of use?
Beginner kits often use visual, block-based tools, while some platforms also support Python or Arduino. Advanced robotics options may support C++ or ROS, giving experienced learners more control over code and experiments. Compare the learning sequence as well as the language list: tutorials that connect basic commands to later projects make it easier to progress than a list of languages without a clear learning path.
Which AI kits work with Raspberry Pi, Arduino, or NVIDIA Jetson?
Compatibility depends on the kit’s controller, connectors, drivers, and software support. The MC4.0 Base Kit supports Arduino, but a shared programming language alone doesn’t establish Raspberry Pi or NVIDIA Jetson compatibility. For either board, look for explicit support for the particular hardware and project workflow. This distinction matters if you plan to connect a robot kit to a separate computer or edge-AI board.