What if a coding lesson could move from an idea on screen to a robot responding in the real world? A Robotics Kit with Touchscreen can make that connection tangible, giving learners a hands-on way to explore programming through robot projects. The right kit supports learners’ current skills and gives them room to progress.
A touchscreen alone does not define a strong learning experience. Consider the coding options, project flexibility, and opportunities to experiment with sensors. Choose a kit for the learning journey it supports, not just its display.
This guide explains how touchscreen robotics kits can support coding progression, sensor-based projects, and classroom activities. You’ll learn what to consider when choosing a kit for beginners or more experienced learners, and how a structured curriculum and compatible learning tools can build a path from first commands to more advanced projects.
Key Takeaways
- Match block-based or text-based programming options to learners’ current skills and the next steps they’re ready to take.
- Use sensor-driven challenges to connect code with a robot’s responses to touch, distance, and light.
- Choose beginner projects that build practical skills through testing, debugging, and improving a working robot.
- Determine whether a kit needs Wi-Fi, a computer, or a subscription by considering how its programming tools are accessed.
- Explore how the MC 4.0 Kit, MC Blocks, K-12 curriculum, and teacher training can support a structured coding pathway.
Programming Options and Learning Progression
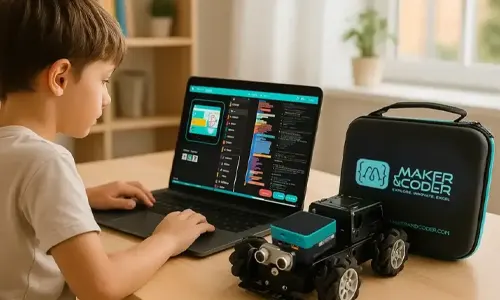
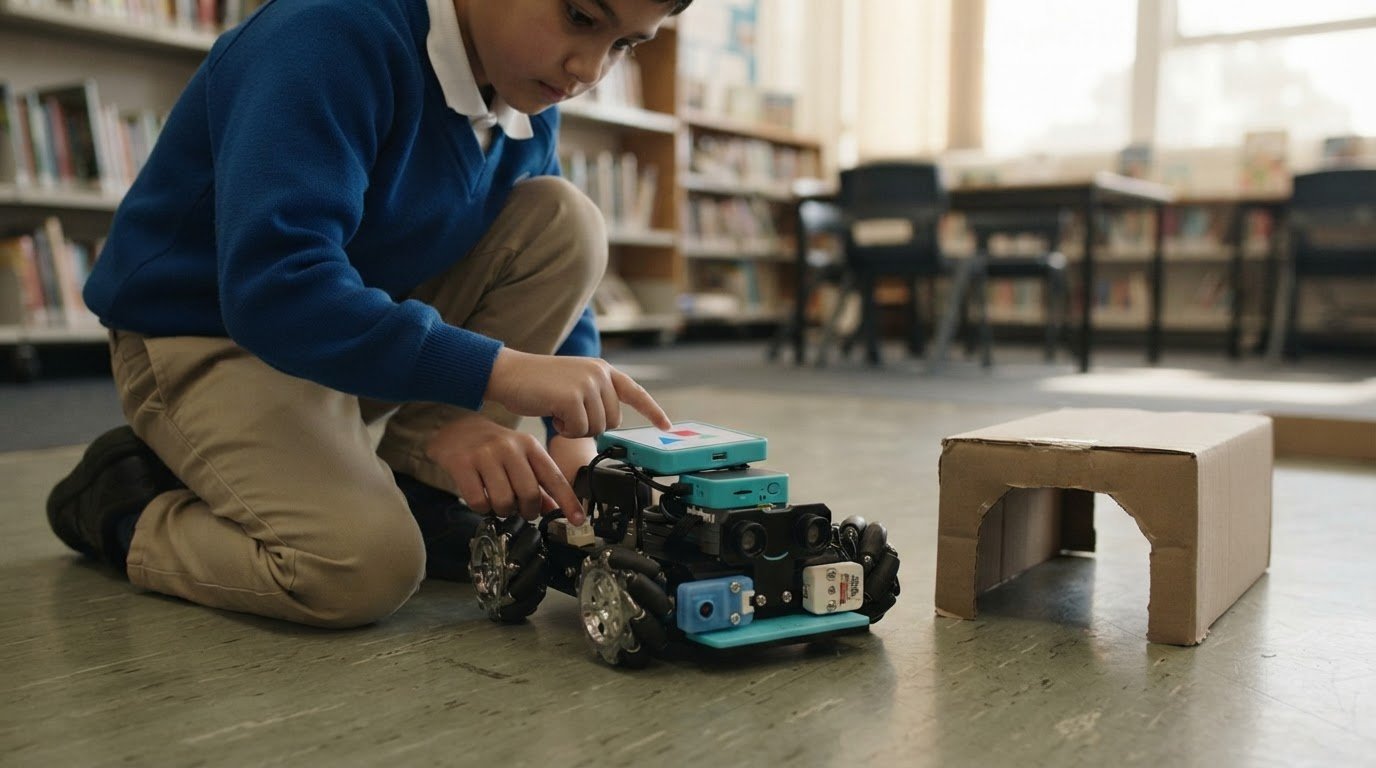
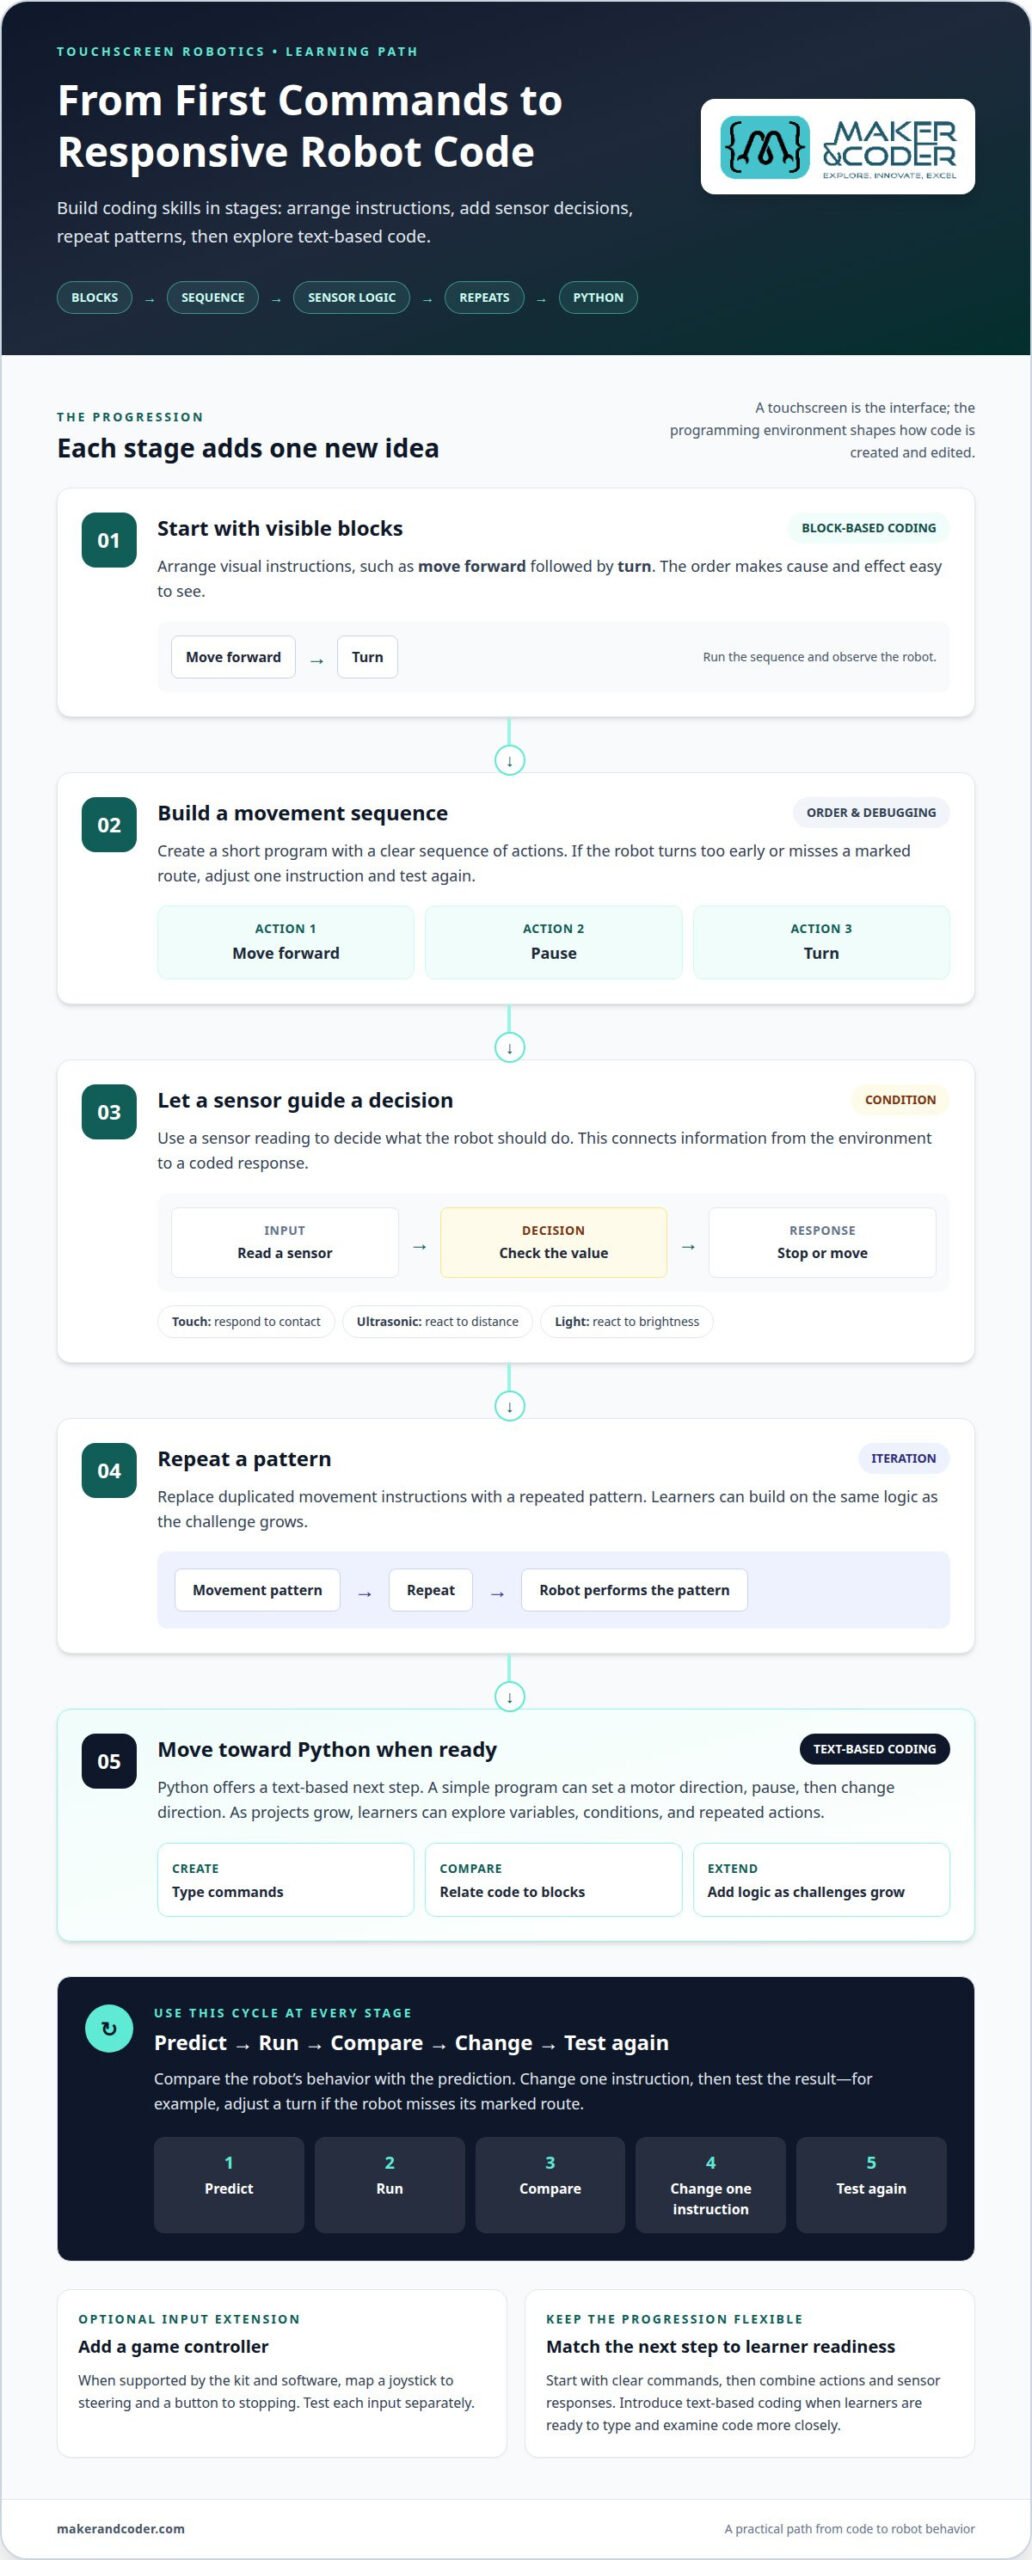
A Robotics Kit with Touchscreen can connect on-screen coding with a robot’s movement, lights, or sensor responses. The touchscreen provides a way to enter or view instructions, while the programming environment determines how learners create and edit code. Students can progress from clear, visible commands to projects that combine several actions.
Block-based coding uses visual pieces that learners arrange into instructions. A beginner can connect a “move forward” block to a “turn” block, run the sequence, and observe the robot. This makes order, cause and effect, and debugging visible. If the robot turns too early, students can move the block and test the change.
Python offers a text-based next step for learners ready to type commands and examine code more closely. A simple program might set a motor direction, pause, then change direction. Students can compare it with a block-based version and see how both express the same logic. As the challenge grows, Python projects can introduce variables, conditions, and repeated actions.
Build progression through short projects, each adding one new idea:
- Sequence: Program a robot to move forward, pause, and turn.
- Condition: Use a sensor reading to decide whether the robot stops or moves.
- Iteration: Repeat a movement pattern instead of duplicating instructions.
Each project gives learners a concrete debugging routine. First, predict what the code will do. Run it and compare the robot’s behavior with that prediction. Then change one instruction and test again. For example, students can adjust a turn command if their robot misses a marked route.
Game controller programming adds interactive input to a robot project. Learners can assign a joystick to steering and a button to stopping, then test each input separately. This introduces input-and-response logic: the robot performs an action when it receives a command. The activity also prompts students to consider how controls should behave while the robot is moving.
Bluetooth can connect a controller or other device to a robot when the kit and its software support that connection. One project could map a joystick direction to forward motion and a button press to a stop command. Students can troubleshoot step by step: confirm the connection, check the input mapping, and test one command at a time. Assembly and learning time depend on the parts, instructions, and learner experience; coding develops through repeated project cycles, not a fixed session.
Touch Sensors and Connectivity
Sensors turn information about a robot’s surroundings into data its code can use. Before planning an assembly, compare each sensor’s function, connection method, and role in the project.
Sensor and Expansion Options
A touch sensor detects contact, so a robot can stop when it reaches an obstacle or respond when a learner presses a button. An ultrasonic sensor measures distance using sound waves; students could program a robot to slow down near a wall. A light sensor reads changes in brightness, supporting a project that reacts to shade or a beam of light.
Expansion ports determine how additional components connect to the controller. Check whether a port matches the sensor’s connector and whether the programming environment can read its input. For example, a light sensor can provide a reading that code compares before turning on a response. A light sensor module is one example of a component used for exploring light-based inputs.
Plan the sequence: connect the sensor, read its value, then assign a robot response. This turns an adventure into a testable coding challenge.
Connectivity and Setup Requirements
Wi-Fi, a computer, and a subscription are not universal requirements for touchscreen robotics kits. Requirements depend on how a particular kit runs its coding tools, saves programs, and communicates with its controller. Read the setup instructions for the model, noting whether code runs on the touchscreen, a separate computer, or an online platform.
Bluetooth is a short-range wireless connection that some devices use to exchange data. If a kit uses Bluetooth, its instructions should explain how to pair the controller and robot and test the connection with a simple command. A wired connection may instead transfer code or provide power. Keep these functions distinct: a cable that powers a component does not necessarily transfer programming data.
Touchscreen kits work with LEGO or other robotics platforms only when their parts and systems are designed to work together. Compare physical connectors, controller requirements, and supported programming tools; similar-looking pieces alone do not establish compatibility.
For safer setup, place the robot on a clear surface and keep wires away from moving wheels. Adult supervision is recommended for children under 6 using robotics kits. During assembly, follow the kit’s age guidance and instructions, especially when handling small pieces or powered components.
Planning a sensor-based classroom project? Discuss your robotics learning goals to explore a suitable direction.
Classroom and Beginner Robotics Projects
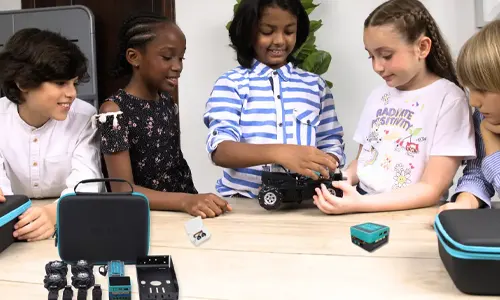
Give a classroom project a shared purpose, a visible result, and room for student choice. For example, teams can create a short robot performance for a class showcase. Each group plans a sequence of movements, assigns every team member a role, and presents the finished routine to classmates.
Start with a design brief: create a robot performance that communicates an idea without spoken narration. One team might represent a growing plant with small, repeated movements; another could design a robot “character” that pauses, turns, and changes direction to show surprise. Students decide which actions communicate their idea and arrange them into a coherent presentation.
Other projects can connect robotics to classroom subjects without a complex build:
- Story sequence: Teams translate three moments from a familiar story into a robot’s timed movements, then explain how each action represents a scene.
- Pattern performance: Students create a repeating movement routine and ask classmates to identify its pattern before the final reveal.
- Design showcase: Groups build distinct robot forms from available pieces, give each a purpose, and present how its shape supports that role.
- Instruction challenge: One team writes clear movement instructions, while another follows them and describes where the directions need clarification.
These activities develop planning, communication, creative problem-solving, and collaboration. A story sequence asks students to interpret an idea and express it through physical action. An instruction challenge highlights precision as learners discover how small wording changes can affect a robot’s behavior. Presenting the work also gives students practice explaining their design choices to an audience.
Make success criteria visible before teams begin. For a performance, criteria might include a clear beginning and ending, movements that match the chosen idea, and contributions from each team member. For an instruction challenge, success means another group can follow the directions and describe the intended result. These criteria keep feedback focused on the project goal, not on which group finishes first.
Close with a brief reflection. Ask each team to name one decision that shaped its project and one change it would make for another presentation. A student might explain that a longer pause made a character seem uncertain, while a repeated motion helped classmates recognize a pattern. These observations give the next project a stronger starting point and help learners see how their ideas become tangible creations.
Kit choice can follow the learners and the project goal. Beginner robotics kits are suitable for children as young as 4 years old, and most educational robotics kits are designed for ages 4-12. These ranges can help teachers and families consider whether a kit fits the learners taking part, while keeping the activity’s purpose central. A movement performance may call for a different setup than a build-focused showcase, so compare a kit’s activities with the kind of student choice and presentation planned.
That cost can be weighed against the activity the class wants to support. The robot itself need not be the main achievement: teams can plan movements, test instructions, and explain design decisions using the materials available. Choosing a kit that supports the intended activity can keep attention on collaboration and clear communication, while giving beginners a concrete way to turn plans into visible action.
Do Touchscreen Robotics Kits Require Wi-Fi, a Computer, or a Subscription?
There is no single setup for every touchscreen robotics kit. Requirements depend on where its coding software runs, how programs reach the robot, and whether lessons use online services. A kit that runs code directly on its touchscreen may work differently from one that uses a browser or computer program.
Wi-Fi and Internet Access
Wi-Fi is needed when a kit relies on internet-connected tools, such as a browser-based coding environment or online lesson platform. It may also support software or learning-material downloads. By contrast, a project that runs locally on the robot or touchscreen may not need an active internet connection after setup.
Separate internet access from wireless robot control. A kit might use Bluetooth to send commands between a touchscreen and robot without using Wi-Fi for that connection. For example, a learner could pair the devices, load a movement program, and run it nearby. The kit’s instructions should describe pairing and any internet-dependent steps.
Computer Requirements
A computer may be required for coding, transferring programs, updating software, or managing projects. Other kits provide a touchscreen interface for these tasks. Check the setup sequence: identify where code is created, how it reaches the controller, and which device displays instructions. A classroom with shared computers may need a different workflow from one where learners work directly on the kit’s screen.
Also distinguish the controller from the display. A touchscreen can show menus or code, while a separate computer may handle programming. If the kit uses both, learners should know which device starts a project and which controls the robot. A simple setup map can prevent confusion during the first activity.
Subscriptions and Offline Use
A subscription is not an automatic requirement for robotics coding. It depends on whether essential software, lessons, or cloud storage require a paid account. Some kits use installed or built-in tools, while others connect learning resources to an online service. Review the access needed for the intended activity rather than assuming every feature follows the same model.
- Wi-Fi: Identify whether lessons, downloads, or programming tools need internet access.
- Computer: Confirm whether code runs on the touchscreen, a computer, or both.
- Subscription: Separate required coding access from optional online content or storage.
For a practical test, prepare a simple project before class. Create a short movement command, transfer it to the robot, and run it. Note whether any step requires Wi-Fi, a computer, or an account. This reveals the actual setup sequence and helps you plan for offline lessons or shared devices.
Discuss your classroom’s coding and connectivity needs to plan an appropriate robotics learning setup.
Cost is separate from connectivity and software access. These price ranges do not establish whether a kit needs Wi-Fi, a computer, or a subscription, so verify the requirements for the specific model before choosing it.
Maker & Coder
Maker & Coder offers a practical path for educators connecting robotics activities with structured coding learning. The right setup depends on learners’ starting skills, the projects they want to build, and how teachers plan to guide progress. The kit matters, but so does how coding concepts connect across lessons.
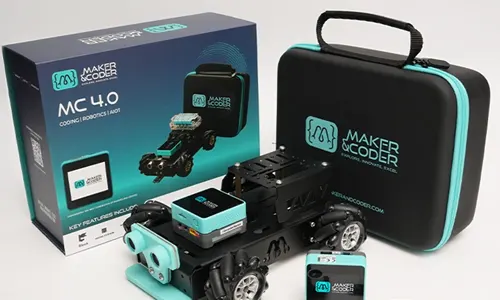
The MC 4.0 Kit gives learners a hardware platform for practical coding activities. Pairing a physical kit with a learning pathway can help teachers connect a programming concept to a tangible project. For example, students might move from following instructions to changing code and observing how the robot responds. The specific activity can be shaped around class goals and learner readiness.
The MC Curriculum (K-12) is designed to integrate with Maker & Coder hardware and provide a structured educational pathway. This can help educators plan learning that develops over time instead of treating each build as an isolated activity. A teacher can align a project with the class’s current coding focus, then use the next activity to build on that understanding.
MC Blocks provide a modular way to approach robotics learning. Educators can introduce a concept through manageable pieces, then connect it to a broader project. For instance, a class might first explore how a robot responds to an instruction, then apply that idea in a more involved activity. The key is how each piece supports the learning objective.
Maker & Coder’s Teacher Training Programs support educators using robotics in the classroom. Training can help teachers connect hardware and coding activities with lesson goals, whether a school is planning how to use robotics in teaching or preparing educators to guide hands-on projects. It brings the instructional approach into the planning, rather than leaving teachers to create a lesson structure alone.
Consider these points when shaping a robotics learning plan:
- Starting point: Identify the coding concepts students already understand and what they should practise next.
- Project purpose: Choose a practical task that gives learners a reason to apply those concepts.
- Lesson progression: Connect activities so each one extends earlier learning.
- Teacher readiness: Consider how educators will introduce the hardware and support project work.
This approach is useful when a classroom wants more than a one-off build and needs learning to progress from introductory coding toward sustained project work. Maker & Coder’s combination of hardware, curriculum, modular learning materials, and teacher training can help schools consider those elements together, without assuming every touchscreen kit or classroom follows the same setup.
Contact Maker & Coder to discuss your robotics learning goals and classroom needs.
Turn Your Next Robotics Idea Into a Learning Path
Choose a Robotics Kit with Touchscreen as the beginning of a learning journey, not the finish line. Define what learners should be able to create, how their skills can grow, and what support will help educators guide that progress.
A clear plan gives each build a purpose. Start with the outcome you want learners to reach, then shape activities that let them explore, make decisions, and improve their work. This forward-looking approach helps turn curiosity into confidence and classroom ideas into projects students can take ownership of.
Maker & Coder can help schools and educators think through how robotics learning fits their goals and teaching context. Share the kind of learning experience you want to create and discuss a practical direction for moving from first exploration to more ambitious projects.
Talk with Maker & Coder about your robotics learning goals, and take the next step toward a classroom where ideas become real, working creations.
Maker & Coder for Robotics Kits with Touchscreens
Maker & Coder provides a learning ecosystem centered on the MC 4.0 hardware platform and modular MC Blocks. Its lineup includes the MC4.0 Controller and Base, AIoT, and coding kits for technical learning.
If you’re looking to connect a robotics kit with touchscreen use to a structured learning pathway, Maker & Coder offers an MC Curriculum for K-12 designed to integrate with its hardware.
Frequently Asked Questions
What programming languages and apps do touchscreen robotics kits support?
Supported programming tools vary by kit. The MC4.0 Controller supports Scratch, Python, Arduino, Blockly, and MCLab. Its touchscreen includes drag-and-drop programming, which lets learners build instructions visually before exploring text-based coding. For example, a teacher can introduce a sequence in blocks, then guide students to examine how a similar instruction works in Python. Check the specific kit’s supported tools when choosing activities for a class.
What sensors, motors, and accessories are included with touchscreen robotics kits?
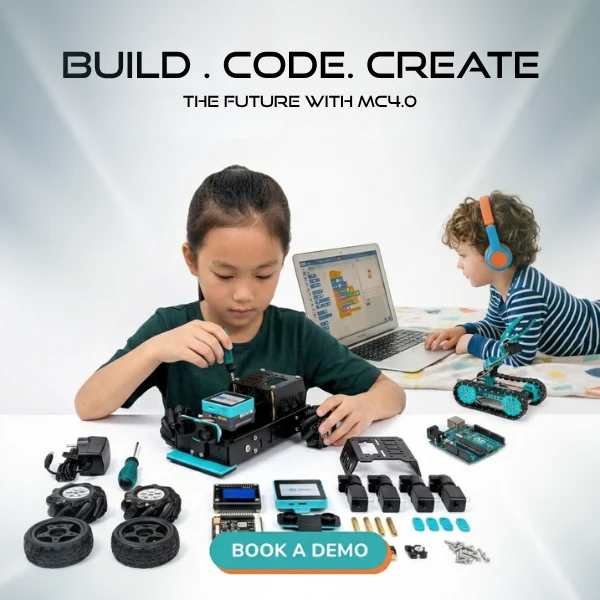
Included components depend on the kit. The MC4.0 Base Kit includes four DC encoder motors with mecanum wheels, an ultrasonic sensor, and a line-follower sensor. Its other listed components include a controller module, battery pack, chassis, fixture add-on, screws, USB-C cable, screwdriver, two additional wheels, and a user manual. These parts support different build configurations, so use the model’s component list to plan a project.