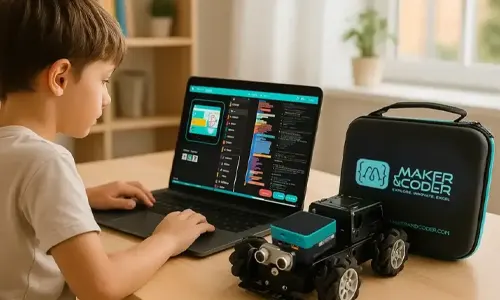
A robotics club works best when every student can make progress, even if they start at different points. An effective after-school robotics club curriculum moves from hands-on builds and basic commands to more complex challenges, giving beginners room to explore and experienced students ways to extend their designs.
It’s natural to want activities that hold students’ interest while offering a clear path to growth. Connect each project to a skill: students build, test, observe how their robots respond, and refine their code. This makes each session part of a learning sequence rather than a standalone activity.
This guide explains how to plan that progression for different skill levels, choose robotics tools that suit your learning goals, and introduce AI activities in a practical way. It also shows how to sequence projects from block-based coding and robot control toward more advanced programming and applications. A clear plan gives students room to experiment while keeping each session focused on tangible progress.
Key Takeaways
- Build sessions around hands-on projects where students create, test, and refine a robot’s behavior.
- Offer entry points for beginners while giving experienced learners room to extend their designs.
- Choose a robotics platform and sequence activities so skills develop from basic commands to more advanced applications.
- Use practical AI activities to help students explore how intelligent systems can contribute to a robotics project.
- Plan club routines around clear learning goals, and consider a structured K-12 curriculum when you need a more connected pathway.
Hands-on, exploration-based learning
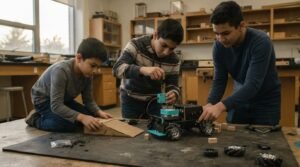
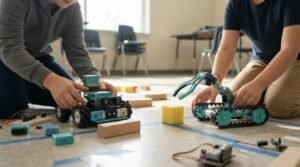
An after-school robotics club curriculum can turn a design question into a sequence of practical experiments. For example, students can build a small robot and investigate how changing its wheels affects movement. They predict what will happen, test the robot, and record their observations. Connecting a physical change to a visible result gives students evidence to discuss and build on.
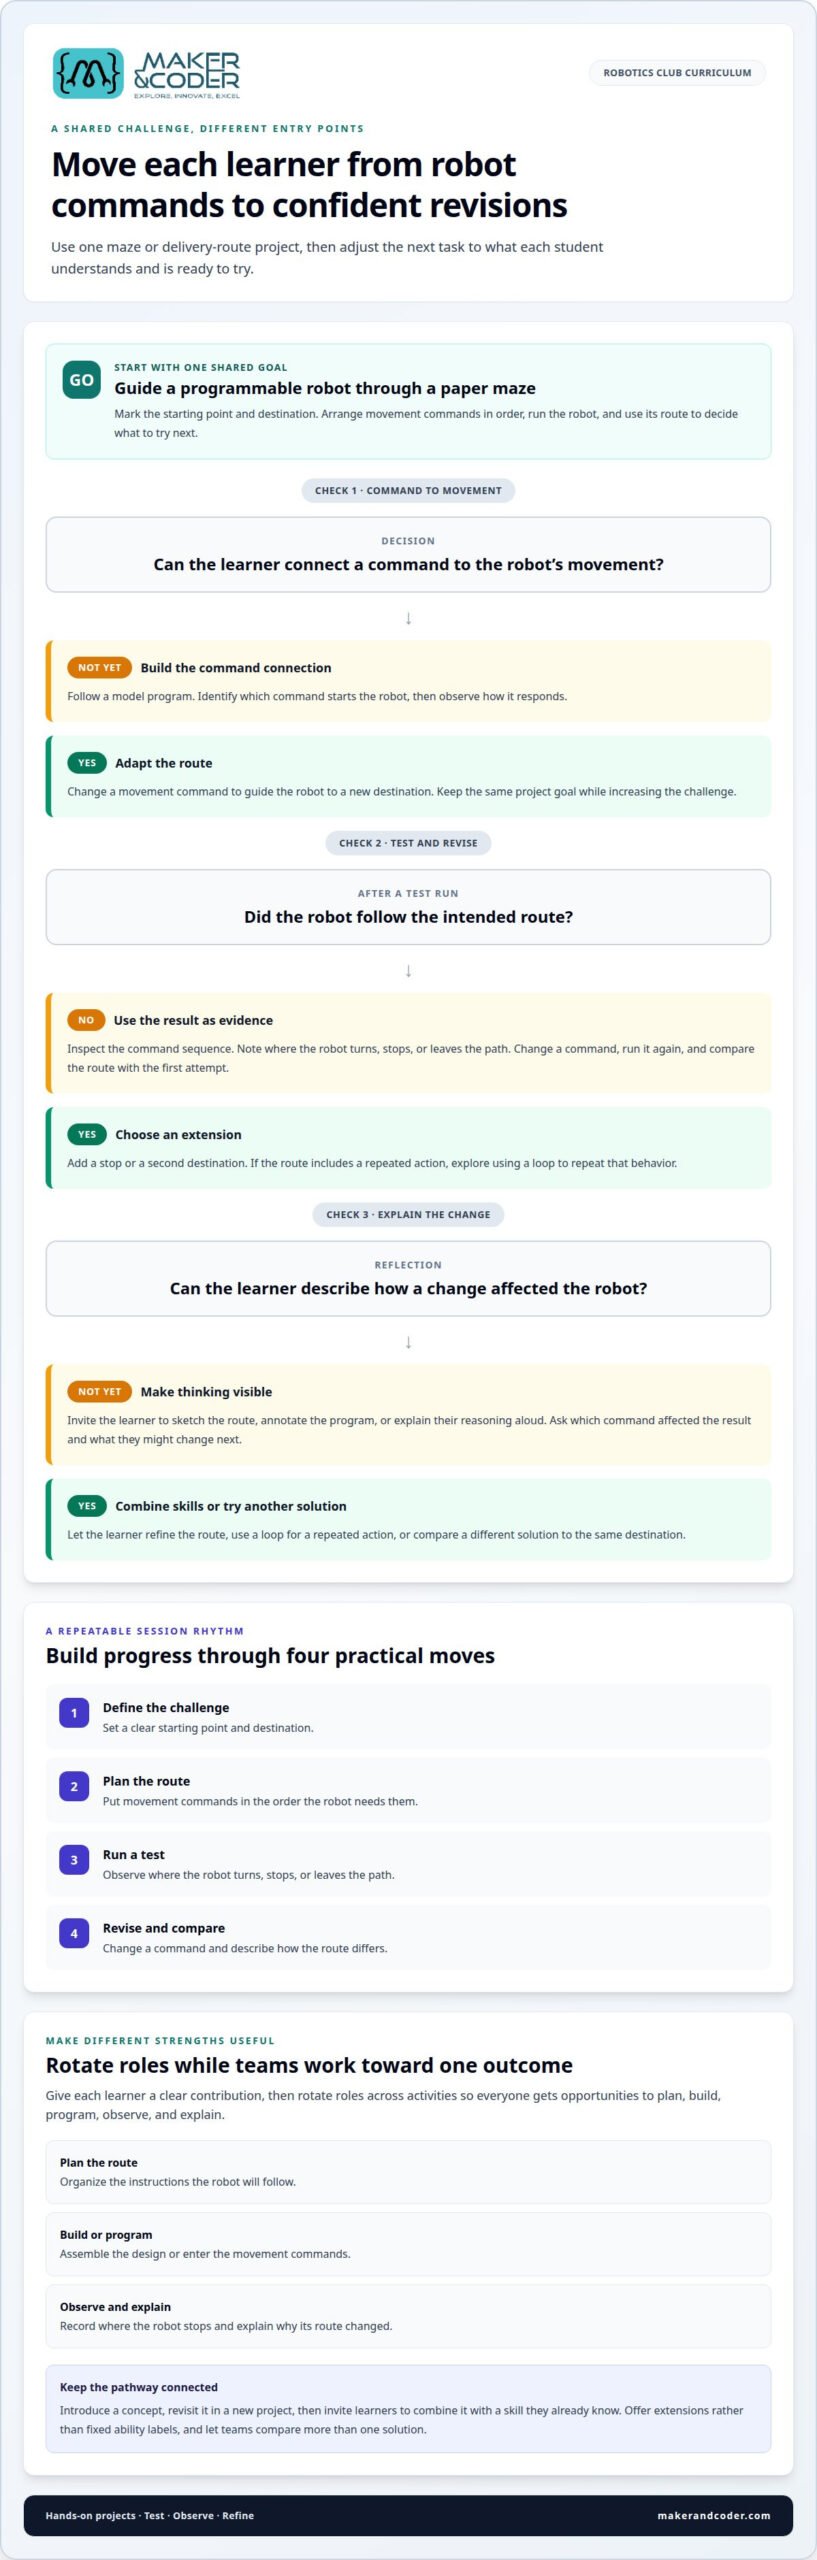
Make the first task specific. Ask teams to guide a programmable robot through a paper maze using movement commands. If it misses a turn, students can inspect the command sequence and decide what to change. They run the robot again and compare the new path with the first attempt. The goal is not just to reach the finish, but to use each test to make a reasoned improvement.
Organize the project into practical steps:
- Define the challenge. Mark a starting point and destination on the maze.
- Plan the route. Arrange movement commands in the order the robot needs them.
- Run a test. Observe where the robot turns, stops, or leaves the path.
- Revise and compare. Change a command, then describe how the robot’s route differs.
Introduce one new programming idea at a time. Students might first enter repeated movement commands, then explore a loop that performs the same action. Carnegie Mellon Robotics Academy identifies patterns and loops for repeating robot behaviors as curriculum topics. A useful follow-up is asking learners to explain which instructions repeat and how the robot responds.
Make reflection part of the activity. After a test, ask students to identify a command that affected the result and suggest a change. They can sketch a route, annotate a program, or explain their reasoning aloud. These options help educators assess how students understand the link between instructions and robot behavior, not just whether the robot completes the challenge.
Build the after-school robotics club curriculum around projects with more than one possible solution. For instance, teams can design different routes to deliver an object to the same destination, then explain their choices. One team might use a direct path; another might add turns to avoid obstacles. Comparing approaches gives students a concrete reason to discuss planning, testing, and revision.
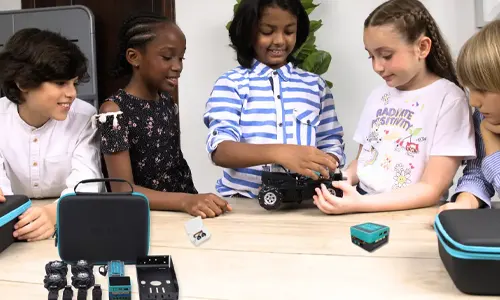
An after-school robotics club can engage interested students through hands-on learning. Make participation accessible by offering different project roles, such as planning a route, entering commands, observing a test, or describing a revision. Students can rotate through these tasks, so everyone gets a chance to work directly with the robot and explain a decision. The shared process encourages teams to listen to one another and compare solutions.
Hands-on educational technology can spark students’ interest in robotics careers. Club activities connect that interest to the practical work of designing, testing, and improving a robot. Ask learners which parts of the process they enjoyed and what they want to investigate next. Their ideas can shape future projects, while ongoing experiments give them opportunities to ask questions, try commands, and learn from the robot’s response. Focus on curiosity and participation, not on making every team reach the same solution.
Robotics education for students of all skill levels
Students may arrive with different experience, confidence, and problem-solving approaches. A beginner might need help linking a command to a robot’s movement, while a more experienced learner may be ready to write a longer program. Plan one shared project with varied levels of challenge, so students can participate together while developing different skills.
Start by identifying the project’s core learning goal, such as controlling movement or responding to a sensor. Then offer optional extensions rather than assigning students fixed ability labels. In a delivery-robot project, one learner could program a basic route while another adds a stop or a second destination. Both work toward the same outcome through tasks suited to their current understanding.
Use a stepped challenge to offer clear entry points and meaningful extensions:
- Begin: Follow a model program and identify which command starts the robot.
- Adapt: Change a movement command to reach a new destination.
- Extend: Add a repeated action using a loop or revise the route.
- Explain: Describe how a change affected the robot’s behavior.
These steps let students progress without requiring everyone to finish at the same pace. Carnegie Mellon Robotics Academy includes pattern recognition and loops for repeating robot behaviors. A learner who spots a repeated action can explore whether a loop makes the program clearer. Another student can focus on understanding what the loop repeats before changing it.
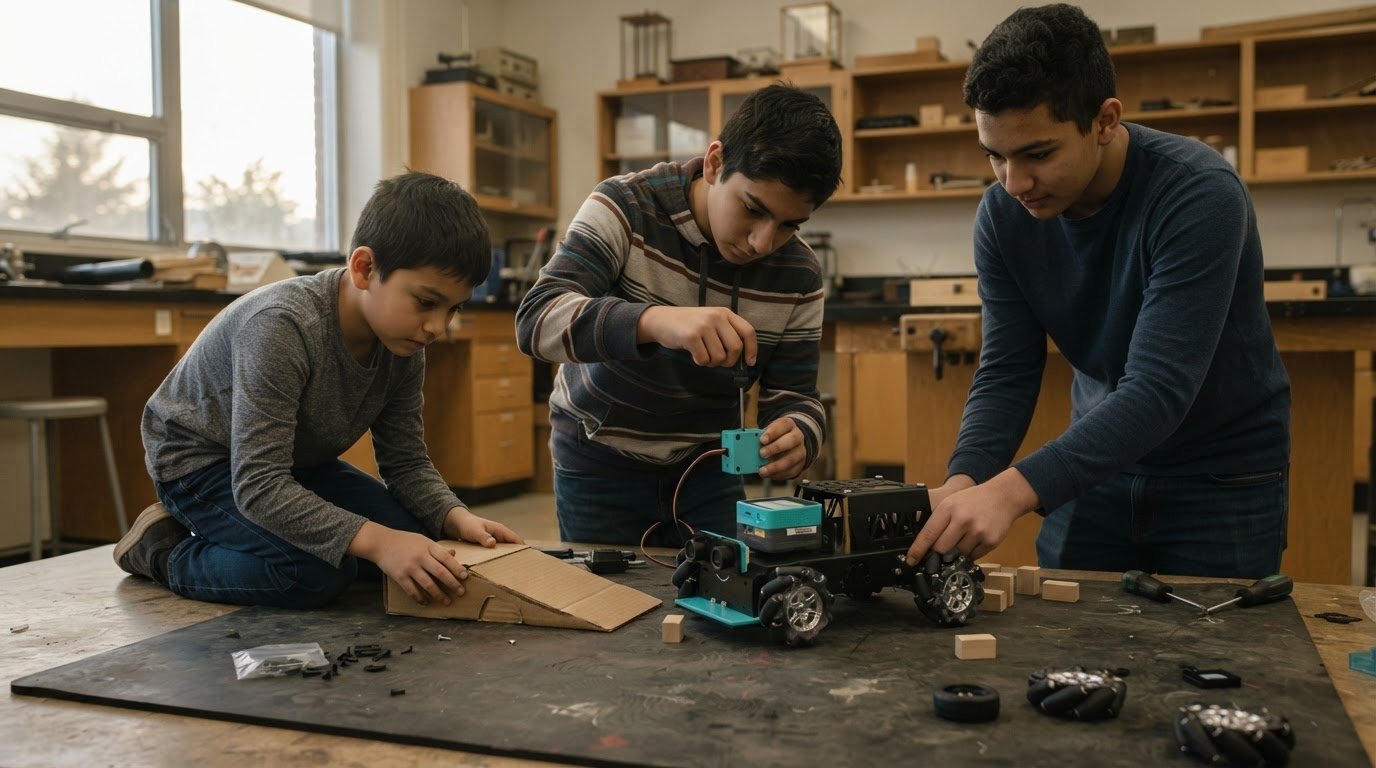
Group work can make different strengths useful. In a robot delivery task, one student can organize the instructions, another can assemble the design, and a third can record test results. Rotate roles across activities so every learner practices planning, building, programming, and explaining. Give each role a clear contribution, such as recording where the robot stops or explaining why its route changed.
For K-12 programs, connect activities to a progression rather than restarting at the same beginner task each session. Introduce a concept, revisit it in a new project, then invite students to combine it with a skill they already know. A learner who has mastered basic movement might add a repeated command; a beginner can continue building confidence with the original task. This structure makes growth visible while keeping the club accessible to different experience levels.
Robotics platforms and instructional sequence
Choose a platform that supports students’ current skills and gives them room to progress. The after-school robotics club curriculum should connect the tools to a practical sequence, from exploring components to building and programming integrated projects.
Age-Based Topic Sequence
For K-12 programs, arrange topics by readiness as well as age. Begin with component roles and basic control, then introduce programming, sensor responses, and integrated designs. Younger learners can work with guided, visible tasks; older or experienced students can take on more open-ended design decisions.
A suitable kit supports those steps with accessible programming and components suited to the planned projects. Revisit concepts at increasing levels of depth: students might first identify what a sensor detects, then use its input to shape a robot’s behavior. Choose a learning pathway that matches the club’s goals, students’ experience, and available teaching time.
Building, Coding, and Design Balance
Connect building, coding, and design within each project. Students could assemble a robot to transport an object, program its movement, then revise the design to improve its route. Check that lessons give students time to work with all three elements, rather than focusing only on construction or computer-based tasks.
The right robotics kit for a club depends on the planned projects, students’ experience, and the skills they will develop. No single kit suits every group, and costs vary with the platform and its components. Compare learning goals and equipment needs before setting a budget.
For preparation toward FIRST LEGO League or VEX, help students practice planning, programming, testing, and explaining design choices. Team projects can build skills in documenting decisions and refining solutions. Then align activities with the specific event’s challenge and expectations.
Sequence lessons so each stage prepares learners for the next: introduce a design goal, examine the relevant components, plan a solution, build and program, then evaluate the result. A computer supports programming, while the robot’s response shows whether the design works as intended.
Review a platform’s learning progression before adopting it. Look for a path from guided activities to independent projects, with familiar concepts revisited in new contexts. This keeps the club’s learning pathway coherent as projects become more complex.
Using AI in robotics projects
AI activities can connect a robot’s actions to information it interprets. For example, students can explore an image-classification task: a computer model sorts pictures into categories, and a robot responds to the selected category. The learning goal is to understand how input, classification, and programmed action work together.
Start with a clear question, such as, “Can a robot respond differently to two object categories?” Students can label example images, run the model, and observe its predictions. They then connect each category to a different robot response, such as turning left for one label and right for another. Treat the result as a test, not magic.
- Define the task. Choose two categories that are easy to distinguish, such as a cup and a book.
- Prepare examples. Use several varied images for each category, including different backgrounds.
- Test predictions. Present new examples and record which category the model selects.
- Program a response. Link each label to a distinct robot action.
- Review errors. Ask what the model may have missed and what examples could improve the test.
Students can compare a model’s prediction with a simple sensor condition. A light sensor detects brightness, while an image classifier assigns a visual category. Discuss what input each method uses and how the program responds. This comparison helps learners distinguish a direct sensor reading from a classification task.
Keep the project focused on one AI function. If a robot sorts classroom objects by image category, students can test classification first, then connect the prediction to the robot’s action. This staged approach makes debugging more manageable: learners can identify whether an issue comes from the input, model prediction, or programmed response.
Parents can follow the activity through a short demonstration. Students might show example images, explain the model’s labels, and demonstrate the corresponding robot behaviors. Ask them to describe an incorrect prediction and how they investigated it. That explanation reveals the reasoning behind the project, not just its final movement.
For an after-school club, assess the process as well as the outcome. Have students record categories, test examples, predictions, and resulting actions. A working demonstration is useful, but a clear account of how input becomes a decision provides the strongest evidence of learning.
Starting an after-school robotics club
Start with a defined purpose, a suitable meeting space, and a project pathway. A club might progress from basic robot control to a team challenge, with a clear learning goal for each session.
Set supervision arrangements before students begin building. Match adult oversight to students’ ages, activity complexity, room layout, and school policy. Keep work areas visible, establish rules for handling tools and electronic components, and show students how to stop and report a problem. The appropriate level of supervision depends on these factors, not on one universal ratio.
Plan a repeatable session routine. Open with a short design brief, move into building and programming, then finish with testing and cleanup. Assign roles such as builder, programmer, and recorder, and rotate them so students practice different skills. A shared checklist can cover parts, workspace organization, and returning equipment.
Choose a schedule that suits the school calendar and project scope. One community robotics team met for two hours weekly from September through February. Another middle-school team met two afternoons weekly for a total of three hours. These examples show how regular sessions can support a project over time; the right schedule depends on student availability and goals.
Education grants that support robotics or coding tools may fund extracurricular programs. Crowdfunding can also invite community members and educators to support a classroom project. Explain what students will build, which tools they need, and how the activities support learning. Keep the request tied to specific project needs rather than making a broad appeal.
Use this practical startup sequence:
- Define the project. Choose an outcome, such as a robot that completes a marked route.
- Map the sessions. Sequence construction, programming, testing, and revision.
- Prepare routines. Set expectations for supervision, tool handling, shared roles, and cleanup.
- Review progress. Use student demonstrations and project notes to plan the next challenge.
A robotics club can run as a short project cycle or follow a longer school-term schedule. Set its duration and weekly hours according to project complexity, student schedules, available supervision, and the school calendar. A team preparing a final demonstration, for example, needs time to build, test, refine, and present its work.
Maker & Coder: MC Curriculum (K-12)
Maker & Coder offers the MC Curriculum (K-12), a structured learning pathway designed to integrate with its hardware. Consider it when your club needs a connected progression across grade levels instead of a set of isolated activities. A curriculum can help educators plan how learning develops, while hardware gives students a platform for practical work.
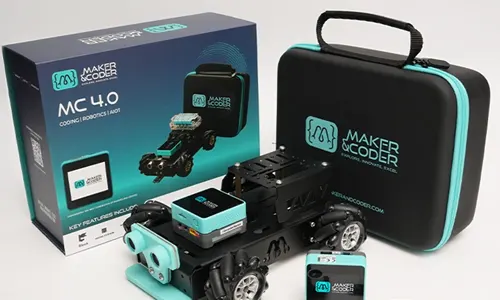
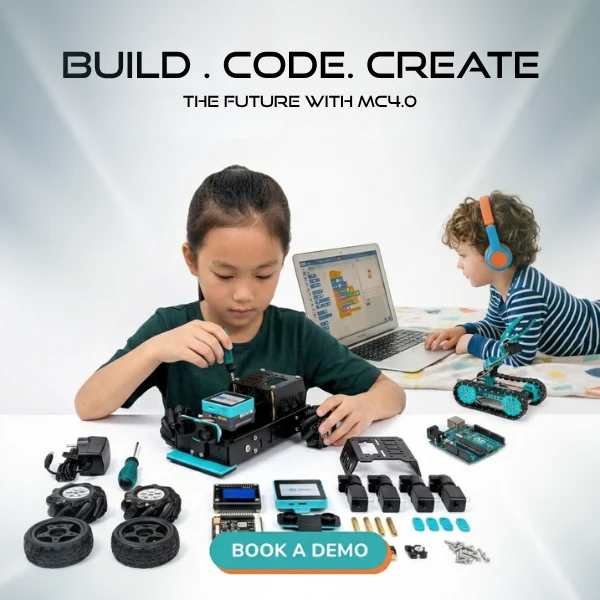
This option is especially relevant when club leaders want to align projects with a consistent sequence. The MC 4.0 Kit and modular MC Blocks are part of Maker & Coder’s offerings. Together with the curriculum, they provide a specific route to consider when planning how students will engage with robotics and programming over time.
Before selecting a pathway, define what your club needs to organize. For example, an educator launching a new club may need a structured sequence, while an established club may want a clearer connection between its existing activities. Consider how students’ grade levels, prior experience, available meeting time, and intended project outcomes shape the program. These decisions help you assess whether a K-12 curriculum fits the club’s context.
- For a connected pathway: Consider the MC Curriculum (K-12) when you want learning activities organized across grade levels.
- For hands-on programming: Consider MC Blocks as a modular coding resource within the available offerings.
- For hardware-based projects: Consider the MC 4.0 Kit alongside curriculum planning.
- For educator preparation: Teacher Training Programs may be relevant when instructors want support preparing to teach robotics activities.
Keep the intended use clear. A curriculum is most useful when its planned progression matches the students, learning goals, and equipment available to the club. If educators want activities integrated with hardware, Maker & Coder’s curriculum is designed to work directly with its hardware. If educator readiness is the priority, teacher training may be the better next step.
Maker & Coder’s offerings can help schools consider curriculum, coding resources, hardware, and teacher preparation as related parts of a robotics learning plan. The right starting point depends on what your club is building: a structured pathway, practical programming activities, or stronger preparation for educators. Bringing those needs into focus helps guide the next planning conversation.
Contact Maker & Coder to discuss your robotics club’s curriculum needs.
Maker & Coder for a Structured Robotics Curriculum
Maker & Coder provides a learning ecosystem centered on the MC 4.0 hardware platform and modular MC Blocks. Its K-12 MC Curriculum integrates with the hardware to provide a structured educational pathway.
When planning an after-school robotics club curriculum, turn to Maker & Coder if you want learning activities organized around this hardware. The MC4.0 Controller and Base, AIoT, and coding kits support technical learning within the ecosystem.
Frequently Asked Questions
What are sample robotics club lesson plans for elementary, middle, and high school students?
Elementary students can program a robot to follow a simple route, then draw the commands as a sequence. Middle school learners can add a sensor and compare the robot’s responses to different inputs. High school students can plan a more open-ended project, document design decisions, and refine their programs through testing. Keep each lesson focused on one main concept, with an optional extension for students ready to go further.
What programming languages and platforms are used in robotics club curricula?
Robotics programs may use block-based coding for visual, beginner-friendly programming, then introduce text-based options as learners progress. The MC 4.0 platform supports Scratch, Python, Arduino, Blockly, and MCLab. A club might begin with blocks to arrange instructions, then explore Python or Arduino when students are ready to work with text-based code. Choose based on students’ experience and the projects’ learning goals.
How can schools adapt robotics activities for different skill levels and students with disabilities?
Offer different ways to contribute to the same project, such as planning instructions, programming, assembling components, documenting tests, or presenting results. For a route challenge, provide visual directions, break the task into smaller steps, and let students demonstrate understanding through speech, writing, or a robot’s behavior. Adapt materials, workspace, pacing, and roles to learners’ access needs and the demands of the activity.