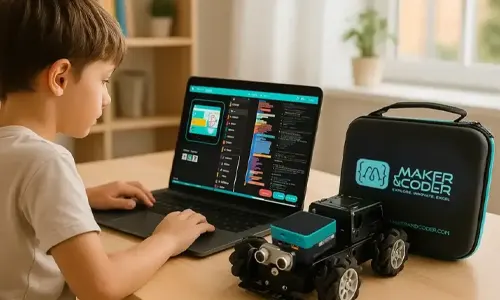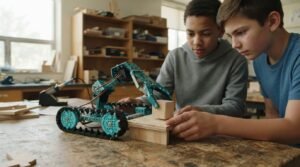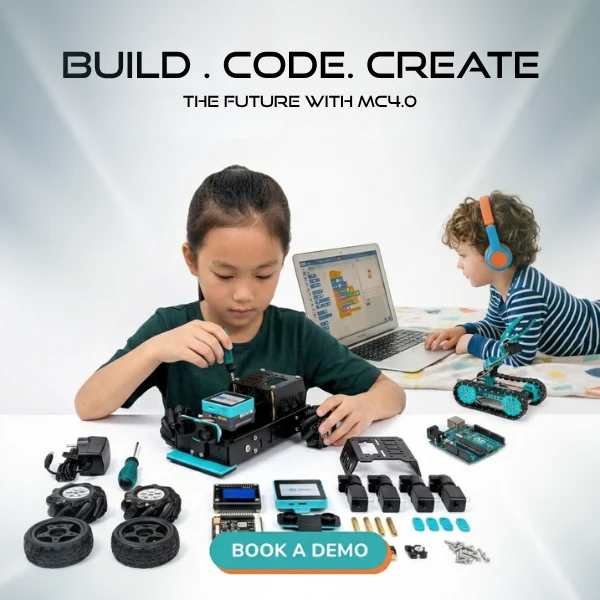
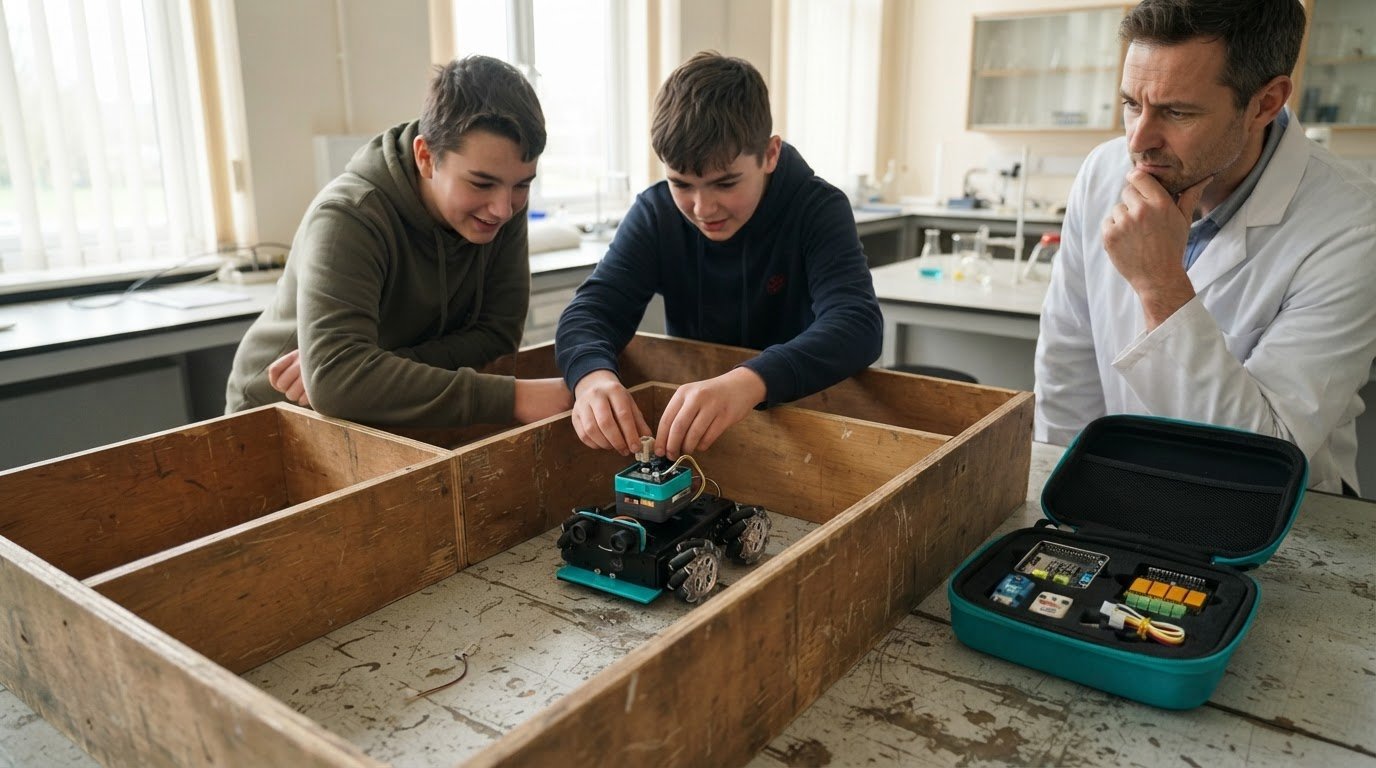
The flashiest robotics kit isn’t always the best place to start. Choosing the best robotics and coding kits for students means finding a clear first build, approachable coding activities, and room to keep learning as skills grow.
A good beginner kit makes the first steps achievable without limiting what students can create next. Hands-on projects make code visible: a robot moves or responds differently when students adjust their instructions. Experimentation becomes part of the learning, not a detour from it.
This guide explains how to assess a kit’s components, beginner-friendly features, project variety, and potential for progression. You’ll learn how to match those details to a student’s experience and interests, from an initial build to more advanced robotics and coding challenges. The goal is a kit that invites students to start, gives them room to explore, and continues to support their curiosity as their ideas become more ambitious.
Key Takeaways
- Match sensors, electronics, and moving parts to the projects students want to build, so each component has a clear purpose.
- Choose beginner-friendly instructions and manageable first builds, while recognizing that simpler kits may offer less room for exploration.
- Look for a learning path that can grow from introductory builds to more complex robotics and coding challenges.
- Assess how the mechanical pieces connect and whether students can modify their designs as their ideas develop.
- Prioritize hands-on activities that let students test code, observe what happens, and refine their creations through experimentation.
1. Sensors, electronics, and mechanical components
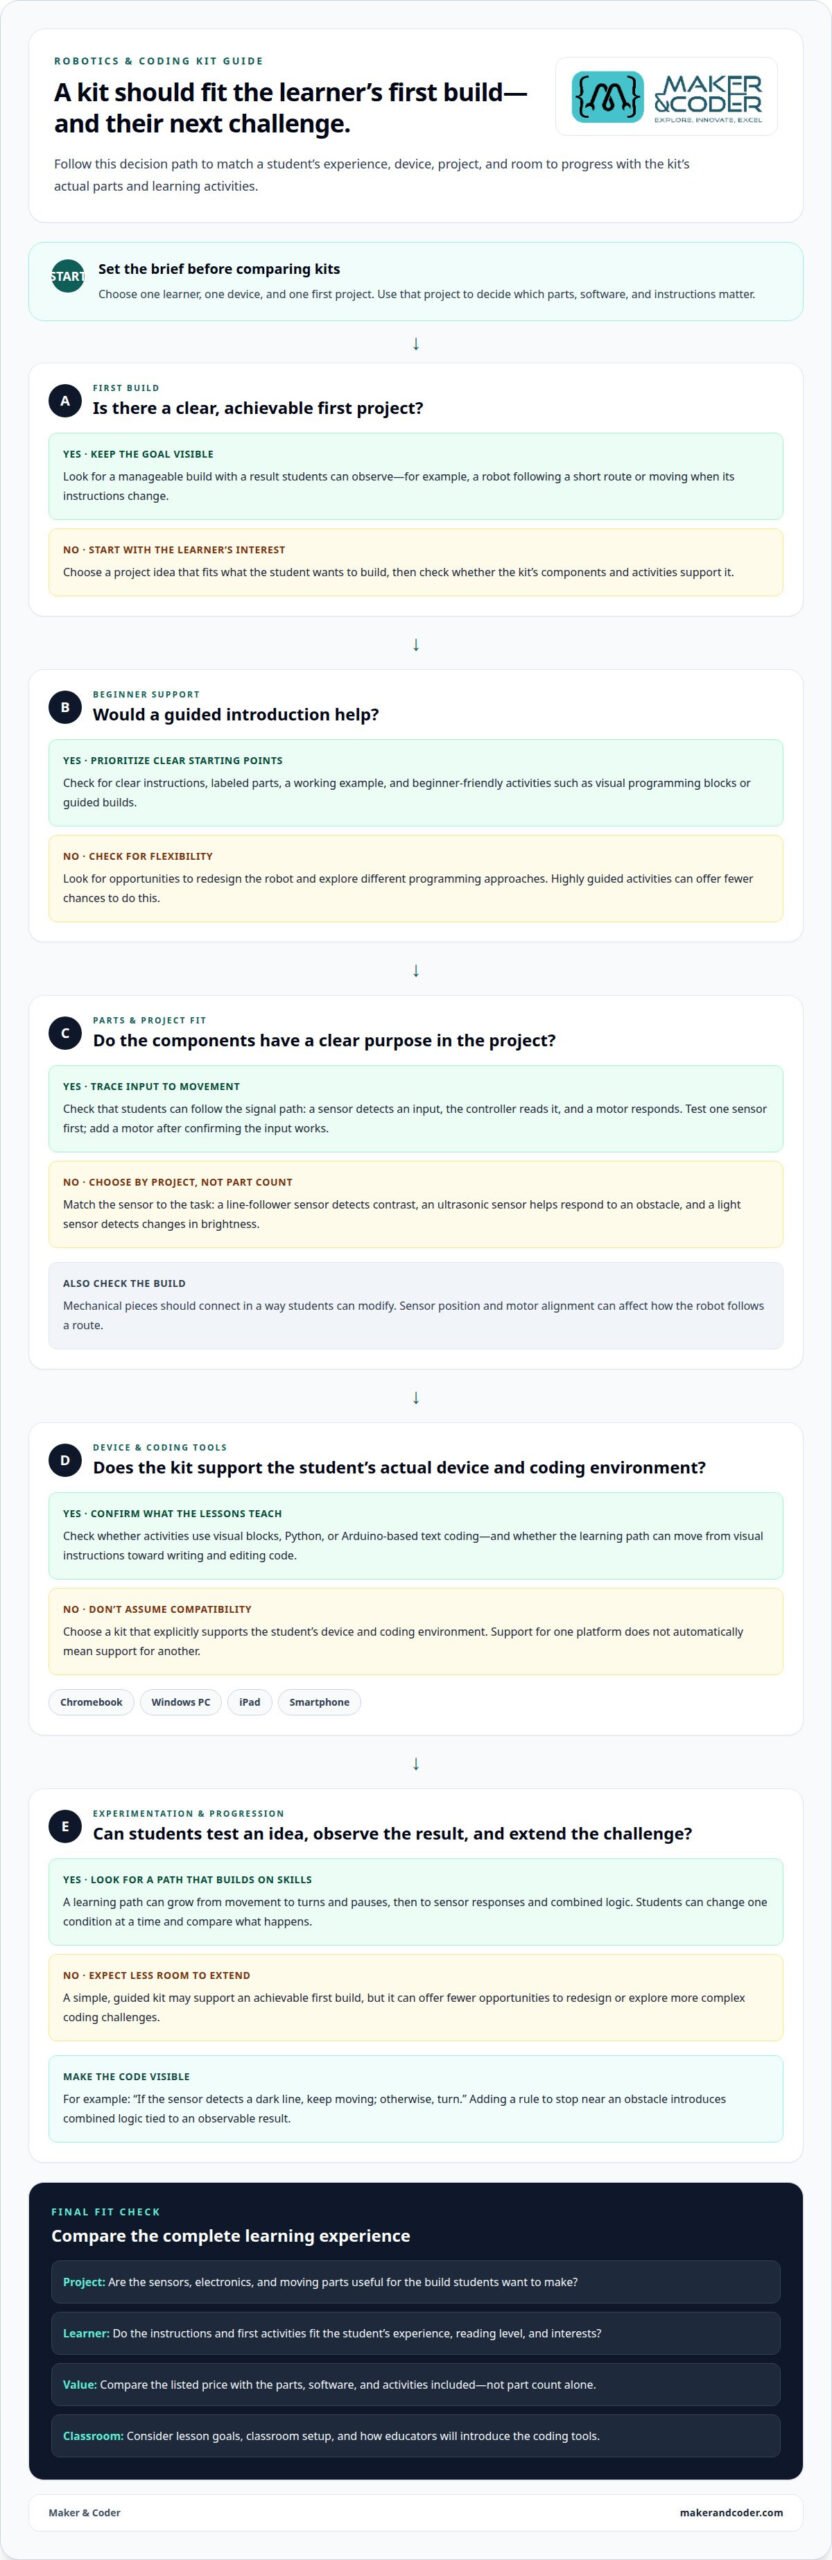
Start with the connection between a robot’s inputs, code, and movement. A light sensor, for example, detects a change in brightness; the controller reads that input and tells a motor what to do. This makes abstract programming visible. Check that the components support a project students can build, test, and adjust.
Look for sensors that help students explore their surroundings. A line-follower sensor can help a robot follow a dark path across a light surface. An ultrasonic sensor can help it respond to an obstacle. These teach different ideas: one detects contrast, while the other measures distance. Choose sensors that suit the project, rather than judging by component count alone.
Electronics should make the signal path easy to understand. Students can trace a sensor’s connection to the controller, then observe how the controller changes a motor’s behavior. A loose wire or incorrect connection can interrupt that path, making wiring practice part of the learning. Test one sensor first, then add a motor after confirming the input works.
A kit teaches block-based coding when its software and lessons use visual programming blocks. Other kits introduce Python or Arduino-based text coding. Before choosing, identify the languages the activities actually teach, then consider whether students can progress from visual instructions to writing and editing code.
Sensors also make terrain navigation a practical coding challenge. On a taped route, students can program a robot to detect a line, turn at a junction, or stop near an obstacle. Each test reveals how surface color, sensor position, and movement affect the result. Changing one condition at a time helps learners isolate the cause of an unexpected turn.
Connect sensor inputs to simple decisions. A student might express the rule, “If the sensor detects a dark line, keep moving; otherwise, turn.” This conditional links an input to an output. Adding another condition, such as stopping when an obstacle is close, introduces combined logic and gives students a concrete problem to solve.
Finally, consider how the electronics fit the robot’s mechanics. A sensor mounted too high may miss a floor marking; a motor attached unevenly may pull the robot off course. Students can reposition one part, repeat the same route, and compare results. For projects that extend beyond a basic build, connected-project hardware options can inform decisions about adding new components.
2. What Makes a Beginner Robotics Kit Good?
A first kit should make the opening project achievable, without turning every step into assembly troubleshooting. Clear instructions, labeled parts, and a working example help beginners move from building to programming. A robot that follows a short route gives students a visible goal, then lets them change its behavior through code.
Beginner-friendly kits may use visual blocks, guided activities, or prebuilt components to introduce fewer new ideas at once. These supports can help students learn how commands affect movement. The trade-off is flexibility: a highly guided activity may offer fewer opportunities to redesign the robot or explore different programming approaches.
A beginner robotics kit should connect each coding task to an observable result. A simple sequence might start the motors, move the robot forward, and stop at a marked point. Students can change one command and compare the outcome. This cycle builds practical skills in planning, testing, and problem-solving.
Student kits vary in price and features according to their components and included learning resources. Compare the listed price with the parts, software, and activities provided, rather than assuming a larger parts count means better value.
Compare each kit’s contents and whether its activities support repeated experiments, rather than assuming every lower-priced option offers the same learning experience.
Check a kit’s supported software and connection method before choosing it. For a Chromebook, Windows PC, iPad, or smartphone, select a kit that explicitly supports the student’s device and coding environment. Support for one platform doesn’t automatically mean support for others.
Parents and teachers should consider the learner’s experience, reading level, project interests, available devices, and classroom setup. A student who enjoys building may prefer hands-on assembly, while a first-time coder may benefit from visual instructions and a guided first project. For classroom use, consider how activities fit lesson goals and how educators will introduce the coding tools.
A practical selection check is to match one learner, one device, and one first project before comparing optional features. If educators want support planning robotics learning for a class, discuss teacher training needs as a possible next step.
3. Progressing from beginner to advanced robotics
Progress comes from adding new decisions, not just more parts. After programming a robot to move forward, a student can create a route with turns, pauses, and responses to obstacles. This introduces sequencing, conditionals, and testing. Choose a programmable kit that lets learners revisit a build and extend its behavior through code.
Text coding can deepen the challenge once students understand basic commands. They might turn a simple movement sequence into a program that repeats actions or responds to sensor input. Python and Arduino are text-based approaches, but the right progression depends on the kit’s supported tools and learning materials. Look for a next step that builds on skills students already use.
Advanced robotics projects combine several decisions in one system. A maze-solving robot, for instance, must interpret its surroundings, choose a direction, and control its movement. Students can break the task into tests: verify movement first, add navigation logic, then evaluate the complete route. This connects programming with engineering design and structured problem-solving.
Classroom kits should support a progression educators can adapt to different experience levels. One group might modify a guided program while another designs new logic for the same robot challenge. Shared goals encourage collaboration without requiring everyone to follow an identical path. Clear instructions and an accessible coding environment help teachers introduce new concepts.
Competition goals add another selection criterion. A kit is suitable for FIRST LEGO League or another U.S. student competition only if its construction system, programming environment, and robot setup meet that event’s current rules. No universal compatibility label guarantees suitability across competitions; requirements differ by event and season.
Before choosing a kit for a competition, compare the challenge with the robot students can build and program. For autonomous navigation, consider whether learners can develop and revise movement logic. For object handling, consider whether the build can support the required mechanism. Define the learning goal before advanced features drive the decision.
A useful progression makes the next challenge clear. Move from a guided route to independent navigation, then ask students to explain why their code succeeds or fails. That explanation turns trial and error into deliberate reasoning. A kit that allows revised builds and more complex programming can support learning from first commands to original projects.
4. Robot building and mechanical components
A robot’s frame affects how it moves, carries parts, and handles turns. A wide base can support a stable design, while a tall structure may shift its balance during movement. During a classroom activity, students can compare two frame layouts and observe how wheel position changes a robot’s path. Those building choices make mechanical design visible, not just theoretical.
Check how parts connect before choosing a kit. Students should be able to attach wheels, beams, brackets, and motors without forcing pieces into place. Clear connection points make it easier to revise a design after testing. If a robot veers to one side, learners can inspect wheel alignment and motor placement before changing the code.
Building-focused kits emphasize assembling structures and mechanisms; coding-focused kits prioritize programming actions and responses. A balanced kit connects both: students build a simple vehicle, program its movement, then adjust its structure if it turns poorly. This shows how mechanical and coding changes can produce different results.
Build versatility matters when projects move beyond the first model. Look for parts that can be rearranged into different forms, such as a vehicle, small arm, or moving display. Reusable pieces support new activities without requiring a completely different build each time. Students can keep a working base and modify its attachment or frame for a new design goal.
Expandability is useful when it offers a clear next step, such as adding a sensor, changing a motor mechanism, or adapting a structure for a new challenge. Students should be able to connect the new component to their existing build and understand its purpose. Extra parts are most useful when lessons show how they extend a project.
Inspect the building instructions as carefully as the components. Diagrams should show part orientation, connection points, and assembly order. For a moving arm, students need to see how its pivot attaches before testing the motion. A well-sequenced build helps learners identify where a mechanism binds and adjust the structure before adding more complicated programming.
For a school project, consider how students will share materials, rebuild designs, and explain their choices. A team can record the original frame, an adjustment, and the robot’s new behavior. These design notes connect construction with classroom learning and give students a practical way to communicate how their ideas developed.
5. Hands-on robotics and coding kits
The best robotics and coding kits for students in 2026 depend on what learners should build, code, and explore. Choose a kit that connects physical construction with programming, then gives students a project they can test and improve. A robot that reacts to its surroundings makes code tangible: students see how an instruction changes movement or behavior.
Hands-on learning works best when a project follows a clear cycle: build, program, test, and revise. Students can assemble a small robot, program it to follow a route, then adjust the instructions if it misses a turn. Each run provides evidence for the next change, turning trial and error into deliberate observation and problem-solving.
Look for variety in the activities, not just a long project list. A route-following task can introduce movement, while a robot that responds to a signal explores inputs and decisions. Projects that build on one another let students reuse familiar parts and coding concepts in new ways, helping them progress from following directions to designing their own solution.
Age-appropriate activities can begin around age 6, with project complexity matched to the learner’s experience. For younger children, a short build with a visible result can make each step easier to follow. Older students may be ready to modify the structure, write more detailed instructions, or explain why their robot behaved differently after a change.
Use robot trials to investigate how design choices affect movement. Students can compare how a robot travels across a smooth floor and a textured surface, then record what changes. They can predict the result, repeat the test, and describe what happened. This makes the robot a practical way to explore cause and effect through observation.
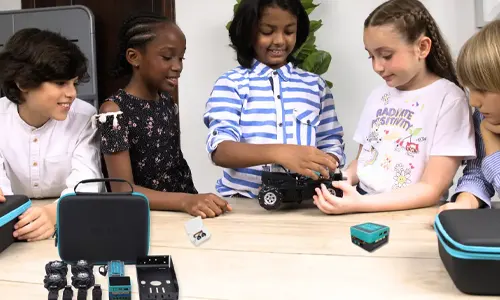
For classrooms, choose activities that support collaboration without giving everyone the same task. One student can assemble the robot, another develop its instructions, and a third record test results. Rotating roles lets learners experience different parts of a project. A shared goal, such as reaching a marked destination, gives the group a concrete measure of progress.
Before selecting a kit, identify the first project and the next challenge it should support. Then consider whether students can rebuild, change the code, and investigate a new idea with the same materials. A strong hands-on choice connects construction, programming, and reflection, taking learners from a first working robot to original projects based on their own questions.
Maker & Coder: Multi coding kit
Maker & Coder’s Multi coding kit is a natural next step for educators choosing a kit to support students’ robotics and coding learning. Consider it when you’re looking for a dedicated option to explore alongside the components, projects, and progression described above.
For a broader learning pathway, the MC Curriculum (K-12) is designed to integrate with Maker & Coder hardware. MC Blocks provide a modular component within the company’s learning ecosystem. Together, these offerings give schools and educators options to consider when aligning hands-on activities with structured lessons.
The right choice depends on the learner’s goals and the setting. If you’re planning robotics and coding activities for students, contact Maker & Coder to discuss your needs.
Turn curiosity into a continuing project
A student’s first successful build can become the starting point for a larger idea. Encourage learners to choose a question they care about, then shape a project that gives them ownership of the process. The best robotics and coding kits for students support experimentation as learners approach new challenges.
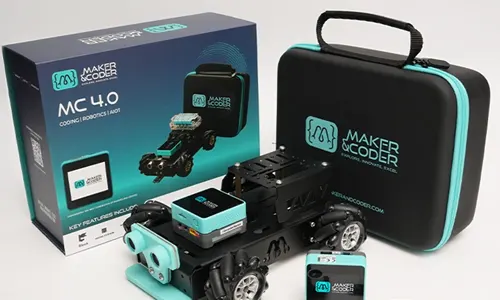
For educators, the next step is connecting kit selection to the learning experience they want to create. Consider which projects will hold students’ attention and how learners can take increasing responsibility for their designs. Maker & Coder’s MC 4.0 Kit may be one option to explore as you plan that next phase.
Contact Maker & Coder for kit advice and share what students hope to build. Every new idea is an opportunity to create, test, and learn with confidence.
Maker & Coder: A Hardware-and-Curriculum Pathway
Maker & Coder provides a learning ecosystem centered on the MC 4.0 hardware platform and modular MC Blocks. Its lineup includes the MC4.0 Controller and Base, AIoT, and other kits for technical learning.
If you’re choosing a robotics and coding kit for a structured learning pathway, Maker & Coder also offers a K-12 MC Curriculum designed to integrate with its hardware. This connects the kits and controller with curriculum for classroom learning.
Frequently Asked Questions
What Makes a Beginner Robotics Kit Good?
A good beginner kit offers a clear entry point without requiring prior coding experience. The MC4.0 Base Kit is designed for beginners and supports block-based coding, with Python and Arduino available as later options. Its guided starting point can help a new learner focus on understanding how programming affects a robot, then build confidence by adapting instructions for a project of their own.
Which robotics kits are best for elementary school students?
For elementary students, choose a kit whose age guidance fits the learner and whose coding approach suits their experience. The MC4.0 Base Kit is suitable for ages 07 Years – 15 Years and does not require prior coding experience. Its block-based coding option gives younger learners a way to begin programming without starting with text-based code.
Which robotics and coding kits suit middle school students?
The MC4.0 Base Kit is suitable for ages 07 Years – 15 Years, so it can suit middle school students within that range. Students who are ready to explore programming beyond blocks can progress to Python or Arduino. Consider their current experience and learning goals when deciding whether a guided starting point or a more open-ended coding challenge fits best.
What are the best advanced robotics kits for high school students?
The AIoT Robotics Kit is designed for students aged 15 + and supports Scratch, Python, and Arduino. It includes an MC4.0 Controller, AI Camera, environmental sensor, relay module, motors, and servo motors. These components give older students material for exploring different programming approaches and building projects that combine multiple hardware elements.
Which student robotics kits meet classroom safety and age recommendations?
Use each kit’s stated age guidance when selecting classroom materials, and follow its included guides during activities. The MC4.0 Base Kit is suitable for ages 07 Years – 15 Years, the MC4.0 Controller for learners aged 7 +, and the AIoT Robotics Kit for ages 15 +. These age ranges help educators match a kit to the intended learners.
How do popular student robotics kits compare in price and features?
Student kits vary in price and features according to their building parts, sensors, software, and guided projects. Compare the listed price with the activities and components included, rather than judging by parts count alone.
Compare the included components and activities, especially whether they support repeated experiments.
What robotics kits work with Chromebooks, Windows PCs, iPads, or smartphones?
Choose a kit that explicitly supports the student’s device and coding environment, whether that is a Chromebook, Windows PC, iPad, or smartphone. Support for one platform does not guarantee support for others.