What if a smart home lesson began with a simple question: what should happen when a room gets too dark? Teaching smart home concepts in the classroom doesn’t require students to master a maze of devices. Start with a system they can understand: a sensor detects a change, a decision follows, and an output responds.
If smart-home technology feels too technical to explain simply, or privacy questions make you cautious, you’re not alone. Turn connected technology into a clear learning sequence, not a collection of complicated gadgets.
This guide shows you how to introduce inputs, decisions, and outputs through a hands-on activity with observable learning goals. Students can explore how a system works, test what happens when conditions change, and discuss who benefits, what the system can’t do, and what responsibilities come with connected devices. You’ll also see how coding, systems thinking, and digital citizenship fit together, with a K-12 curriculum and modular classroom experimentation supporting a pathway from first explanation to tested idea.
Key Takeaways
- Connect familiar smart-home examples to wider ideas about networks, automation, and connected systems.
- Clarify the roles of sensors, controllers, networks, and actuators with classroom-friendly examples.
- Choose between unplugged mapping, simulation, and physical prototyping based on your learning goal and classroom needs.
- Use a focused design challenge to guide students from an opening question through prototyping, testing, reflection, and assessment.
- Teaching smart home concepts in the classroom can become a structured pathway supported by the K-12 MC Curriculum, MC 4.0 hardware, and teacher training.
Why teach smart home concepts in the classroom?
Teaching smart home concepts in the classroom gives students a practical way to examine how digital technologies sense, process, and respond to information. Examples can be familiar without assuming every student has connected devices at home: a light that responds to movement, a thermostat that reacts to temperature, or a door sensor that signals when an entryway opens. Each example makes an otherwise invisible process, such as data moving through a network, something students can map, discuss, and test.
A connected system combines devices or components that share information or instructions to produce a response; a single automated device can follow a rule on its own. For example, a light controlled by a timer may automate one action. A sensor sending information to a controller that triggers a separate light illustrates a connected system. This distinction helps students look beyond the label “smart” and ask how a technology actually works. For a broader overview of the term and its applications, see Smart Home – Wikipedia.
What makes a home device smart?
Start with four questions: What information comes in? What rule or decision is applied? What action comes out? Does information travel through a network? A thermostat, for instance, can take a temperature reading as input, compare it with a chosen setting, and signal heating or cooling equipment to respond. A door sensor can detect an opening and send a message to another device. These examples show that automation can follow a simple preset rule; it doesn’t need artificial intelligence.
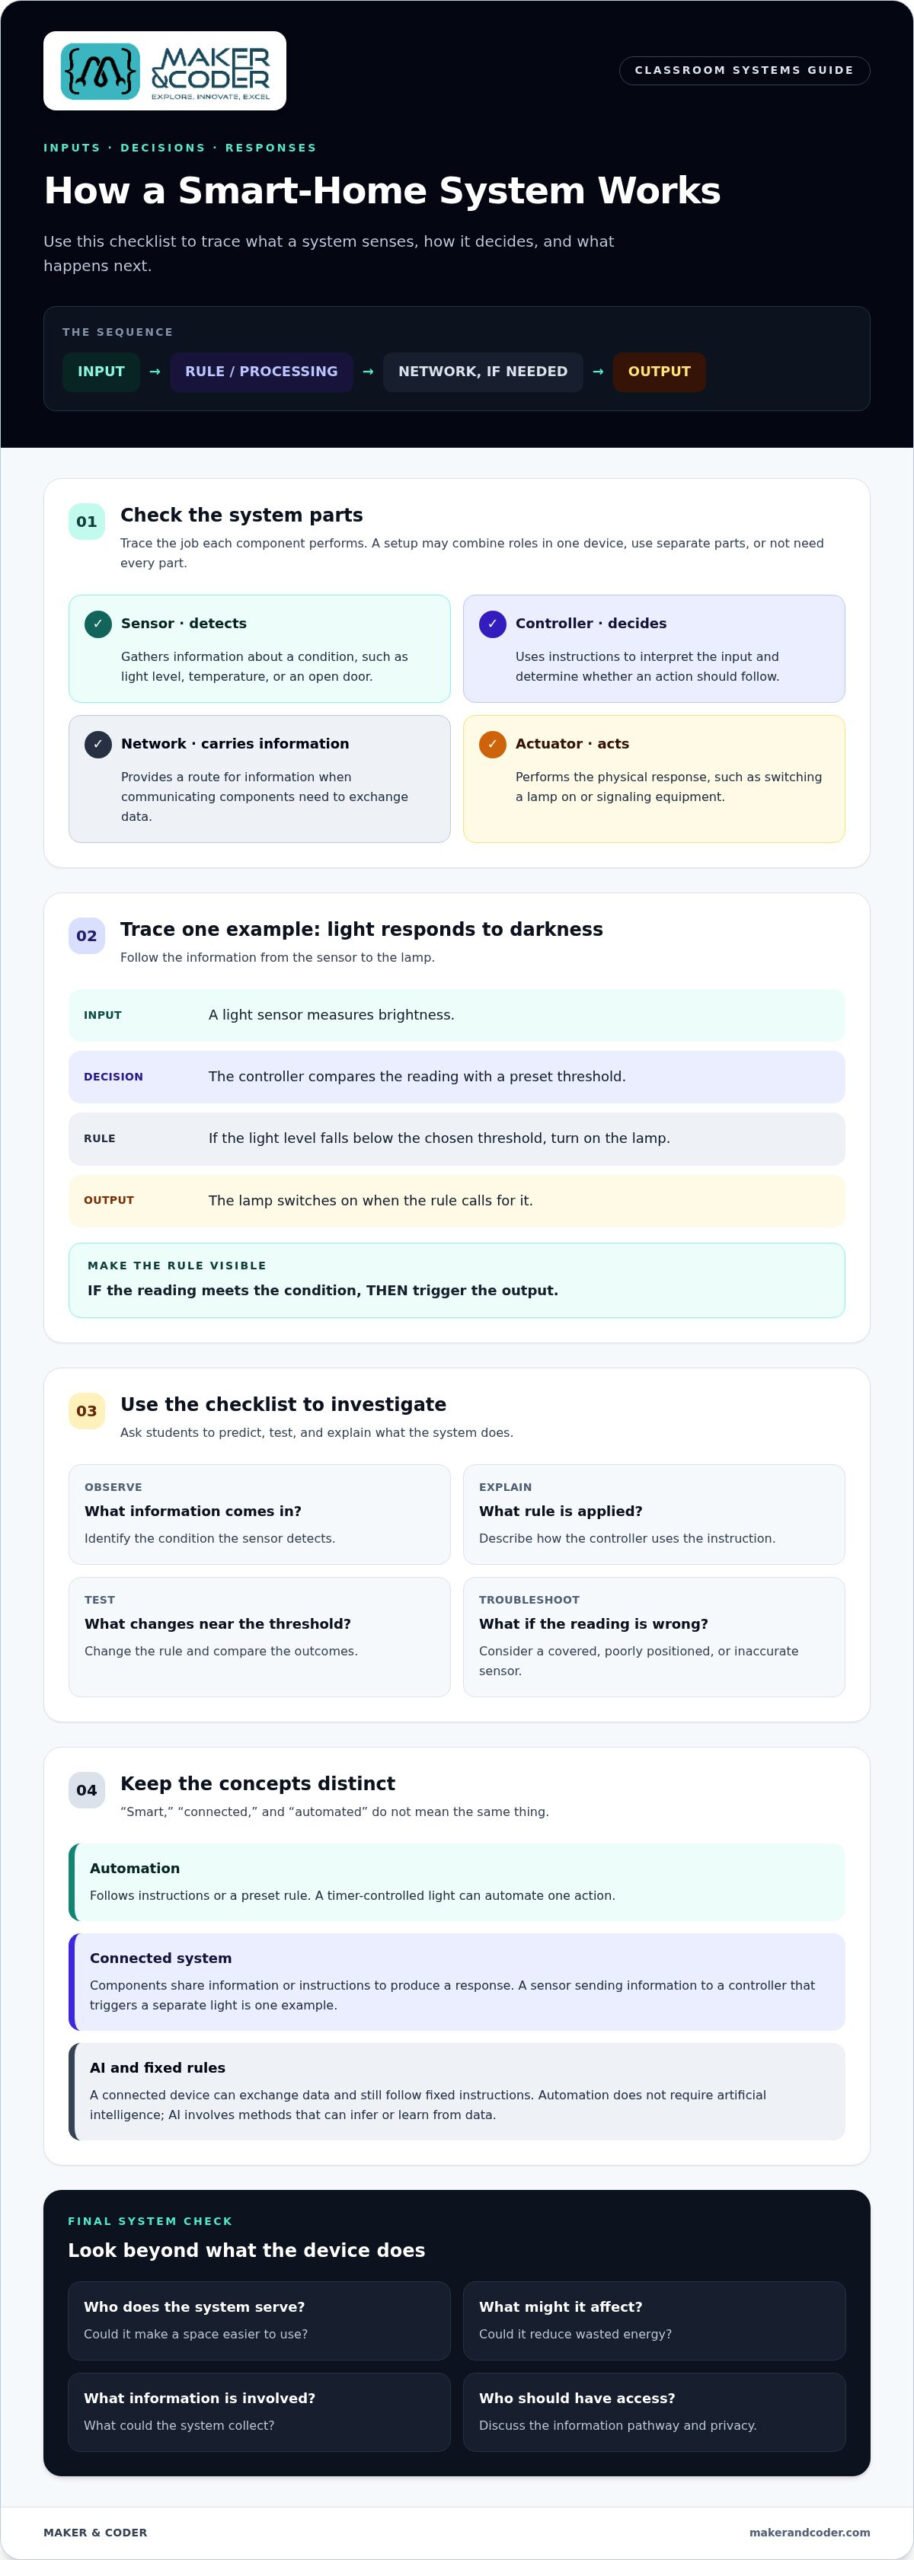
This model gives students a vocabulary for distinguishing system parts. A sensor detects a condition, a controller applies instructions, a network carries information when components communicate, and an actuator performs an action. Not every setup needs all four parts, and not every automated action is connected. Naming these distinctions helps learners describe what they observe instead of treating “smart” as a mysterious feature.
What students can learn from smart-home examples
Smart-home scenarios invite students to trace how information moves and consider who the system serves. Have them map the path from a sensor to a controller, across a network if one is used, and onward to the responding device. Then ask them to assess the design: Could it make a space easier to use? Might it reduce wasted energy? What information could it collect, and who should be able to access it? These questions connect technical design to accessibility, convenience, energy use, and privacy.
The topic supports more than coding. Students can reason about cause and effect, represent a process with diagrams or rules, predict outcomes, and revise a design when it doesn’t behave as expected. Adapt the complexity to learners’ ages: younger students might sort illustrated system components and arrange them into a sequence, while older students can compare rules, data pathways, and possible trade-offs. The goal is thoughtful investigation, not assuming connected technology is automatically useful or appropriate.
How smart home systems work: sensors, decisions, and outputs
Make the invisible sequence visible. A smart-home system can be understood as input → processing or rule → communication, when needed → output. A sensor gathers a reading; a controller interprets it using instructions; a network can carry information between components; and an actuator performs a physical action. Some systems combine several roles in one device, while others use separate parts. Following the information from start to finish helps students explain what a system does, not just label it “smart.”
An automation rule turns an input into an output by checking a condition and specifying what action should follow. For example: “If the light level falls below the chosen threshold, turn on the lamp.” That rule can be programmed without artificial intelligence. A connected device may exchange data over a network while still following fixed instructions rather than learning from experience.
From sensor input to an automated response
Trace a light-level example together. The sensor measures brightness, the controller compares the reading with a preset threshold, and the rule determines whether to switch a lamp on. Students can predict what happens near the threshold, then change the rule and compare outcomes. This makes conditionals concrete: if the reading meets a condition, then trigger an output.
Contrast that fixed rule with a system designed to adjust its behavior by identifying patterns in data. The distinction is useful: automation describes a process that acts on instructions, while AI involves methods that can infer or learn from data. Ask students what might happen if a sensor is covered, poorly positioned, or gives an inaccurate reading. Would the system respond at the wrong time? What could a designer change to make the response more dependable?
Networks, controllers, and the Internet of Things
The Internet of Things (IoT) refers to physical devices connected so they can exchange data. A network provides a route for that information; it doesn’t make every device intelligent. A microcontroller can read inputs, run programmed instructions, and coordinate outputs in a classroom prototype, but it is one component, not a complete smart-home solution. For a professional perspective on learning and training pathways in the field, educators can explore CEDIA Smart Home Education and Training.
Have students sketch a system and label each part’s job. For example:
- Input: a light sensor reports a brightness reading.
- Controller: a microcontroller checks the reading against a programmed rule.
- Network: a connection carries information to another device, if the design requires it.
- Output: an actuator switches a lamp or indicator on or off.
Then ask learners to mark where information travels and where a decision happens. This simple diagram lays the groundwork for teaching smart home concepts in the classroom, from tracing cause and effect to testing code and diagnosing unexpected behavior.
How to compare smart-home lesson approaches and address student concerns
Choose the activity to match the learning goal. Students can explore system logic without hardware, model a response in a simulation, or build a prototype and observe what happens. Each format can make smart-home ideas meaningful. Decide based on what learners need to practise, the time and materials available, and how much technical complexity suits the class.
| Activity | Concepts practised | Reflection opportunity |
|---|---|---|
| Unplugged system mapping with cards or a diagram | Inputs, rules, sequences, cause and effect | Which part makes the decision? What changes if the rule changes? |
| Simulation of a connected system | Modelling, conditional logic, predicting outcomes | How does the system respond to different conditions or inaccurate data? |
| Physical prototype using classroom components | Testing inputs and outputs, debugging, design iteration | Does the prototype behave as intended, and who might it work well for? |
Choosing an activity format for your class
Begin with unplugged mapping when students are new to system logic or when they need to reason through a process before adding code. Use a simulation when learners need to compare scenarios, predict what a rule will do, or discuss design choices without constructing a device. Choose hands-on components when the objective is to observe how an input affects an output and revise a working design. These approaches can form a progression, moving from a paper model to a simulation or prototype as learners are ready.
Making privacy and responsible design teachable
Bring responsibility into the design process, rather than saving it for a final warning. Ask students to identify what information a system genuinely needs, who could access it, and how it might be used. A classroom model might use a simple environmental reading rather than personal information, giving students a chance to discuss data minimisation without collecting sensitive details.
Then introduce realistic failure cases. A sensor may produce a false reading; a network connection may be interrupted; or a rule may trigger an action that frustrates or excludes someone. Invite learners to propose ways to make the design more reliable and accessible, such as revising a threshold, providing an alternative way to interact, or deciding what the system should do when information is unavailable. Keep the discussion balanced: connected technology can support convenience or accessibility, but those benefits depend on thoughtful choices.
Teaching smart home concepts in the classroom becomes richer when students test an idea and question its effects. Ask them to explain not only whether a system works, but whose needs it serves, what data it relies on, and what could happen when conditions change. That combination turns technical experimentation into responsible design practice.
How to teach smart home concepts: a classroom lesson sequence
Move students from a relatable need to a design they can explain and test. A focused challenge keeps the activity purposeful: How could a system alert our class when the room becomes too noisy for group work, without recording or storing conversations? This invites students to consider sensing, rules, outputs, privacy, and usefulness while building or modelling a response.
Plan a short smart-home design challenge
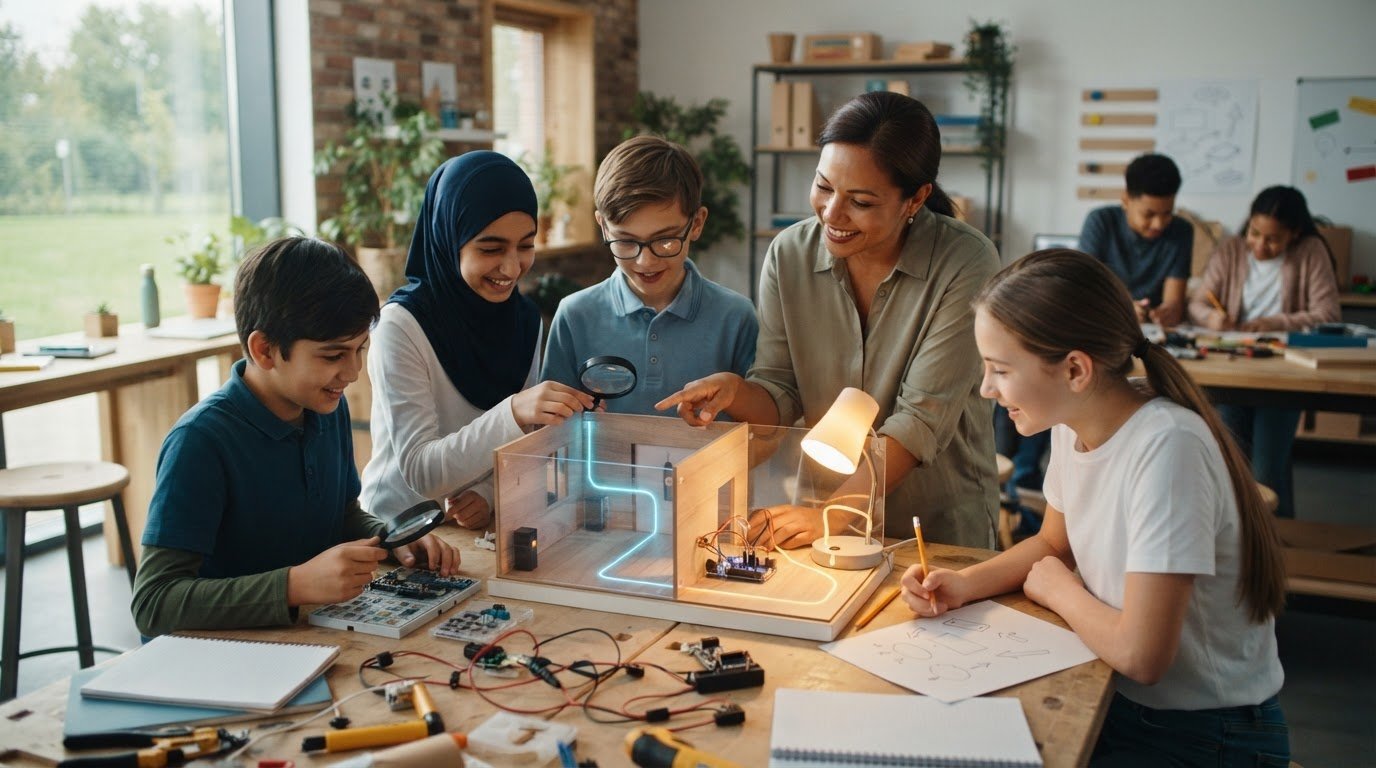
Before students begin, set clear boundaries. Choose a paper model, simulation, or available classroom components; define the materials and a success criterion; and assign team roles such as diagrammer, builder, tester, and reporter. For younger learners, provide a partly completed system map. Older students can develop their own rules and justify their choices.
- Open with a question. Present the challenge and ask what the system needs to notice. Establish that the goal is to measure a general sound level, not identify speakers or capture conversations.
- Define success. Agree on an observable criterion, such as: the model gives a clear visual signal when the measured level passes the team’s chosen threshold. Set limits on the design, including what information it must not collect.
- Map the system. Before building or simulating, have each group draw the input, decision rule, and output. Ask them to label any communication between components and explain what each part contributes.
- Build or model. Teams use their chosen format to represent the design. A physical prototype might use a sound-level input and a light or other indicator as the response; an unplugged model can represent readings and actions with cards.
- Test and revise. Have groups try expected and unexpected conditions: a quiet room, a level just below the threshold, and a reading above it. Students record what happened, identify a mismatch, and adjust the rule or design.
- Explain the choices. Each team presents its system map, describes one revision, and identifies a limitation. Prompt them to consider whether the signal is accessible to all classmates and what the system should do if its input is unreliable.
Test, reflect, and assess learning
Make the assessment visible and manageable. Use an exit ticket with a measurable prompt: Label the input, decision rule, and output in your team’s design, then explain how changing one part could affect the response. A successful answer identifies all three components and gives a cause-and-effect explanation. Add a reflection question, such as: “What privacy safeguard or accessibility change would improve your design?”
This sequence makes teaching smart home concepts in the classroom an observable cycle of designing, testing, and reasoning, not just building. To explore how a structured learning pathway could support your classroom plans, see Maker & Coder’s contact page.
Build a structured smart-home learning pathway with Maker & Coder
A strong classroom pathway moves from understanding a connected system to modelling, building, testing, and reflecting on one. Students can first identify the purpose of a system, then explore how its components work together, and finally consider how design choices affect the people who use it. Each stage gives educators a clear way to connect technical exploration with reasoning and responsible digital citizenship.
Connect curriculum, hardware, and student exploration
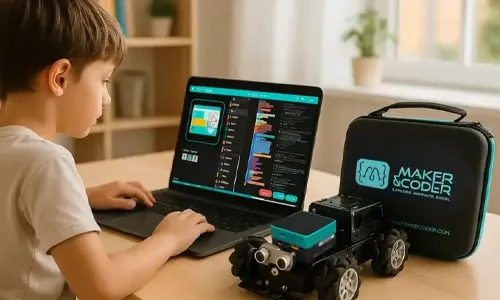
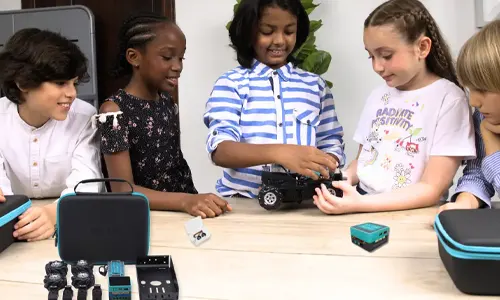
Maker & Coder’s MC 4.0 hardware platform supports hands-on technical learning alongside discussion and system diagrams. Modular MC Blocks give learners a way to experiment as they move from explaining a design to testing it. For example, students can model how a sensor-based input could lead to a chosen response, observe the result, and revise their approach. The aim is to make the design process visible, not to assume a particular outcome.
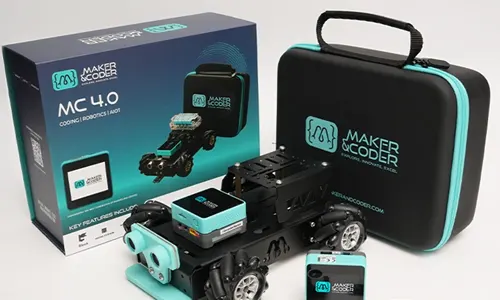
The MC 4.0 lineup includes Base, AIoT, and STEAM kits. In a unit focused on connected systems and AIoT learning, the MC4.0 AIoT Kit provides a relevant context for classroom exploration. Educators can shape activities around the learning objective, whether introducing components, investigating how a system responds, or extending a prototype with further questions. Maker & Coder’s MC 4.0 classroom kits offer hands-on resources for this work.
Support educators as they move from idea to implementation
The structured K-12 MC Curriculum helps educators plan a learning pathway rather than treat each project as a standalone activity. A sequence might introduce a concept, give students time to apply it, then build in reflection and a next-step challenge. The curriculum provides educational structure, while the MC 4.0 platform and modular components support practical exploration within that pathway.
Maker & Coder’s teacher training programs support educators implementing STEM technology in class. Training can complement lesson planning as teachers consider how to introduce a concept, organize hands-on activity, and guide students’ explanations of their design choices. Together, curriculum, hardware, and training connect the initial question to purposeful classroom practice.
Teaching smart home concepts in the classroom can progress from curiosity to informed experimentation. Start with a connected-system idea, select an activity that suits your learners and objectives, and build in time to test, reflect, and extend. For help considering how these elements could fit your classroom, learn more about Maker & Coder’s classroom learning pathway.
Turn classroom questions into the next design challenge
A useful next step can come from a question students raise after testing their ideas: Who benefits from this design, and what would make it work better for someone else? Carry that question into the next project. Learners can examine a different environment, user need, or constraint, then decide how their design should adapt. This keeps teaching smart home concepts in the classroom connected to curiosity and thoughtful problem-solving, rather than ending when a prototype works.
For educators, the opportunity is to shape a pathway around their learners, goals, and classroom context. Maker & Coder’s K-12 learning resources support that planning through curriculum, hands-on exploration, and educator development. Discuss a classroom learning pathway with Maker & Coder.
One thoughtful design question can open the door to a new round of discovery. Give students space to ask it, test their ideas, and imagine what they could build next.
Frequently Asked Questions
What is a smart home in simple terms?
A smart home uses connected devices that can sense conditions, exchange information, or respond to instructions. For a classroom explanation, compare a device that follows a preset schedule with a system in which information from one component helps another respond. Ask students to identify what the system detects, what instruction guides it, and what happens next. A connected device doesn’t automatically use artificial intelligence; many simply follow rules people set.
How can I teach smart-home concepts without classroom hardware?
You can teach the core ideas with paper, role-play, and prediction. Give students cards representing a condition, a rule, and a response, then ask them to arrange the cards into a system and explain what should happen. One student can act as the system, responding only when the group gives a matching input. Change a card or introduce an unexpected condition and ask learners to revise their model.
What age is appropriate for teaching smart-home technology?
Smart-home topics can be adapted for different ages by adjusting the task’s vocabulary, independence, and technical depth. Younger learners might sort examples into “detects,” “decides,” and “responds” categories. Older students can compare two possible rules for the same design challenge and explain which better serves its users. Start from students’ prior experience and curriculum goals, then add complexity as their explanations become more precise.
Do students need to learn AI to understand home automation?
No. Students can understand home automation by studying a rule that responds to a condition, such as a system that activates when a reading crosses a set threshold. To introduce AI later, invite learners to compare that fixed instruction with a process that uses data to identify patterns. Ask them what evidence would distinguish the two approaches. This helps prevent the misconception that every connected or automated device is AI-powered.
How do I teach privacy when discussing smart-home devices?
Make privacy concrete with a simple data-inventory exercise. For a proposed device, have students list what it might detect, why the system needs that information, who should be able to access it, and how long it needs to be kept. Then ask what the design could do without collecting unnecessary details. This encourages informed choices and responsible design without suggesting that all connected technology is inherently unsafe.
How can I assess a smart-home classroom activity?
Assess students’ explanations as well as their finished models. Ask each learner to annotate a system diagram with component roles, then describe one test result and the reasoning behind a design change. A simple checklist can look for accurate labels, a clear cause-and-effect explanation, and evidence that the student used a test to evaluate the design. This separates understanding from construction skill, so a prototype’s success isn’t the only evidence of learning.
What is the difference between a smart device and an IoT device?
A smart device can sense, process, or respond to instructions, while an Internet of Things (IoT) device participates in a network of physical devices that exchange data. The terms overlap, but they describe different qualities: “smart” refers broadly to a device’s capabilities, while IoT highlights networked communication. In class, ask students to classify examples by function and connectivity separately, rather than assuming that every automated device is online.
How can teachers connect smart-home lessons to a broader STEM curriculum?
Begin with the curriculum objective, then choose a design task that lets students demonstrate it. A lesson might combine computational thinking through writing or tracing instructions, engineering through comparing design options, and digital citizenship through evaluating who benefits from a system. Have learners submit a diagram and short rationale as evidence. For a longer pathway, sequence related tasks so each one builds on concepts students have already practised.