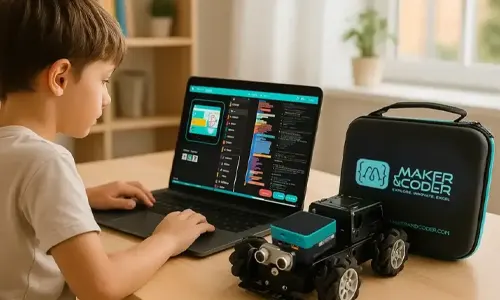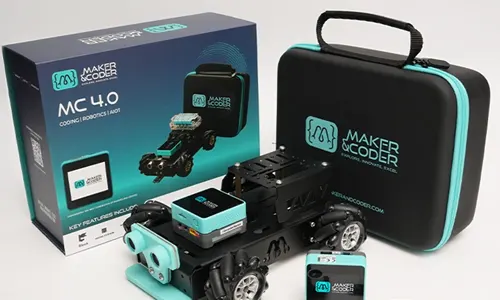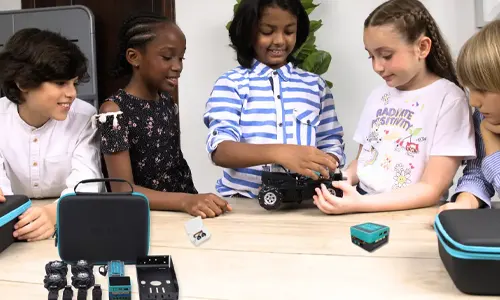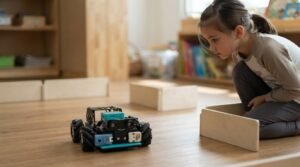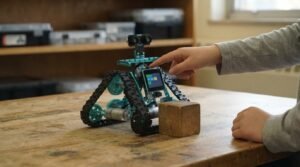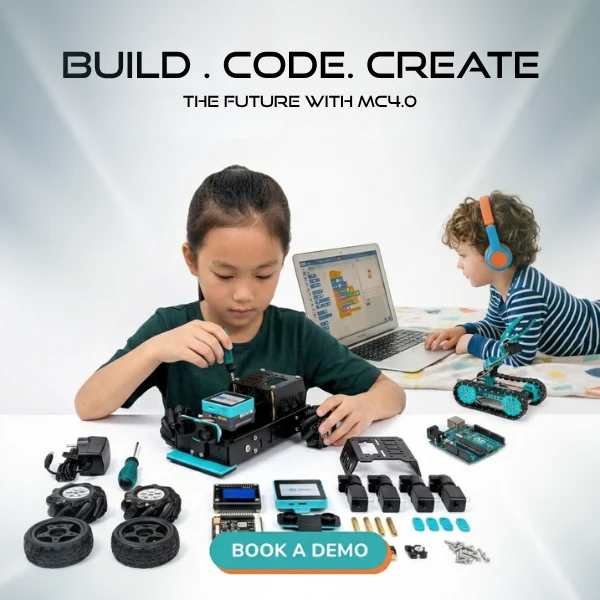
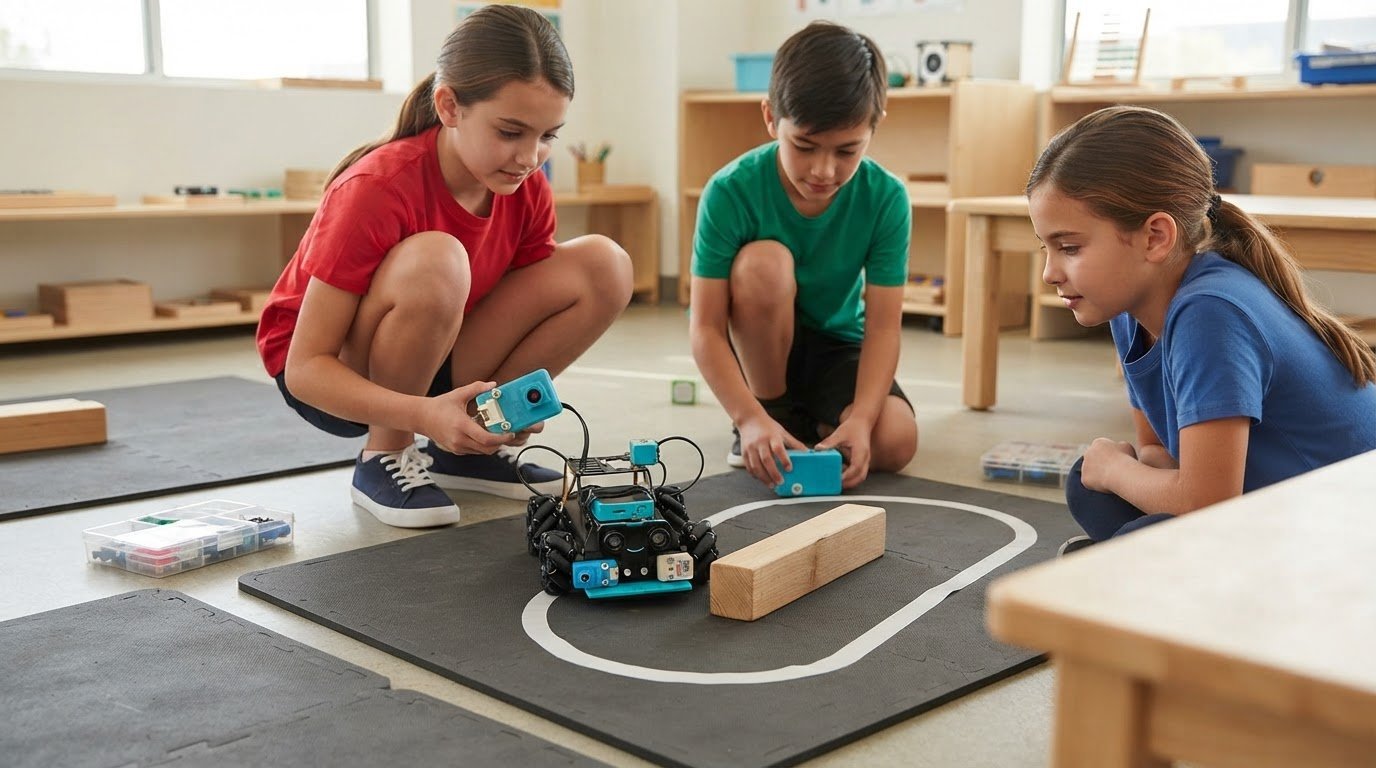
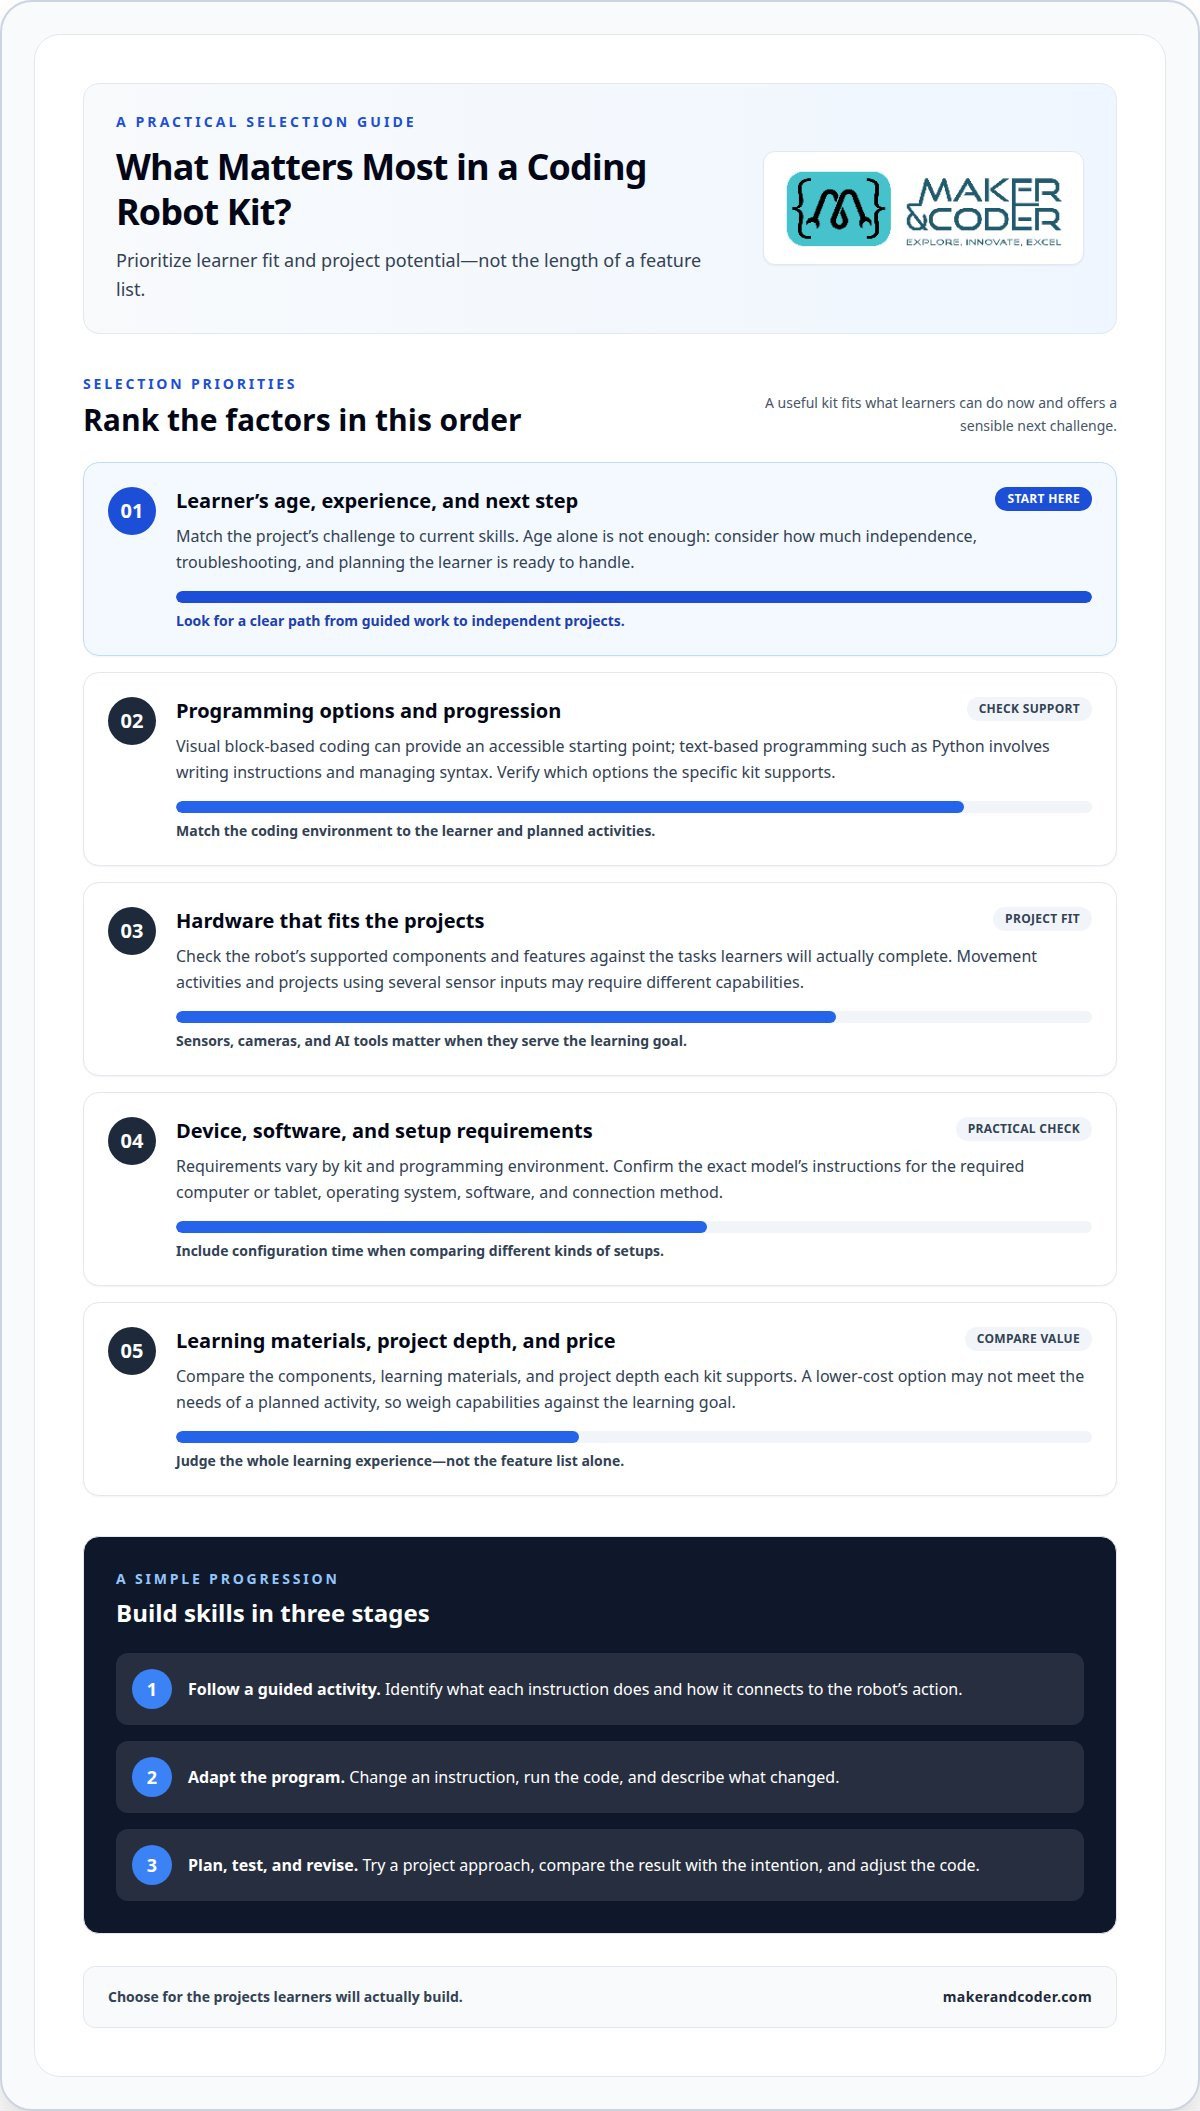
The best multi coding robotics kits aren’t simply the ones with the longest feature list. The Best Multi Coding Robotics Kits are those that match a learner’s age and current skills while offering room to progress from block-based programming to Python.
Choosing a coding robot can feel like a balancing act: beginners need an inviting starting point, while experienced learners need meaningful challenges. The right kit makes code tangible through movement, sensors, cameras, or AI, without overwhelming the learner.
This guide explains how to choose a coding robot by age, skill level, programming options, and hardware features. You’ll learn what to look for as students move from basic commands to more advanced projects, and how to compare a kit’s capabilities with the learning experience you want to create.
Key Takeaways
- Choose a coding robot that suits the learner’s age and current experience, with a clear path to more challenging projects.
- Match the programming options to the learning goal, from visual block-based coding to text-based programming.
- Consider how sensors, cameras, and AI modules can make projects more interactive as learners develop their skills.
- Look beyond the feature list: a kit’s value also depends on how well its hardware and activities support hands-on learning.
- Explore the Maker & Coder Multi coding kit and MC Blocks as options for bringing multiple coding approaches into learning.
How to choose the most suitable coding robots?
Choosing among the best multi coding robotics kits starts with matching programming options to the learner’s goals. Compare the robot’s hardware, supported coding environments, device requirements, and the kinds of projects it can support.
Block-Based and Python Options
Block-based coding uses visual commands arranged into a program, while Python requires learners to write text instructions and manage syntax. Both approaches can support a progression from following a sequence to debugging code. For Codey Rocky, examine the programming options documented for the specific kit rather than assuming it supports a particular language. Match those options to the learner’s experience and planned activities.
Computer, Tablet, and App Requirements
Computer, tablet, operating system, and app requirements vary by kit and its programming environment. For a Codey Rocky or Raspberry Pi robot, review the setup instructions for the exact model and identify the required device, software, and connection method. A Raspberry Pi-based project may use a different setup from a robot programmed through a tablet app, so device fit is a practical selection criterion.
Programmable robots make code tangible: learners can change a movement instruction, run the program, and observe the result. A robot that responds to an input can also show how conditions affect actions. These activities connect programming with physical outcomes, while letting teachers adjust project complexity to students’ skills.
Hardware and software set practical limits. A robot can perform only the tasks its components and programming environment support. A route-following activity and a project involving several sensor inputs need different capabilities. Choose for the projects learners will actually complete, not for an impressive-sounding feature list alone.
Raspberry Pi programmable robots can suit projects where learners work with a separate computing platform, but the complete setup matters. Consider the robot, required software, and the time needed to configure and use them together. A self-contained coding environment may better fit an introductory activity, while a platform-based project can serve learners ready to manage more setup.
When comparing prices, account for the components, learning materials, and project depth each kit supports. A lower-cost robot may not meet the needs of a planned activity, so compare its capabilities with the learning goal before deciding. The best multi coding robotics kits for a classroom balance accessible programming with room to explore future projects.
Progressing from beginner to advanced robotics
Plan a progression around what learners can do now and what the next project should teach. A guided starting point can lead to intermediate and advanced challenges as programming skills grow.
Beginner-Friendly Assembly and Coding
For an mBot beginner activity, separate the work into two stages: follow the kit’s assembly instructions, then use its supported programming environment for an introductory task. This keeps construction and coding goals distinct, so learners can focus on one challenge at a time. A useful first milestone is to understand how a program’s instructions correspond to the robot’s actions.
As confidence develops, learners can modify the original program instead of starting over. For example, they might change an instruction, run the revised code, and describe what changed. Use the mBot’s documentation to guide assembly and identify the programming options available for that specific kit.
Beginner-Friendly Kit Options
For beginners, prioritize a clear setup process, accessible first activities, and projects that build on earlier work. A kit should make it practical to move from following an example to changing code independently. Review assembly guidance alongside programming resources, since an easy build can still feel difficult if the first coding task is too demanding.
Choose activities with a visible goal, such as completing a defined movement task or responding to an instruction. Then raise the challenge by asking learners to revise their code and explain the result. This gives beginners a concrete starting point and a natural next step.
Compare kits by intended project depth, not by the learner’s age alone. An adult new to robotics may benefit from a guided introduction, while a younger learner with programming experience may be ready for a more complex task. The key distinction is how much independence, troubleshooting, and planning a project requires.
A gradual pathway can be organized around three stages. First, learners follow a guided activity and identify what each instruction does. Next, they adapt the program to meet a changed goal. Then, they plan a project, test their approach, and revise it when the result differs from their intention. Each stage builds on demonstrated understanding rather than adding complexity for its own sake.
For advanced work, look for a kit and activity sequence that continue to offer meaningful programming challenges. If you’re planning this progression for a class, discuss your learning goals and the kinds of projects learners are ready to tackle.
Robot sensors, cameras, and AI modules
Sensors turn a robot’s surroundings into information its program can use. Compare each kit’s inputs, camera functions, and AI tools with the projects learners will build.
For an mBot2 coding activity, examine the model’s documented sensors and programming environment before planning a task. A project might ask learners to detect an input, apply a rule, and choose a response. The important comparison is how clearly the robot’s supported features connect to that sequence, not how many features appear in a product description.
Start with a simple sensor challenge. Learners can program a robot to respond when a sensor detects a change, then adjust the program’s logic and observe the result. Sound sensors and infrared beams are examples of inputs used in robotics activities. A logic circuit can help explain how conditions combine to produce an output, such as a motor response.
Use a clear learning sequence: identify the input, write a condition, predict the output, then test the program. For example, learners can predict what should happen when an infrared input changes, then compare that prediction with the robot’s response. This makes the connection between electronics and code visible and gives students a practical reason to debug.
Cameras add a different kind of input. A camera-based project can use image information as part of a programmed task, rather than relying only on a sensor signal. AI modules can support recognition or classification activities, depending on their documented functions and software. Match these capabilities to the intended project instead of assuming every camera supports the same AI tasks.
Electronics matter because every input must work with the robot’s controller and program. Compare the included sensors, the connection method, and how learners access readings in the coding environment. Then consider whether a project needs one input or several. Sound-based and infrared-based responses, for example, teach different ways to connect physical signals with program logic.
Separate the feature list from the activity plan. For each project, note the input, the condition learners will code, and the expected output. If a camera or AI module is involved, define its role in the task first. This helps teachers build from direct sensor responses toward more involved decision-making without adding hardware the learning goal does not require.
Block-based and text-based coding
Choose a teaching approach based on the programming habits learners need to develop, not just the interface. A useful lesson connects code structure with decisions students can explain, test, and improve. Keep assessment goals consistent across formats, then adapt the task to each environment.
For a block-based activity, ask students to group commands by purpose, such as setup, movement, and response. A color-coded workspace can help learners see where instructions belong when their chosen environment includes that feature. Have them describe the purpose of each group before running the project. This makes organization part of the task, not an afterthought.
For text-based work, assess code readability as well as the robot’s result. Students can use meaningful variable names, comments, and consistent indentation to make their intentions clear to a classmate. For example, a variable called turn_time is more descriptive than a vague label. Ask a peer to explain what a short code segment does before its author weighs in.
Use a shared review routine for either format. Students can inspect a project and identify:
- Purpose: What outcome is the program designed to produce?
- Structure: Which parts prepare the robot, control its actions, or respond to inputs?
- Evidence: What observation shows whether the program met its goal?
- Revision: What one change could make the code clearer or more effective?
This routine shifts attention from copying a working example to understanding design choices. In a group project, one student can explain the program’s purpose, another can review its organization, and a third can record test observations. Rotate these responsibilities so everyone practices both creating and interpreting code.
When planning a lesson sequence, make the learning objective explicit for each coding format. A block-based assignment might assess how students organize a larger program; a text-based assignment might assess naming, structure, or readability. Focus the rubric on those objectives rather than rewarding a particular interface. That makes progress easier to discuss across experience levels.
Finally, ask students to document decisions in a short project note. They can record why they organized the program a certain way, what evidence informed a revision, and what they would improve next. These notes reveal reasoning that a successful robot demonstration alone may not show.
Coding robot kits for different ages and skill levels
Age labels are a useful starting point, but experience and project goals matter too. Match the kit’s assembly, programming, and movement tasks to the skills learners can use now and develop next.
For age-appropriate safety, consider the kit’s guidance, small components, moving parts, and battery handling. Choose a setup and level of adult supervision suited to the learners and planned activity.
For younger beginners, a first project can focus on sequencing: give a robot a short set of movement instructions, run it, and adjust the order. Learners with more experience can add a condition, such as changing the robot’s response when an input changes. Increase the thinking required, not simply the number of parts.
Use project readiness to compare kits across age groups:
- New to coding: Start with guided instructions and a clear motion task, such as moving forward and stopping.
- Building confidence: Ask learners to change one instruction and explain how the robot’s movement changes.
- Ready for more complexity: Combine sequencing with a sensor input and a decision in the program.
- More advanced: Have learners plan a project, test their approach, and revise it when the robot behaves differently than expected.
In mixed-skill classrooms, set a shared challenge with different levels of extension. One group can program a route using supplied steps; another can add a condition or refine the robot’s path. This keeps the project connected while allowing students to work with different levels of independence.
Age suitability depends on the complete activity, not only the robot. Consider whether learners can follow assembly steps, use the programming interface, and handle the components involved. A project requiring independent troubleshooting, for example, may suit someone who understands basic sequencing better than a learner encountering code for the first time.
Before selecting a kit, define the starting task and the next learning milestone. A simple route can lead to a sensor-based response, followed by a project where learners plan and debug their own instructions. This progression shows whether a kit can support growth beyond a single introductory activity.
Use these criteria to align kit choice with learners’ ages, experience, and planned projects. Discuss robotics learning goals when planning an age-appropriate progression.
Robotics projects can introduce sequencing, sensors, logic, and computational thinking at an appropriate level. Begin with a clear sequence, then invite learners to consider sensor input and how a program should respond. A later challenge can connect these ideas through logic and ask students to explain their choices. Align each step with learners’ readiness, so the activity develops computational thinking without treating extra complexity as a goal in itself.
Maker & Coder: Multi coding kit
Maker & Coder’s Multi coding kit is a relevant next step for educators seeking a structured way to connect robotics projects with programming. It fits classrooms that want learning activities to progress from introductory coding toward more developed projects.
MC Blocks provides a block-based coding option, while the MC Curriculum (K-12) offers a structured pathway designed to integrate with Maker & Coder hardware. Together, these offerings can help educators connect kit activities with learners’ age and developing skills. Consider this approach when you want coding instruction and hands-on robotics projects to work as part of a planned learning sequence.
To discuss whether the Multi coding kit fits your learning goals, contact Maker & Coder.
Turn a robotics idea into a learning pathway
Choosing the Best Multi Coding Robotics Kits for a class is only the beginning. Next, shape a project pathway around what learners should create, how they will explore programming, and how they can work more independently over time. A clear plan connects a first activity to a meaningful next challenge.
Maker & Coder’s MC 4.0 Kit, MC Curriculum (K-12), and MC Blocks can support that planning, bringing hardware, structured learning, and block-based coding into the conversation. Consider how these offerings could align with your learners’ goals and classroom needs before deciding on a suitable direction.
Have a robotics project in mind? Contact Maker & Coder about robotics kits to discuss your learning goals. Every strong project begins with a question worth exploring, and your next idea could be the one that gets learners building and coding.
Maker & Coder for Multi-Coding Robotics Learning
Maker & Coder provides a robotics and coding ecosystem centered on the MC 4.0 hardware platform and modular MC Blocks. Its lineup includes the MC4.0 Controller and Base, AIoT, and robotics and coding kits for technical learning.
Turn to Maker & Coder when you want a kit to sit within a structured learning pathway. Its K-12 MC Curriculum is designed to integrate directly with the hardware, connecting hands-on kit use with curriculum-based study.
Frequently Asked Questions
Which robotics kits support Scratch, Python, and block-based coding?
Maker & Coder’s MC 4.0 family supports Scratch, Python, Arduino, Blockly, and MCLab, according to its product information. Scratch is a block-based option, while Python and Arduino provide text-based programming paths. This range can help educators plan activities around different coding approaches. Before selecting a kit, consider which programming language fits the lesson and whether learners need a visual starting point or text-based practice.
What ages and skill levels are the top multi-coding robotics kits designed for?
Maker & Coder lists the Base Kit for Ages 07 Years – 15 Years, the STEAM Kit for 12 + years, and the AIOT Robotics Kit and AIoT Add-On Kit for 15 + years. Its kits are described as beginner-friendly, with block-based coding for novices and optional progression to Python or Arduino. Match the listed age range and coding pathway to the learner’s experience and project goals.
What are the current prices of leading multi-coding robotics kits in the United States?
All prices are Duties & Taxes Excluded. These are Maker & Coder product prices; compare kit contents and the intended learning pathway when deciding which option fits.
How do the best multi-coding robotics kits compare in features, sensors, motors, and expandability?
Compare kits by their supported coding environments, documented sensors and camera or AI functions, and whether their hardware supports the planned projects. Sensors can include sound and infrared inputs, while motors can provide a physical response; the article gives no specific expandability comparison.
Which multi-coding robotics kits offer the best value for beginners, students, and educators?
For value, match the included capabilities and learning materials to the projects and progression you have in mind.