The most advanced robotics kit isn’t automatically the best fit for a classroom. The right Stackable Robotics Kits are the ones that match learners’ coding experience, building goals, and room to progress, while fitting the available budget.
Choosing a kit means weighing more than its upfront cost. Coding options, build complexity, expandability, and beginner-friendly features all shape what students can explore and how easily educators can introduce new challenges.
This guide compares those criteria to help you find a suitable kit for your learning environment. You’ll see how options differ by experience level, what to consider before choosing, and how Maker & Coder’s robotics learning ecosystem can support a structured path from first builds to more advanced projects.
Key Takeaways
- Match a kit’s coding demands and building complexity to learners’ experience and the goals of the activity.
- Compare what each kit lets learners build, then consider how varied configurations can support different projects.
- Look at expandability as part of long-term value: add-ons can shape how a kit grows with learners’ skills.
- For beginners, prioritize clear instructions, approachable coding, and builds that make early progress rewarding.
- For a structured classroom pathway, consider how the MC 4.0 Kit, MC Blocks, and MC Curriculum (K-12) fit together.
How much do robot kits cost?
Robot-kit prices vary according to the learner, build complexity, programming options, and included components. Since kits can support different classroom coding activities, there is no single price range that describes every suitable option. Compare what each kit enables learners to do, not just its upfront cost.
In the United States, you can buy through a robotics kit maker’s official store or an educational technology supplier. Warranty coverage and duration depend on the seller and manufacturer, so review the written terms for components, electronics, and returns before purchasing.
Start with the learning goal. A first classroom activity may need a straightforward build and an accessible coding interface. A project focused on iterative design may benefit from reusable parts or multiple configurations. Advanced programming goals can call for more complex components, which may affect the overall cost.
| Kit category | Typical audience | Cost considerations | Learning goal |
|---|---|---|---|
| Beginner | New builders | Simple components and guided activities | Explore basic construction and coding |
| Intermediate | Learners with some experience | More building choices and programming depth | Develop and refine working projects |
| Advanced robot arm | Experienced learners | More involved assembly and specialized parts | Explore controlled movement and automation |
| Professional or research | Specialist groups | Complex systems and broader project requirements | Support advanced experimentation |
Use the table to narrow the options, then compare the complete kit contents. Look for the controller, building pieces, sensors, coding resources, and any required accessories. A lower upfront price may not reflect the full setup if a classroom needs extra components to meet its learning objective.
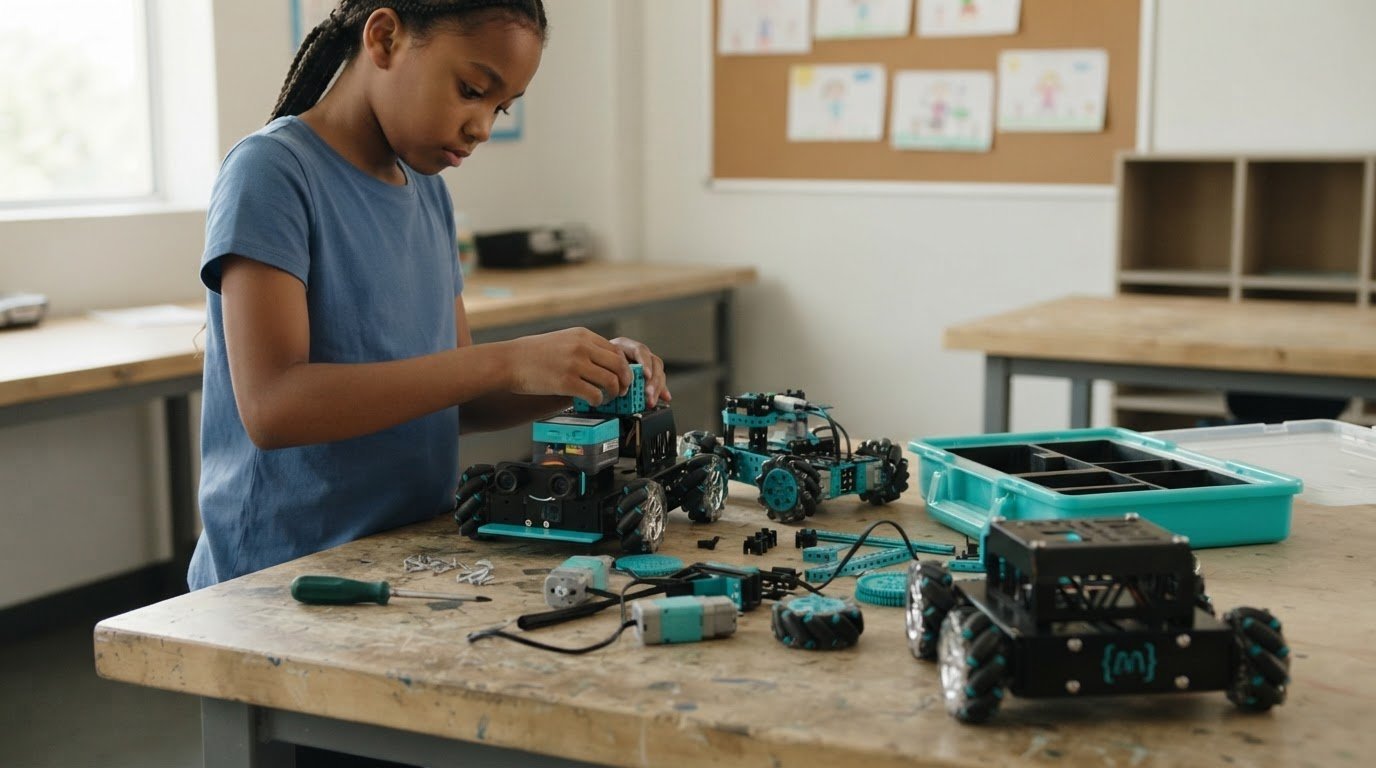
For classroom planning, connect each kit to a specific activity. For example, learners might assemble a mobile robot, program its movement, then adjust the code after observing its behavior. This sequence links construction with code refinement, while allowing every group to start at an appropriate level.
Stackable robotics kits can also support staged projects when their components and add-ons suit the planned activities. For instance, modular AIoT add-on options may be relevant when a learning pathway calls for expanding beyond an initial build. Choose based on the next skill learners will practise, rather than adding parts without a clear purpose.
Choose the kit whose audience, included components, and learning goals best match the classroom project.
Coding robot kits for different experience levels
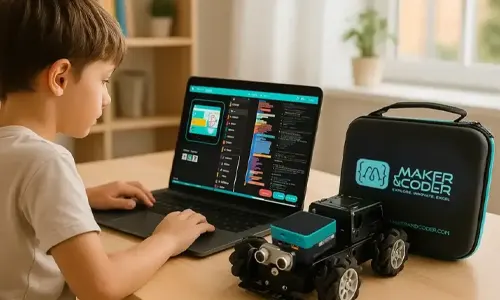
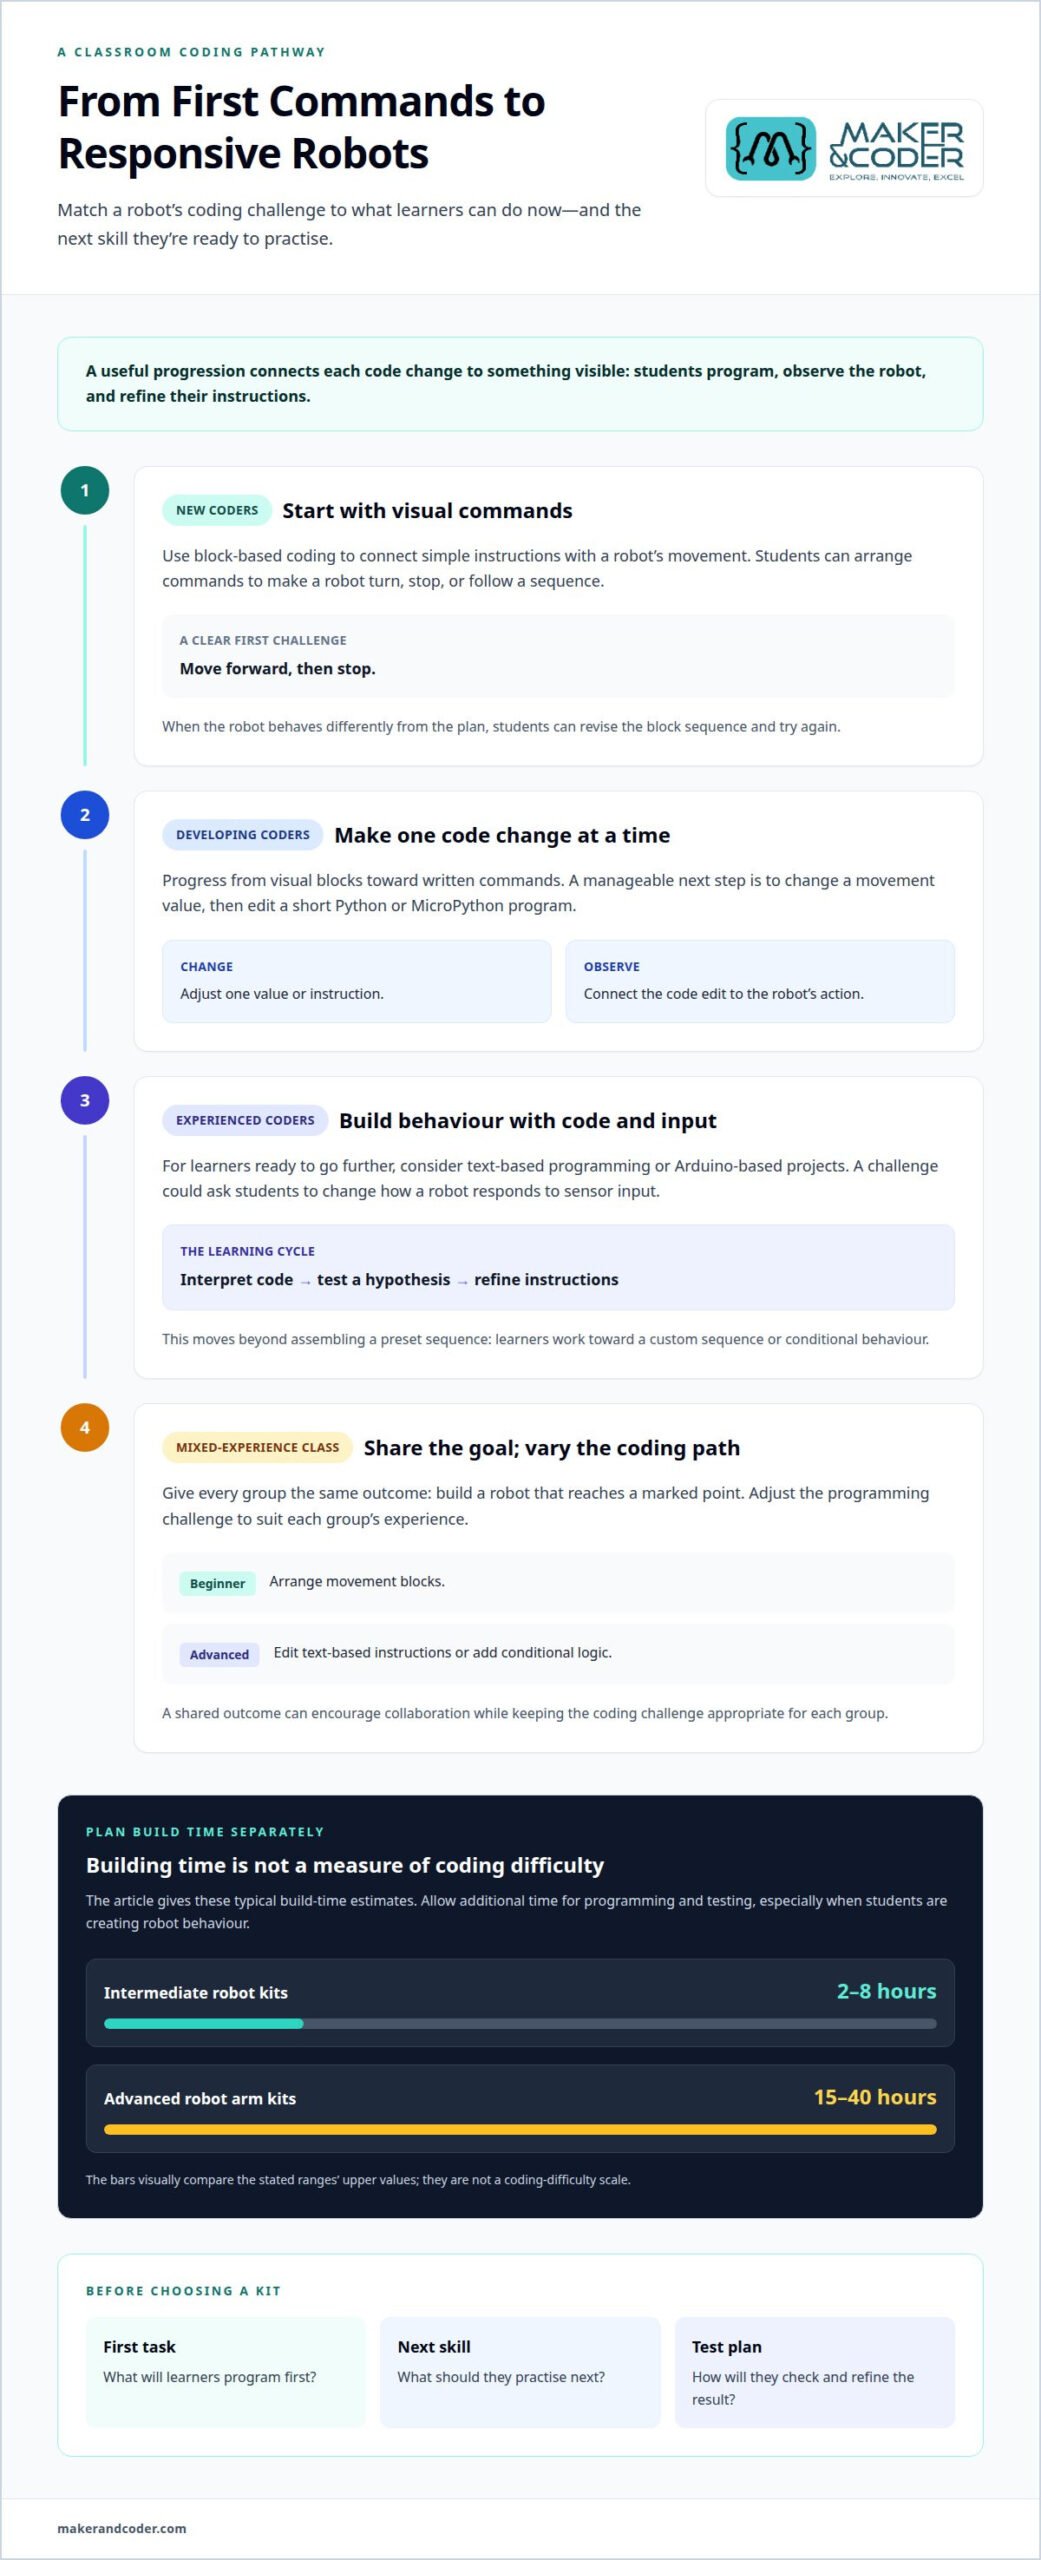
A coding robot kit should match what learners can do now and what they’ll practise next. For a first activity, block-based coding helps students connect visual commands with a robot’s movement. Learners can arrange instructions to make a robot turn, stop, or follow a sequence, then revise the program when its behavior differs from their plan.
For students with some coding experience, choose activities that progress from visual blocks toward written commands. A manageable next step might be changing a movement value, then editing a short Python or MicroPython program. Students should be able to connect each code change with an observable action from the robot.
More experienced learners may be ready to use text-based programming or explore Arduino-based projects. For example, they could adjust a program’s conditions so a robot responds differently to sensor input. This task asks learners to interpret code, test a hypothesis, and refine instructions, rather than simply assemble a preset sequence.
Building time can help educators plan activities, although it doesn’t measure coding difficulty. Intermediate robot kits typically take 2-8 hours to build. Advanced robot arm kits typically take 15-40 hours to build. Allow time for programming and testing too, especially when learners are creating behavior rather than following a supplied example.
- New coders: Start with visual commands and a clear action, such as moving forward and stopping.
- Developing coders: Use a project that changes one value or instruction at a time.
- Experienced coders: Set a goal involving conditional behavior, sensor input, or a custom sequence.
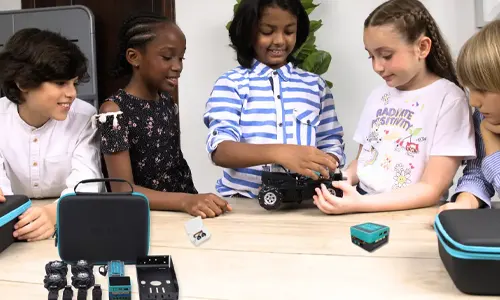
In a mixed-experience classroom, use one shared challenge with different coding pathways. For example, every group can build a robot that reaches a marked point. Beginners can arrange movement blocks; more advanced students can edit text-based instructions or add conditional logic. The shared outcome encourages collaboration while keeping the challenge appropriate for each group.
Before choosing, identify the first coding task, the next skill to introduce, and how students will test their results. Stackable robotics kits are most useful for a learning pathway when each new project builds on a skill students have already practised.
Multi-configuration and multi-robot building kits
These kit types offer different ways to vary a classroom build. Compare whether learners will redesign one robot or build several distinct robots.
Multi-Configuration Building Kits
A multi-configuration kit uses a shared set of parts to create different robot designs. Learners might build a wheeled vehicle, then rearrange components into another mobile design. This approach emphasizes reuse and redesign rather than providing separate complete robots. Compare the example builds, required parts, and instructions to see whether each configuration supports a distinct classroom activity.
Multi-Robot Building Kits
A multi-robot kit provides parts or instructions for building more than one robot design. A class could split into groups, with one team building a vehicle and another assembling a different robot. Unlike a reconfigurable kit, this format focuses on multiple builds, not repeatedly changing one structure. Its value depends on how many projects the included materials support and whether learners can build at the same time.
For either format, look beyond the number of models shown on the package. Designs may share a controller or structural pieces, so learners might need to disassemble one robot before starting the next. That can suit a sequence of classroom challenges, but may not support simultaneous group work. Check which components each project uses and whether the instructions explain how to switch between configurations.
Estimate the total build cost by mapping the project from kit to working classroom activity. Include the core kit, any separately required components, replacement parts, and tools or materials needed for the planned builds. For a multi-configuration kit, account for parts reused across projects. For a multi-robot kit, consider whether supplied parts let groups build at the same time or require sharing.
Then match the format to the lesson. If learners will compare how structural changes affect movement, one reconfigurable robot can support repeated testing. If the goal is collaboration, multiple builds can let groups develop and present different solutions. In either case, choose the activity first, then identify the parts and programming tasks it requires. This keeps the setup aligned with the learning goal.
Before selecting a kit, make a project checklist: intended robot designs, shared components, extra materials, and whether builds happen together or in sequence. A clear list helps distinguish advertised build options from the complete resources needed for classroom use.
Stackable and expandable kit features
Expandable kits let a classroom add components as projects develop. Compare how parts connect, what new activities they enable, and what else each build requires.
Stackable Kits and Expansion Packs
Stackable kits build on a core set through compatible modules or add-on packs. LEGO Education-style brick systems emphasize assembling structures, while modular robotics kits combine construction with programmable electronics. Designs and expansion options vary, so compare the specific kit’s instructions and add-on ecosystem rather than assuming parts work across brands.
An expansion pack may add components for a new project, but the complete setup can also require the original kit, compatible connectors, and suitable programming materials. For example, a class planning a sensor-based activity should identify which additions support it. Count the core kit and required add-ons together when comparing overall cost.
Included Sensors, Motors, and Components
Contents vary by kit. A robotics build may use a controller, structural pieces, motors for movement, and sensors that provide input. A light sensor, for example, can support a project that responds to changing brightness, while a motor can drive wheels. These examples describe possible roles, not a promise that every kit includes those parts.
Compare the component list with the planned project before choosing an expansion. Identify which parts are included, which are optional, and whether the instructions show how to connect them. A kit intended for basic movement has different component needs from a design that reacts to sensor input or combines several functions.
Safety and Compatibility Requirements
Safety and compatibility depend on the actual components and build instructions. Check the manufacturer’s guidance for age suitability, small parts, assembly, and battery handling. For classroom use, plan supervised assembly, a clear workspace, and a process for collecting loose pieces after each activity.
Before combining an add-on with a base kit, compare connector types, controller support, and programming requirements. Battery type, installation, and charging instructions can also differ, so follow the documentation for each component. This review helps distinguish expandable systems with matching parts from kits that require separate components or different connections.
For a safe, workable classroom setup, match every add-on to the base system, planned activity, and component instructions.
Beginner kits for children
For a first robotics project, choose a kit with clear steps and a visible result. A small moving robot, for example, lets a child connect assembly with a simple coding task. Match the build and instructions to the learner’s reading, problem-solving, and fine-motor skills, rather than choosing by age label alone.
Beginner robot kits typically take 1-4 hours to build. That range helps educators plan a session, but building is only one part of the activity. Leave time for learners to test the robot, identify a problem, and make a small adjustment, such as changing a movement command.
Check how instructions guide each stage. Numbered diagrams, labeled components, and short build steps can help a child locate parts and follow the sequence. A project that clearly shows how wheels connect to a frame, for example, makes the transition from loose pieces to a working model easier to follow.
Coding should also offer a manageable first challenge. Visual blocks can introduce sequences through actions such as moving forward, turning, and stopping. A child can rearrange commands and observe the result, building a practical link between instructions and robot behavior. For a first kit, prioritize a clear path from basic commands to independent experimentation.
- Build: Choose a model with instructions children can follow step by step.
- Code: Look for an activity with an observable result, such as a programmed turn.
- Progress: Favor projects that allow learners to change one feature after the first build.
Consider classroom handling as well as the activity. Small components can be difficult to organize, so a labeled storage method helps keep parts together between sessions. Review assembly instructions for battery placement and component handling. A clear workspace also makes it easier for children to sort parts and focus on the build.
Finally, compare the kit’s contents with the complete activity you plan. A project may require a controller, building pieces, and a compatible coding method. Note any extra materials before setting a budget, then consider whether the same kit can support another beginner project. Choose a first build that feels achievable, with a clear next step for curious learners.
Maker & Coder
Maker & Coder can help schools connect robotics kit choices with a structured classroom learning pathway. Its MC 4.0 Kit, MC Curriculum (K-12), MC Blocks, and Teacher Training Programs are relevant when educators want to move from selecting hardware to planning how learners will use it.
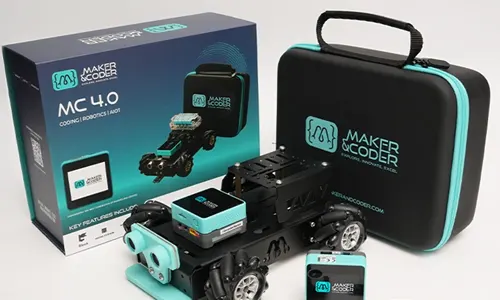
The MC 4.0 Kit provides a hardware foundation for classroom robotics activities. To choose a suitable setup, start with the projects learners will complete and the skills those projects should develop. For example, a class beginning with robot construction may need a different learning sequence from one ready to explore coding challenges. The intended activity helps guide kit selection.
The MC Curriculum (K-12) is designed to integrate directly with the company’s hardware. That connection can help educators plan activities around the kit rather than treating construction and programming as separate experiences. A teacher can use the curriculum as a structured pathway, then align classroom projects with learners’ progress and instructional goals.
MC Blocks is another part of the learning offer. Consider it alongside the MC 4.0 Kit and curriculum when planning how learners will engage with robotics projects. Together, these offerings provide a basis for connecting hardware, learning activities, and classroom instruction without assuming every group needs the same starting point.
Teacher Training Programs are relevant when educators want support incorporating robotics into their teaching. Training can help teachers prepare activities, guide learners through a build, and connect project work with lesson objectives. Consider teacher preparation alongside hardware selection, since the classroom plan affects how a kit will be used.
A practical way to decide whether this pathway fits is to outline the learning plan:
- Set the goal: Identify the robotics and coding concepts learners should explore.
- Choose the foundation: Match the MC 4.0 Kit to the intended classroom projects.
- Plan instruction: Use the MC Curriculum (K-12) and MC Blocks as relevant learning resources.
- Prepare educators: Consider Teacher Training Programs as part of implementation.
This approach is a natural next step when a school needs more than a standalone build and wants hardware connected to structured learning. It brings kit selection into focus through the projects, curriculum, and teacher preparation that shape classroom use. Contact Maker & Coder to discuss your classroom robotics learning needs.
Maker & Coder for Stackable Robotics Kits
Maker & Coder provides a learning ecosystem built around the MC 4.0 hardware platform and modular MC Blocks. Its MC4.0 Controller and Base, AIoT, and robotics kits offer components for technical learning.
Turn to Maker & Coder when you want stackable robotics kits paired with a structured learning pathway. The K-12 MC Curriculum is designed to integrate with the hardware, helping educators connect kit use with a planned educational program.
Frequently Asked Questions
What Is a Robot Kit, and Which Type Do You Need?
A robot kit brings together components for assembling a robot and, in programmable versions, controlling its actions. Choose according to the result learners should create. For example, a kit for an interactive classroom demonstration needs a way to program responses, while a construction activity may focus on assembling and adjusting a model. Check that the instructions and included components support your planned project.
What is the best robot kit for kids?
The best choice matches the learner’s age guidance, interests, and readiness for building and coding. Maker & Coder lists its Base Kit for ages 07 Years – 15 Years. Its kits support beginner-friendly block-based coding, with optional progression to Python or Arduino. For a child who wants to create a moving robot, this combination can connect hands-on assembly with an engaging first programming task.
What skills do you learn from a robot kit?
Robot projects can develop planning, creative problem-solving, and the ability to communicate a design. A useful extension is to ask learners to document what they built, what their code was intended to do, and what they changed after testing. This record lets students explain their decisions to classmates and helps educators see how learners approached a challenge, not only whether the robot worked.
What are modular robotics kits, and how do they work?
Modular kits use components designed to connect with a supported controller or interface, allowing learners to extend a project. Some modules add new sensor options or processing capabilities. MC 4.0, for example, uses stackable interface modules to expand processing power and sensor options. Modular designs are system-specific, so compatible connections and supported components matter when planning a build.
What robot kits suit kids, teens, and adults?
No single kit is best for every age group or project. For a first experience, prioritize guided activities and an approachable coding method. More experienced learners may want a kit that supports deeper programming or more involved builds. Maker & Coder’s range includes the Base Kit, STEAM Kit, and AIOT Robotics Kit, giving educators different options to consider alongside learners’ interests and goals.
Which robotics kits can be physically stacked or expanded with additional modules?
Choose a kit whose documentation identifies compatible modules and explains how they connect. MC 4.0 is designed with stackable interface modules that expand processing power and sensor options. That differs from kits that only allow the physical structure to be rebuilt into another shape. For any system, identify the intended controller and module combination before planning a project around expansion.
How much do expandable robotics kits cost in the United States?
Total cost depends on the kit configuration and the parts needed for the intended activity. A classroom plan may require multiple sets for group work, while an individual project may use one kit and selected additions. Compare the included hardware, required modules, and classroom quantity as one complete setup. This helps align the purchase with the learning plan instead of focusing on the base kit alone.
What age ranges and skill levels are these kits designed for?
Suitability depends on each kit’s stated age guidance and the complexity of its build and coding activities. Beginners benefit from clear instructions and an accessible way to program actions. Learners ready for more challenge can progress to text-based coding, such as Python or Arduino where supported. For a mixed-level group, choose projects with a shared goal but room for different coding approaches.