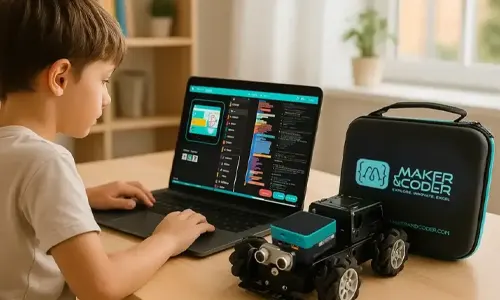
The most advanced robot isn’t automatically the best starting point. A Python robotics kit connects code with a moving, working creation, helping beginners see what their instructions do while giving experienced learners room to tackle more complex projects. The right choice depends on who’s learning and what they’re ready to build.
Compare more than the programming language or a kit’s feature list. Age, coding experience, project complexity, and budget all affect whether a robot feels accessible, challenging, or difficult to use effectively. Robotics learning works best when hands-on projects grow alongside the learner’s skills.
This guide explains how Python robotics kits support learning and what to consider when comparing options for beginners and advanced students. You’ll find practical ways to assess age suitability, programming experience, project scope, and price, and choose a kit that fits the learner’s next step, from a first programmed movement to a more ambitious robotics build.
Key Takeaways
- Match a robot kit to the learner’s current coding experience and the projects they’re ready to build.
- Compare programming tools and control options to understand how learners will interact with each kit.
- Assess the full project scope, not just the robot itself, when weighing cost and complexity.
- Use age, prior experience, and learning goals together to identify a suitable starting point and a path to more advanced work.
- For structured learning, consider how curriculum, coding resources, and teacher training can support classroom use.
How to choose the most suitable coding robots?
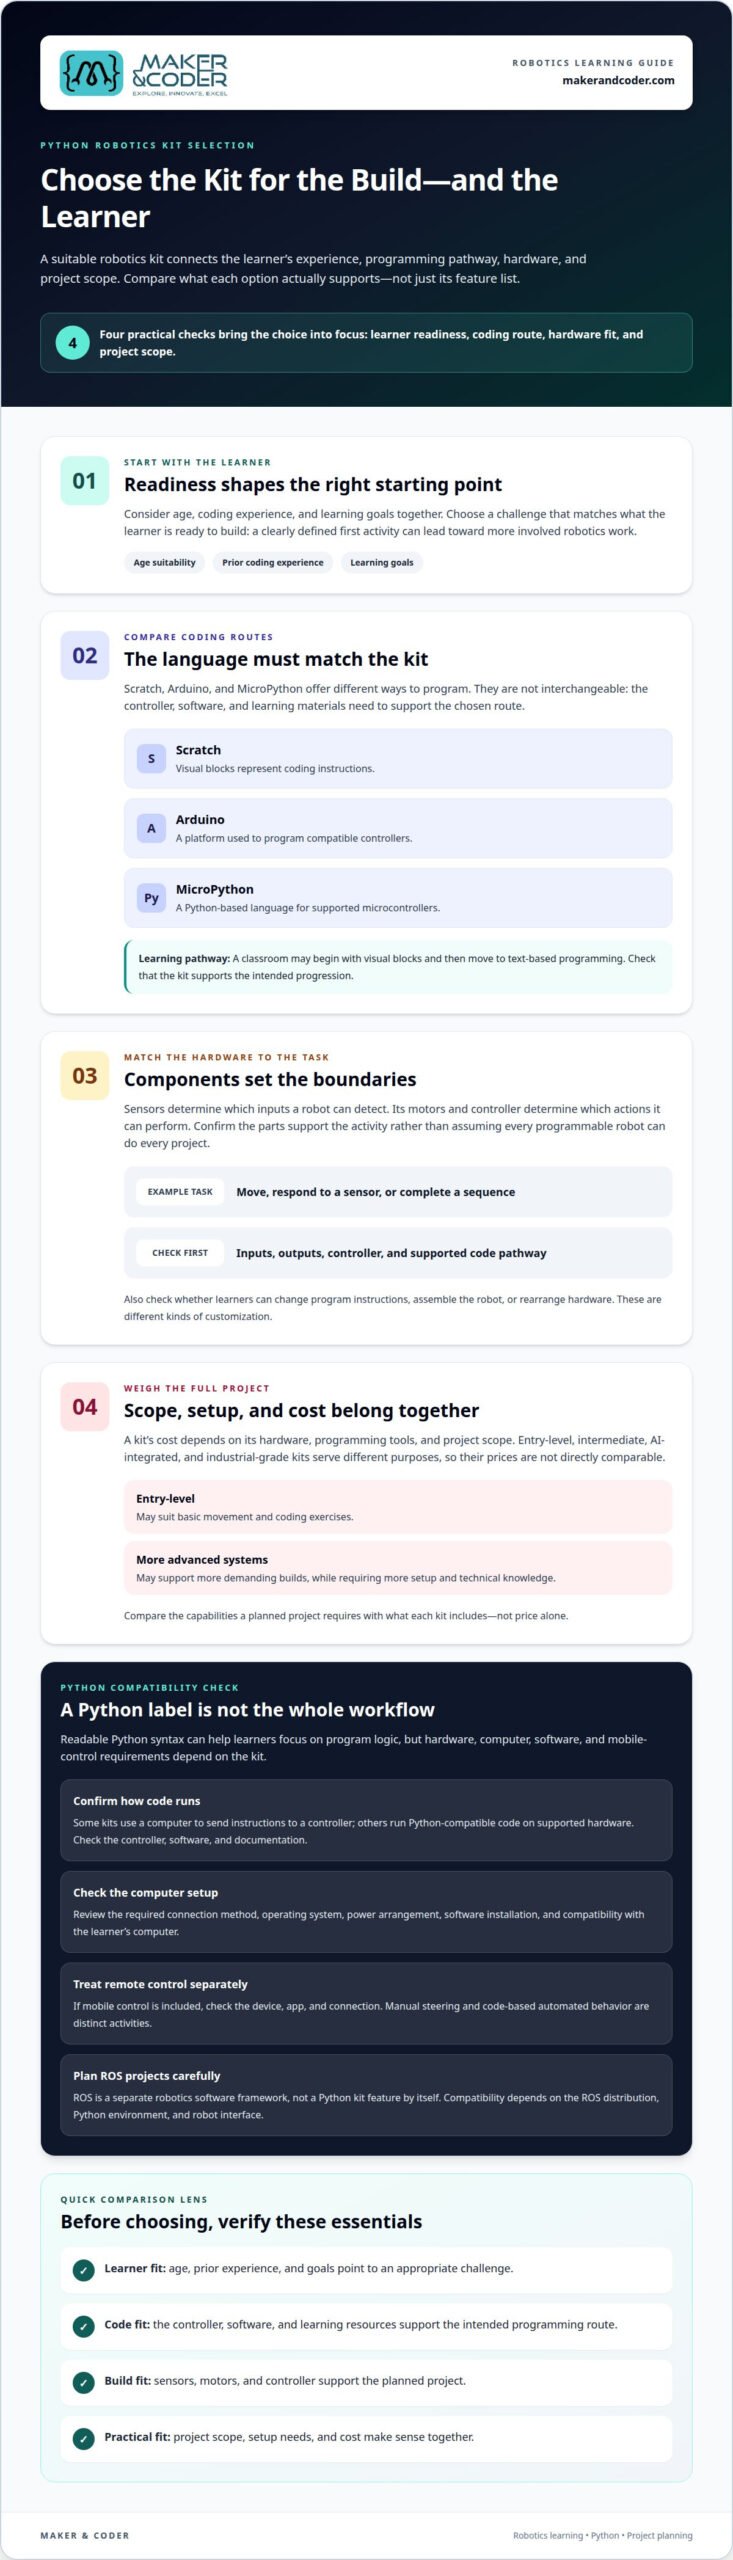
Begin with the learner’s goals, then compare the robot’s hardware, programming options, and project demands. Scratch, Arduino, and MicroPython each offer a different route from instructions to robot behavior.
Programmable Robot Benefits and Limitations
A programmable robot connects a written or visual instruction with an observable action. Change a command and see a different result: this gives learners a practical way to test ideas and troubleshoot. Before choosing, decide what the robot should do, such as move, respond to a sensor, or complete a sequence.
Hardware sets the boundaries. A robot can detect only the inputs its sensors support, while its motors and controller determine which actions it can perform. A basic movement exercise needs a different setup from a project combining several inputs and outputs. Match the components to the planned task instead of assuming every programmable model can support every project.
Supported Programming Languages and Platforms
Scratch uses visual blocks to represent coding instructions, while Arduino is a platform used to program compatible controllers. MicroPython is a Python-based language for supported microcontrollers. These options aren’t interchangeable: the robot’s controller, software, and available learning materials must support the chosen method.
Compare the learning pathway as well as the language names. For instance, a classroom may want learners to begin with visual blocks before moving to text-based programming. A modular AIoT project can also introduce new hardware elements as activities develop. Explore the AIoT add-on kit as one example of an add-on category when considering project scope.
Python-Ready Robot Kits
For a Python-based build, check that the robot’s controller and software support the intended Python workflow. Consider how learners write and run code, connect it to the robot, and observe the results. A product name or general description won’t explain the exact process; look for documentation describing the supported tools and hardware.
Consider what learners can change in a project, too. Some activities focus on editing program instructions; others involve assembling or rearranging hardware. These are different kinds of customization, and the robot’s components determine which physical changes are possible.
Advanced programmable robots may suit projects that need more control or system integration, but they can also require more setup and technical knowledge. Choose that level when the project calls for it. For learners just starting out, a smaller, clearly defined activity can provide a practical route into more involved robotics work.
Why does Python dominate robotics kits?
Python’s readable syntax helps learners focus on program logic, which is one reason it’s popular in robotics. Hardware, computer, software, and mobile-control requirements still depend on the kit’s design.
Coding Software and Remote Control
Start by identifying the software used to write and run programs. A kit might use a desktop coding environment, a browser-based tool, or another workflow, each with different setup needs. Check that the software works with the learner’s computer and supports the kit’s controller. Python support alone doesn’t ensure compatibility.
Remote control is separate from programming. If a kit includes mobile control, check which device and app it uses, how the robot connects, and whether the app complements or replaces code-based control. For example, a learner might steer a robot using a mobile interface, then write code to automate the same movement. These are distinct activities.
Plan around the robot’s controller and the computer used for coding. Check the required connection method, operating system, power arrangement, and software installation steps in the kit’s documentation. For classroom use, also consider how to install or access the same tools on each computer.
Python and ROS Support
Python-compatible robotics kits differ in how they run code. Some use a computer to send instructions to a controller; others run Python-compatible code on supported hardware. A Raspberry Pi can serve as the robotics computer in a compatible build, but its model, operating system, ports, and software support must match the robot’s requirements.
ROS, the Robot Operating System, is a separate robotics software framework, not a Python kit feature by itself. Python can be used with ROS, but compatibility depends on the ROS distribution, Python environment, and robot interface. Before planning a ROS project, map these dependencies and identify how the kit exchanges commands and sensor data.
For beginners, a clear programming workflow can reduce setup friction. Advanced learners may care more about access to the controller, software interfaces, and project documentation. A project that reads a sensor and changes a motor’s response requires compatible hardware and code pathways, not simply a Python label.
Compare the workflow against the intended activity: choose the computer, identify its supported software, and confirm how code reaches the robot. Then evaluate mobile control separately, especially if learners need both manual steering and automated behavior. For guidance on matching a classroom project to its technical setup, discuss your robotics learning goals.
Robot kit prices
A robotics kit’s cost depends on its hardware, programming tools, and project scope. Compare what each option enables, not just its price.
Robot Kit Price Ranges
Entry-level, intermediate, AI-integrated, and industrial-grade kits serve different purposes, so their prices aren’t directly comparable. An entry-level kit may suit basic movement and coding exercises; an advanced system may support more demanding builds. Compare the capabilities your project requires with the components included.
List the project requirements before reviewing products. A learner exploring programmed motion, for example, may need a different setup from a team building a robot around sensors and more involved control. Consider the controller, motors, sensors, software, and parts needed to complete the activity, then compare kits against that list.
Price also reflects how much is ready to use and how much assembly or configuration a project requires. A kit designed for one task may be a focused choice, while a modular system may better suit changing projects. Value depends on whether the included capabilities match the intended learning path.
Planning a Robot Kit Budget
Build a budget around the complete project, not just the robot chassis. Start with the core kit, then identify required components, programming access, and construction materials. For classroom use, include the number of learners and whether they’ll work individually or in groups.
Use a simple comparison process:
- Define the activity. Specify whether learners will program movement, respond to sensor input, or combine both.
- Separate essentials from extras. Identify parts needed for the first build and components that serve later projects.
- Check software needs. Account for the coding environment and computer setup required by the kit.
- Assess reuse. Consider whether the hardware supports multiple activities or one defined project.
A school planning a sensor-based activity, for example, should compare kits by their relevant sensor and control capabilities, not appearance alone. A learner pursuing a single motion project may prioritize a simpler configuration. In either case, map each planned task to the hardware and tools it requires before choosing.
Finally, compare complete configurations side by side. Note which parts are included, which project goals they support, and what the next learning step could be. This makes trade-offs clear: a lower-cost option may cover an introductory activity, while a broader setup may support varied projects. Choose according to what learners will actually do.
Beginner versus adult robot kits
Choose a kit based on the learner’s current skills and intended project, not age alone. A beginner may need clear instructions and a small first build, while an adult may want room to experiment with hardware and code. Neither group automatically needs a simpler or more complex robot.
For beginners, prioritize an achievable first task. Start by programming a robot to move, then change its instructions and observe the result. Scratch makes code sequences visible because learners arrange visual blocks. Look for guided activities, clearly identified components, and a build process that introduces one new idea at a time.
That structure can reduce the number of decisions a new learner faces at once. Assembling a robot, configuring software, and writing unfamiliar code simultaneously can make it hard to pinpoint a problem. A more effective sequence separates the steps: assemble the robot, run a sample activity, then modify one part of the program.
Adult learners often have different goals, such as refreshing programming skills or building a project with more control. They may value code access, flexible configurations, and documentation explaining how the hardware and software work together. Someone who already understands basic programming, for instance, might want to move beyond a preset activity and create a new sequence of actions.
Still, “adult” doesn’t mean “expert.” An adult new to robotics may benefit from the same guided start as a younger beginner. Conversely, an experienced student may quickly outgrow a kit limited to fixed activities. Match the starting point to experience with coding, assembly, and troubleshooting.
Use these questions to compare options:
- What should the learner build first? Choose a project with a clear, achievable outcome.
- How much guidance is useful? Compare step-by-step activities with open-ended project work.
- Can the kit grow with the learner? Look for an expandable design only when later projects need additional components.
- What can learners change? Check whether they can adjust code, construction, or both.
A useful progression might begin with a Scratch activity, then introduce code edits and a more customized build. This gives beginners structure without limiting future exploration. The same kit can suit an adult learner if it supports meaningful extensions rather than requiring a separate starting point.
Separate capability from complexity. A kit with many components isn’t automatically the best choice; each component should serve a planned activity. Choose the simplest configuration that supports the first project while leaving a practical route to the learner’s next challenge.
Choosing a coding robot by age, experience, and project complexity
Choose a robot by matching three things: the learner’s developmental needs, coding experience, and the project’s technical demands. Age can guide the choice of instructions and build size, but actual experience matters just as much. A younger student familiar with Scratch may be ready for a different challenge than an older beginner.
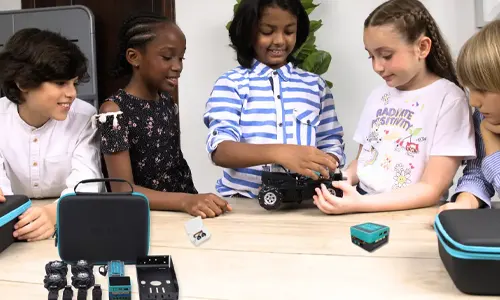
For younger learners, prioritize clear assembly steps, manageable components, and activities with visible results. A first project might program a robot to move when a sensor detects an obstacle. Adults supporting the activity should be able to explain the build and help troubleshoot without introducing several unfamiliar tools at once.
Assess experience by asking what the learner has already done. Someone familiar only with visual blocks may benefit from editing a simple program before writing text-based code. A learner who has built projects with Arduino or Python may be ready to combine inputs, outputs, and conditional instructions. Add one new skill at a time.
Project complexity depends on more than the amount of code. A basic motion task may involve a few instructions, while a robot that reads several sensors and adjusts its behavior requires more connections and debugging. A project using a camera for facial recognition adds demands such as compatible hardware, software, and data handling. Treat each added capability as a separate design requirement.
Use this progression to judge fit:
- Start with the outcome. Define whether the robot should move, respond to an input, or complete a sequence.
- Map the required parts. Identify the controller, sensors, motors, and any module the project needs.
- Match the coding path. Choose block-based tools for visual sequencing, or text-based programming when learners are ready.
- Plan the next extension. Decide whether the same kit can support a more complex follow-up project.
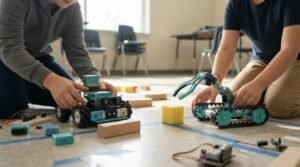
A learner might first program a motor response, then add a sensor input, and later combine both in a navigation challenge. Each step builds on a working project rather than introducing every component at once. If the learner already understands those steps, start with the combined challenge and leave room to customize.
Age, experience, and project demands should work together. A suitable robot offers a clear first task and a realistic path toward more advanced projects. To discuss how a learning goal can shape a robotics setup, contact Maker & Coder about your project.
Maker & Coder
Maker & Coder can help schools connect robotics hardware with a structured learning pathway. The MC Curriculum (K-12) is designed to integrate with the company’s hardware, while MC Blocks and Teacher Training Programs support educators planning practical coding activities.
For a robotics program, these resources can help teachers align learners’ experience and project goals with classroom instruction. They’re especially useful when a school wants a guided progression from introductory coding activities to more involved builds. Compare the curriculum and learning approach with your learners’ goals, then decide what support fits your setting.
Contact Maker & Coder to discuss your robotics learning goals.
Turn Your Robotics Goals Into a Learning Path
A robotics project can be more than a finished build. Let learners use what they create to choose what to explore next, whether refining a design or investigating a new programming idea. A Python robotics kit can support that curiosity when its tools align with their goals.
For educators, the next step is to identify what would make a project meaningful in their setting, then plan how learners can take ownership of their work. Small choices, such as deciding which feature to improve, can turn a guided activity into a more personal challenge.
Contact Maker & Coder to discuss your needs, and take the next step toward helping learners create with confidence.
Maker & Coder for Python Robotics Learning
Maker & Coder provides a learning ecosystem built around the MC 4.0 hardware platform and modular MC Blocks. If you are considering a Python robotics kit for structured learning, its MC4.0 Controller and Base, AIoT, and other kits offer hardware options for programming and robotics activities.
Maker & Coder also offers a K-12 MC Curriculum designed to integrate with its hardware. Consider it when you want a curriculum alongside the controller and kits for a structured educational pathway.
Frequently Asked Questions
How are programmable robots shaping robotics education?
These resources give teachers concrete ways to assess how learners develop and explain a project. A student, for example, can document a design change, explain why they made it, and demonstrate its effect. Instructors can use those records to discuss testing and decision-making, not just whether the robot completed its task. This adds reflection to hands-on programming activities.
What’s the difference between beginner and adult programmable robot kits?
The intended user and project format matter more than the label “adult.” Compare the clarity of assembly instructions, how components are identified, and whether sample activities explain the setup. An adult buying a first kit may value that guidance, while an experienced learner may prioritize code access and room to modify projects. These details reveal more than the age category alone.
Who makes Python-compatible robotics kits, and what is included?
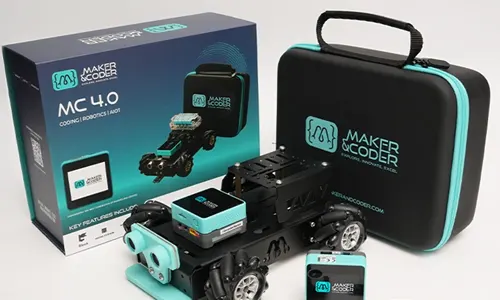
Maker & Coder makes the MC 4.0 family, which supports Python programming. A Python Robotics Kit’s contents depend on its model. The MC 4.0 Base Kit includes its controller, battery module, chassis, four DC encoder motors with mecanum wheels, ultrasonic and line-follower sensors, a USB-C cable, screwdriver, and guides. This component list helps educators plan a build around the hardware supplied.
How much does a robotics kit cost in the United States?
Maker & Coder’s listed prices vary by model. Duties & Taxes Excluded applies to both prices. For a Python Robotics Kit, compare the specific model’s included components and intended projects alongside its listed price.
What age and skill levels are these robotics kits suitable for?
Maker & Coder lists the MC 4.0 Base Kit for ages 07 Years – 15 Years, and the MC 4.0 AIOT Robotics Kit for ages 15 + years. The kits are beginner-friendly, with block-based coding for novices and optional progression to Python or Arduino. Use the model’s stated age range and the learner’s existing coding experience to choose an appropriate starting point.
How do you set up and program the Python Robotics Kit?
Check that the controller and software support the intended Python workflow, then follow the kit’s documentation to connect the computer, write and run code, and observe the robot’s response. The exact setup depends on the kit’s hardware, software, and connection method.