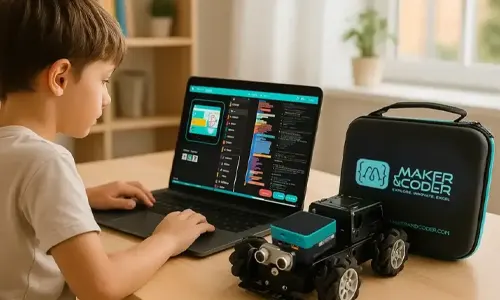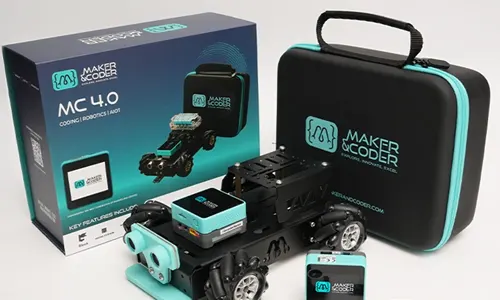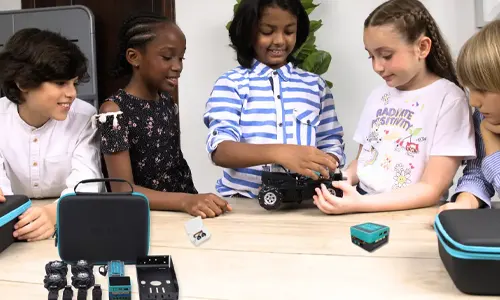
A low price doesn’t show whether a Stackable Robotics Kit can adapt as a learner’s projects grow. Compare what’s included, such as the controller, modular parts, sensors, and coding resources. A robot’s possible reactions depend on the inputs and outputs it has and the instructions learners create.
It’s reasonable to want a kit that supports more than a single build. This guide explains how to assess those price and reaction-count factors, then outlines practical ways to maintain the kit and update its components or learning activities over time. You’ll gain a clearer path from choosing a modular setup to keeping it useful as projects become more advanced.
Key Takeaways
- Assess a kit’s value by looking at its included components, modular options, and learning resources, not price alone.
- Match the kit’s complexity and activities to learners’ current experience, then build toward more advanced projects.
- Plan assembly and programming in clear stages, testing each connection and instruction as you go.
- Review software, device, and language compatibility against the tools learners will use.
- Keep a modular kit useful by maintaining its parts and refreshing projects as learning goals develop.
What components and features are included in the Stackable Robotics Kit?
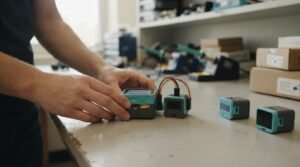
Contents vary by kit, so match the parts to the projects you want learners to make. A modular robotics setup may combine a controller, construction parts, inputs, outputs, and programming resources. Each has a distinct role: the controller processes instructions, while a motor turns them into movement. Use the component list to plan a project, not to assume every kit includes the same parts.
Start with the controller. It coordinates code and connected components, making it central to a robot’s behaviour. Next, examine the structure: stackable building elements should let learners change a design without rebuilding everything from scratch. A wheeled vehicle and a stationary sensor model need different shapes, so adaptable construction parts support more than one project.
- Controller: Runs programmed instructions and coordinates connected parts.
- Structural pieces: Form the robot’s body, frame, or movable sections.
- Inputs: Sensors or controls provide information, such as a button press or detected light.
- Outputs: Motors, lights, or sound components turn code into visible actions.
- Learning resources: Instructions and coding tools help connect assembly with programming.
Inputs and outputs shape a robot’s responses. A sensor can provide a reading, for example, and a motor can respond with movement. The available reactions depend on the inputs and outputs, as well as the programmed logic. A sensor alone doesn’t determine behaviour: learners decide what the robot should do when its readings meet particular conditions.
Check how components connect before starting a build. Identify the controller, connect an input, add an output, and test one instruction. This sequence helps isolate a loose connection or incorrect code block and shows learners how each component contributes to the result.
Expansion options can extend a project’s scope. For example, AIoT add-on modules can be considered when a build explores connected devices. Match additions to a specific learning goal, such as gathering sensor data or adding a new response. A focused expansion keeps the build understandable and gives each component a clear purpose.
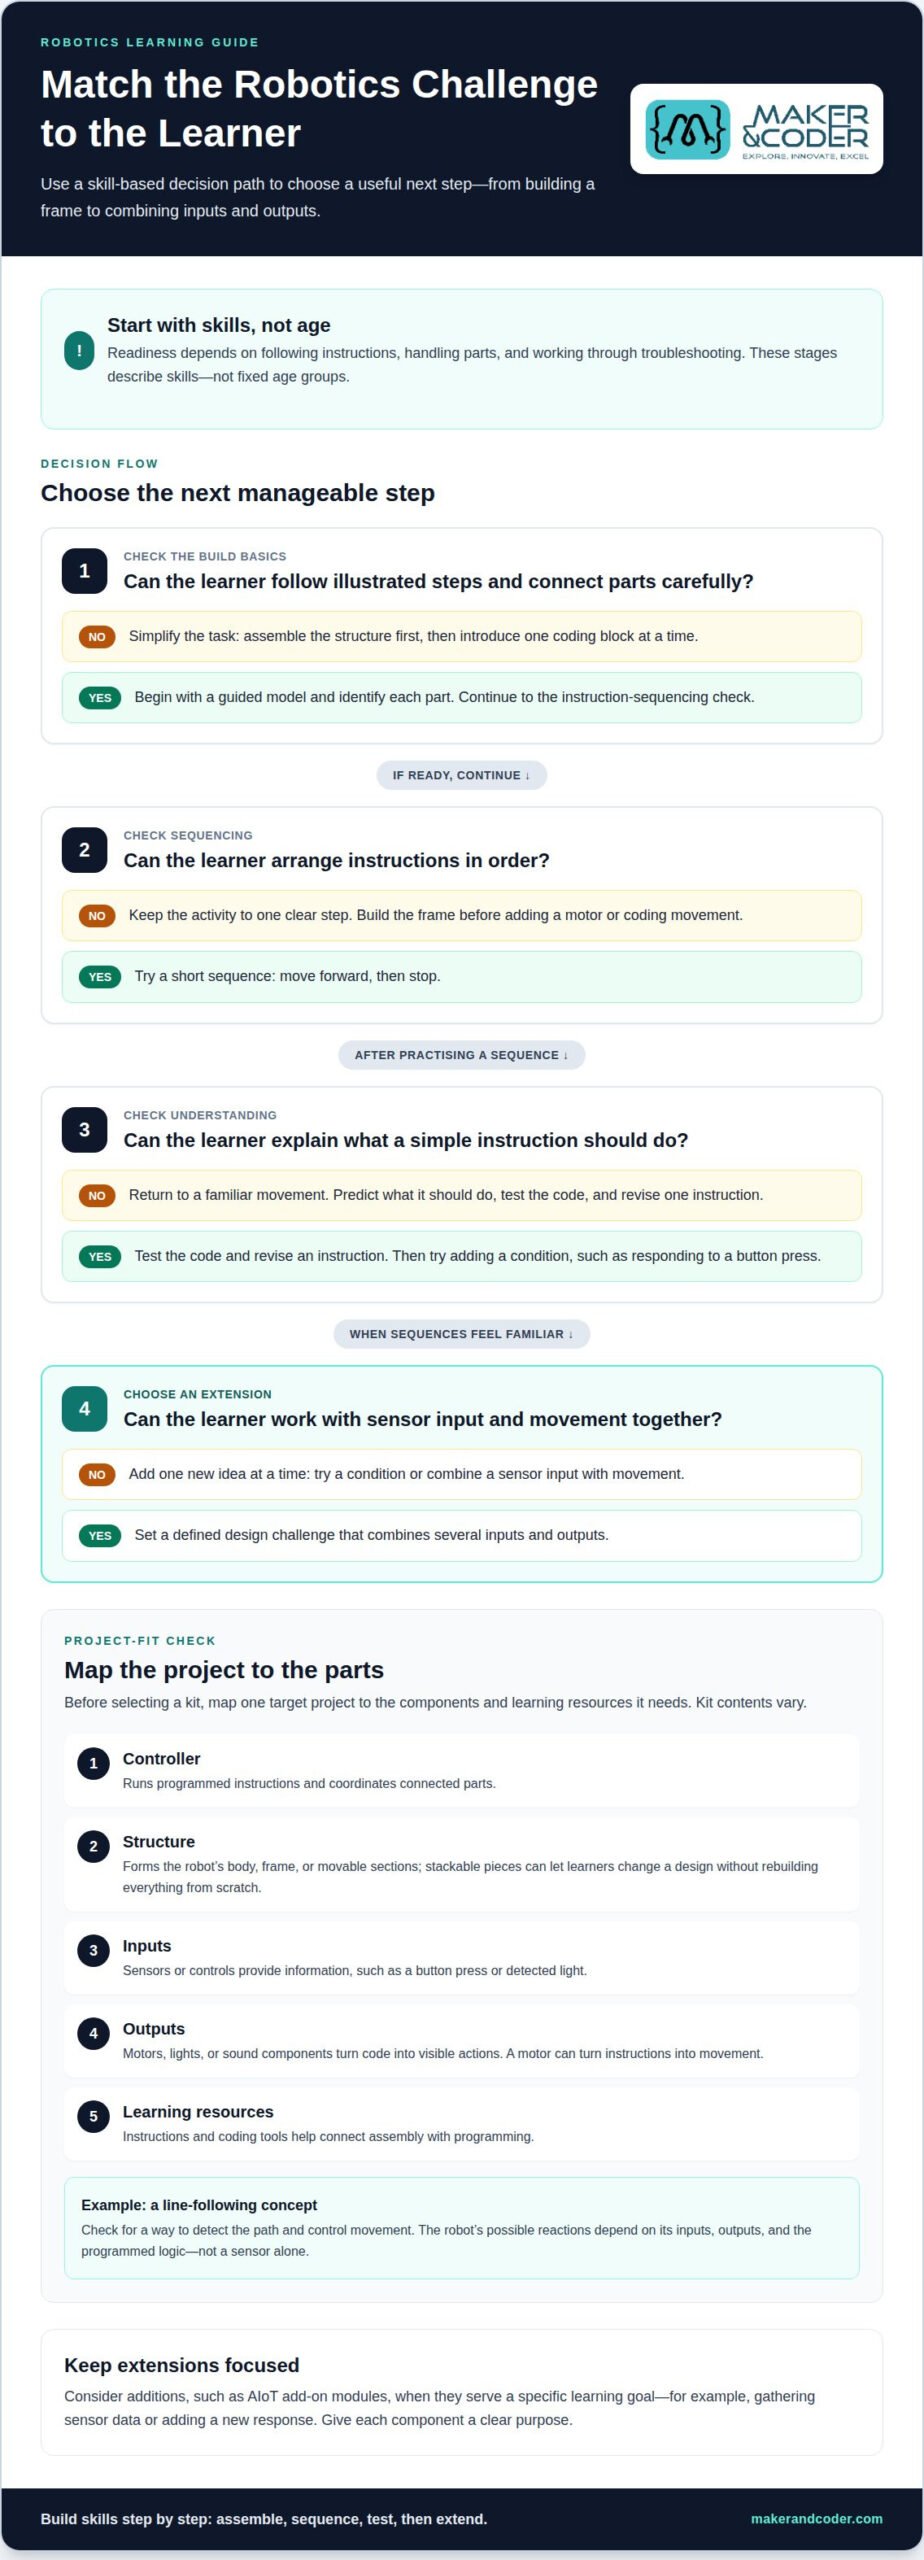
Before selecting a kit, map one target project to its required controller, structure, inputs, outputs, and coding resources. A line-following concept, for instance, needs a way to detect its path and control movement. This parts-first check reveals whether the kit’s modular features fit the activity.
What ages and skill levels is the Stackable Robotics Kit designed for?
Age alone doesn’t show whether a learner is ready for a robotics activity. Consider their ability to follow instructions, handle parts, and work through troubleshooting. A learner who can follow illustrated assembly steps may be ready to build a simple moving model. Someone comfortable arranging steps in order can also start changing its programmed behaviour.
Start with the task, then match its demands to the learner. Joining large structural pieces calls for different coordination than connecting small electronic parts. Writing or arranging instructions adds another challenge. An activity becomes more accessible when learners can complete one clear step, such as building a frame, before adding a motor or coding its movement.
- New builders: Begin with a guided model and identify each part before assembly.
- Early coders: Use a short sequence, such as moving forward and then stopping.
- Developing learners: Add a condition, such as responding to a button press.
- Experienced learners: Combine several inputs and outputs to solve a defined design challenge.
These stages describe skills, not fixed age groups. A younger learner may manage a familiar build independently, while an older beginner may benefit from visual instructions and a short coding sequence. For a group, set one shared challenge and offer extensions, such as changing a robot’s route after completing its first movement.
Look for readiness during a sample activity. Can the learner follow illustrated steps, connect parts carefully, and explain what a simple instruction should do? If a step is difficult, simplify the task. Assemble the structure first, for example, then introduce one coding block at a time.
Build skills by adding complexity deliberately. Move from assembling a model to predicting its movement, testing the code, and revising one instruction. Learners who already understand sequences can try conditions or combine sensor input with movement. Each extension should build on a familiar action rather than introduce several new ideas at once.
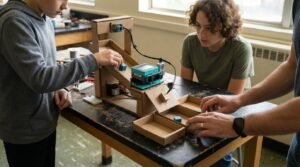
For classroom planning, group learners by the support an activity requires, not age alone. One team might follow a build guide while another modifies the route or adds a response. A shared project can offer different starting points, letting beginners practise assembly while experienced coders explore more complex behaviours.
How do you assemble and program the Stackable Robotics Kit?
Begin with a defined task, such as making a small robot move forward and stop. That goal determines the structure, controller, inputs, outputs, and code needed. Keep the first build simple and add components only after the initial movement works.
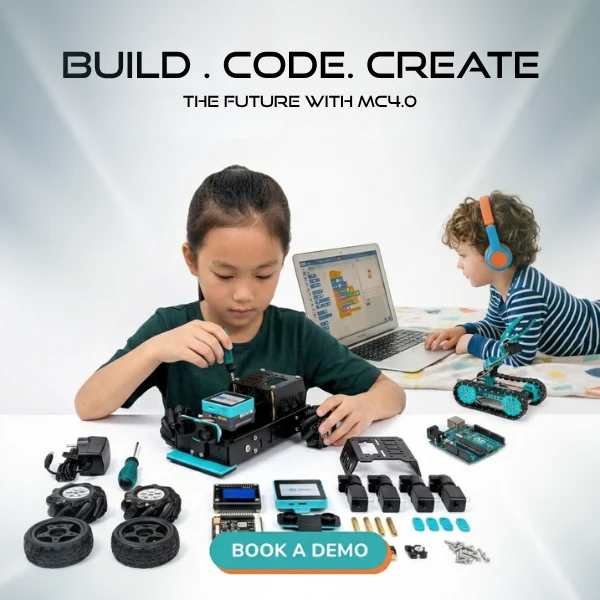
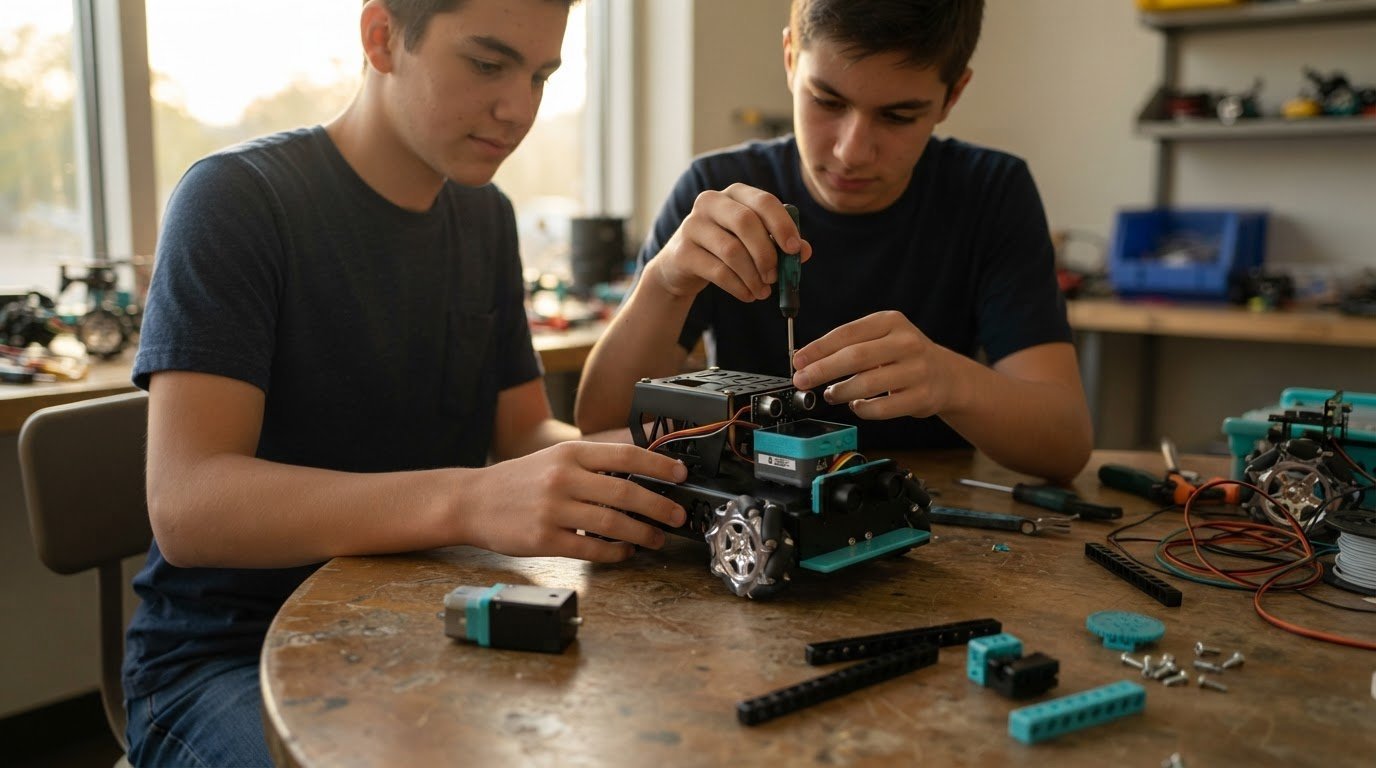
- Sort the parts. Group structural pieces, the controller, motors, sensors, and cables so each component is easy to identify during assembly.
- Build the frame. Connect the base and supports according to the kit’s instructions. Keep wheels or moving parts clear of the frame.
- Attach components. Secure the motor and connect it to the designated controller port. Add a sensor only when the task needs one.
- Inspect connections. Trace each cable from its component to the controller before powering the build. A misplaced connection can prevent the intended response.
- Test the structure. Move the robot by hand where appropriate. Check that wheels turn freely and attached pieces remain stable.
Once assembly is complete, open the programming environment supported by the kit. Start with a short sequence: set the motor direction, begin movement, and stop. Use the available block-based or text-based interface rather than assuming every kit supports the same tools.
Test the first program in a clear space. Observe whether the robot moves as expected, then change one instruction at a time. If it turns instead of travelling straight, check the motor direction and wheel alignment before rewriting the whole program. This makes it easier to identify the cause and teach debugging.
Next, connect an input to a condition. For example, if the kit’s components and software support it, program a robot to stop when a sensor detects an obstacle. Test the sensor on its own first, then connect its reading to the movement instruction. This helps separate input issues from coding issues.
Keep a simple build record: note component connections, what the program is meant to do, and each change made during testing. An entry such as “reversed the left motor direction” helps learners repeat a successful fix and explain their reasoning.
Instructors can practise this progression before guiding a class. Maker & Coder’s Teacher Training Programs help educators structure assembly, coding, and troubleshooting activities around a clear learning goal.
What software, devices, and programming languages does it support
Software support is specific to each controller and kit, so avoid treating “robotics coding” as one universal setup. The MC4.0 Controller supports Scratch, Python, Arduino, Blockly, and MCLab. These named options give educators several programming approaches to consider when planning lessons and choosing activities.
Device suitability is separate from language support. A controller may support a programming language, while the software used to write and send code has its own device requirements. For a classroom setup, identify the controller, its programming environment, and the computers or tablets learners will use. Match these requirements before preparing project files.
The supported languages also suit different teaching approaches. Scratch and Blockly use visual blocks, while Python and Arduino involve text-based programming. MCLab is another supported option for the MC4.0 Controller. For example, an educator can select a visual environment for an introductory coding activity, then plan a later project using a text-based language.
- Scratch: A supported programming option for the MC4.0 Controller.
- Blockly: Another supported choice for visual programming activities.
- Python: A supported text-based language.
- Arduino: A supported programming option for controller projects.
- MCLab: A supported environment for programming the controller.
Choose a programming approach based on learners’ experience and the project’s purpose. Visual programming can help learners arrange instructions, while text-based coding offers another way to express and revise them. Available options depend on the controller and supported software, not simply on whether the kit is modular.
For a planned activity, list the controller, programming environment, language, and learner device as separate requirements. Test the intended workflow with a small project before preparing a full lesson. This makes software setup part of the project plan and helps educators align coding activities with the hardware.
Schools developing a programming sequence can discuss their setup and teaching goals through a conversation about programming requirements. Matching the environment to the lesson helps keep the focus on learners’ projects, from first instructions to more ambitious designs.
How does the Stackable Robotics Kit compare with similar robotics kits
Compare kits by the projects they support, how learners can change a build, and their programming options. A preassembled robot may let learners focus on coding movement, while a construction-based kit puts more emphasis on assembly. A modular design can suit projects that evolve, such as adding a sensor after testing basic movement.
Use the same project to compare options. For a route-following robot, list what learners need: a buildable frame, a way to detect the route, movement control, and software for programming responses. Then assess each kit against those needs. This is more useful than comparing packages by component count alone.
- Build flexibility: Can learners modify a basic vehicle into a different design?
- Programming pathway: Does the software support an appropriate progression from visual blocks to text-based code?
- Project fit: Are the available inputs and outputs suited to the intended activity?
- Classroom use: Can instructions and components support individual or group projects?
- Future changes: Can the learning activity expand without replacing the entire build?
Consider the trade-offs. A fixed design may make initial assembly straightforward but allow fewer structural changes. An open electronics set can invite experimentation while requiring learners to plan more of the build. A modular kit offers another approach when its parts and learning materials support step-by-step construction and later modifications.
Also compare the learning resources, not just the hardware. For example, a clear progression from assembling a frame to programming a sensor response can help an instructor plan connected lessons. Without structured activities, educators may need to create project sequences themselves. The right balance depends on available teaching time and learners’ coding experience.
For a school, a kit’s value depends on how well it supports planned activities. Map a sample project to its components, programming tools, lesson resources, and possible extensions. This makes strengths and gaps easier to identify without relying on unsupported claims about durability, compatibility, or performance.
Use these criteria to narrow the options around your curriculum and classroom needs. Discuss your robotics kit requirements to explore a suitable learning pathway.
Maker & Coder
Maker & Coder is a natural next step for schools planning modular robotics learning. Its MC 4.0 Kit, MC Blocks, K-12 curriculum, and teacher training connect hands-on building with structured programming activities. This combination can help educators move from choosing a kit to shaping lessons around learners’ goals.
The MC 4.0 Kit provides the hardware platform for practical projects, while MC Blocks supports modular learning activities. For example, a class can use a build as a starting point, then explore how changing a block-based program changes the robot’s response. The emphasis stays on connecting physical construction with coding concepts.
For educators planning a learning sequence, the MC Curriculum (K-12) is designed to integrate with the hardware. A structured curriculum can help organize activities from introductory builds toward more advanced programming tasks. Schools can use this alignment to connect project choices with the learning progression they want to support.
Maker & Coder’s Teacher Training Programs help educators build confidence in facilitating robotics activities. Training is useful when teachers are introducing unfamiliar hardware, guiding students through programming, or supporting different skill levels in one class. Educators can prepare to guide learners from a basic build to a project combining construction and code.
These offerings work together around a practical classroom need: aligning hardware, lessons, and educator preparation. The MC 4.0 Kit supports hands-on projects, MC Blocks provides modular activities, and the K-12 curriculum offers a structured pathway. Teacher training adds educator-focused support for bringing those elements into learning activities.
Consider this pathway when you’re selecting a modular robotics kit for a school, building a coding program, or preparing teachers to lead project-based learning. Maker & Coder’s offerings can help connect those decisions, whether your priority is choosing hardware, structuring lessons, or supporting educators as they introduce robotics activities.
Contact Maker & Coder to discuss your robotics learning needs.
Turn Your Robotics Plans Into a Learning Path
Give learners a meaningful role in deciding what they create. Invite them to identify a problem, set a design goal, and explain how they’ll know it works. This turns a build into a purposeful challenge and gives learners ownership of their progress.
For educators, a clear project goal can guide classroom activities and teaching support. Begin with the outcome learners should achieve, then shape the experience around their interests and needs. As their ideas develop, let each new challenge open a direction for exploration.
Maker & Coder can help you consider how robotics learning fits your plans. Contact Maker & Coder about your kit to discuss your next step.
Maker & Coder for Stackable Robotics Learning
Maker & Coder provides a robotics and coding learning ecosystem centered on the MC 4.0 hardware platform and modular MC Blocks. If you’re looking for a stackable robotics kit that connects hardware with structured learning, its MC4.0 Controller and Base, AIoT, and coding kits offer options for technical learning.
The K-12 MC Curriculum is designed to integrate directly with the hardware, giving educators a structured learning pathway. Consider Maker & Coder when you want robotics hardware and curriculum aligned within one learning ecosystem.
Frequently Asked Questions
What is the Stackable Robotics Kit?
A Stackable Robotics Kit is a modular robotics setup that lets users combine components for different projects. The phrase describes a type of kit, not a specific Maker & Coder product name. A modular setup can be configured for one robot and adapted for another project by changing its arrangement. Contents and capabilities depend on the selected product.
How much does this type of robotics kit cost in the United States?
That amount applies to the named MC 4.0 listing, not every modular robotics configuration. For a United States purchasing decision, distinguish the selected product from separate add-ons or class packs, since each listing refers to its named item.
Are replacement parts, warranty coverage, and customer support available?
Maker & Coder’s product range includes separate modules and add-ons. For a replacement-part, warranty, or support question about a specific product, contact Maker & Coder with the product name and the issue you’re experiencing. This helps keep your inquiry focused on the relevant item, such as a controller or sensor, without assuming that every product has identical parts or coverage.
What safety requirements and risks should users know about?
Before powering the build, inspect cable connections and keep wheels and other moving parts clear of the frame. Run the first program in a clear space.