The most advanced kit isn’t automatically the right choice. Choosing the best AIoT learning kits for students means matching hands-on activities and AIoT integration to learners’ experience, age, and need for guidance. A suitable kit lets students move from exploring basic concepts to building practical projects at a manageable pace.
Look beyond impressive features. Students learn by experimenting, testing ideas, and seeing how connected devices respond to data. A balance of accessible activities and room to progress helps learners and the adults supporting them make the most of that process.
This guide compares AIoT learning kits for students, focusing on hands-on learning, classroom skill levels, AI and IoT integration, age suitability, and supervision. You’ll see how beginner and more advanced options differ, what to consider when choosing, and how structured learning can help turn curiosity into confident project building.
Key Takeaways
- Choose a kit by the projects students can build and the skills they can practise, not by feature lists alone.
- Match starter or advanced activities to learners’ current coding experience and the support available in class.
- Look for a clear connection between AI, which can interpret data, and IoT devices, which collect or respond to it.
- Consider age suitability and supervision needs alongside the kit’s learning pathway and classroom use.
- Explore Maker & Coder’s AIOT Learning kit when you want an AIoT-focused option supported by a structured curriculum.
AI education and hands-on learning
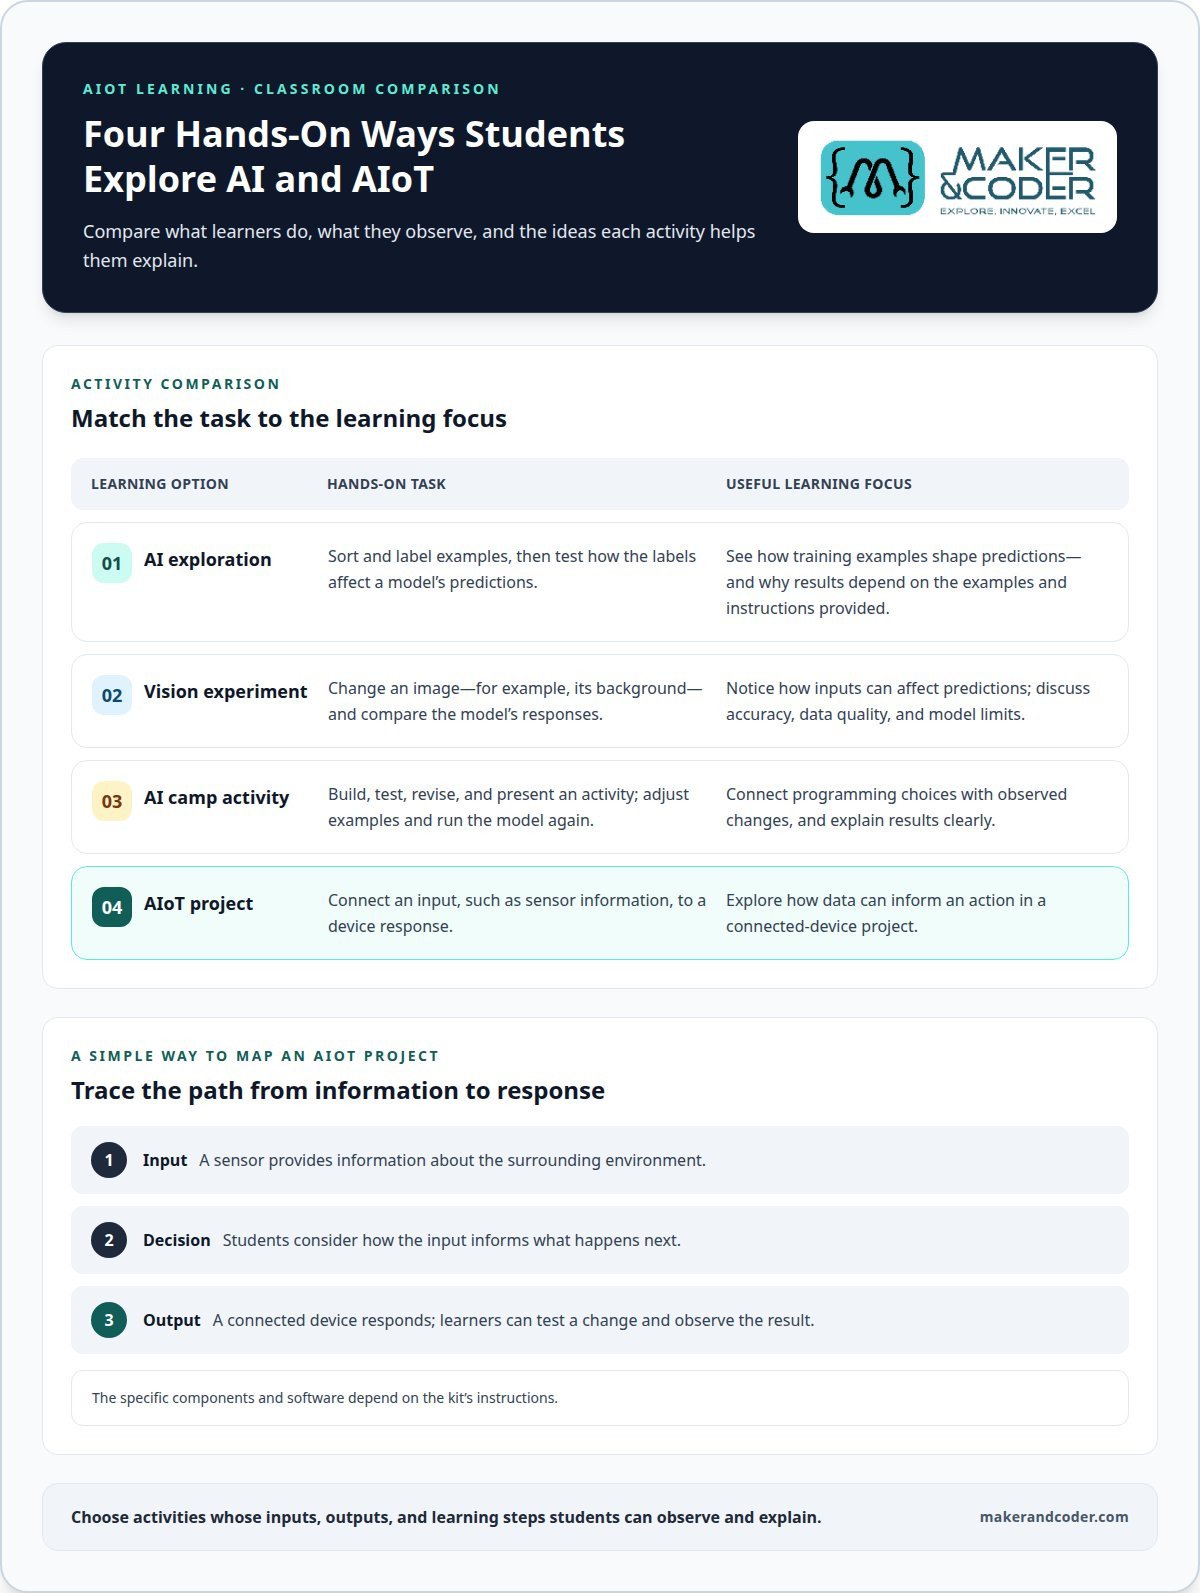
AI education becomes tangible when students move from observing a model to testing one. In a classroom activity, they can sort sample images, label them, and examine how the labels affect a model’s predictions. This connects programming with machine learning: students provide examples, run a test, and discuss errors. The lesson is not simply that a computer recognizes objects, but that results depend on the examples and instructions it receives.
Vision activities offer a practical starting point. Students might compare how a model identifies a clear image with how it responds to one with a different background. They can record when its prediction changes, then consider why the input matters. A teacher can guide discussion about data quality, model limits, and responsible interpretation without treating a prediction as automatically correct.
Hands-on AI activities can follow a build-test-reflect rhythm. A group might explore a prepared classification activity, adjust the examples, run the model again, and present what changed. Short cycles make the work observable: learners see an input, a system response, and a result they can explain. Pairing coding with discussion helps students connect technical choices to their consequences.
AIoT projects add a physical response to that learning cycle. A sensor can provide information about the surrounding environment, while a connected device can use that input in a project. Students can sketch the path from input to decision to output, then test one change at a time. For instance, a classroom prototype might use a sensor reading to trigger a response. The specific components and software depend on the kit’s instructions. A connected-device project setup can help frame this kind of exploration.
In the United States, kit prices depend on what each package includes, such as hardware, sensors, software access, lessons, and classroom quantities. Compare those inclusions rather than assuming every kit is equivalent.
Software, devices, and internet requirements depend on the kit and its activities. A project may use a computer or another compatible device for programming, while connected features may require internet access. Follow the kit’s instructions for its specific setup.
Schools can buy through the kit provider’s product page. Warranty coverage and return conditions depend on the seller’s written terms and the applicable order conditions, so include them in procurement planning.
| Learning option | Hands-on task | Useful learning focus |
|---|---|---|
| AI exploration | Sort and label examples | How training examples shape predictions |
| Vision experiment | Compare model responses to image changes | Inputs, accuracy, and model limits |
| AI camp activity | Build, test, revise, and present | Programming choices and clear explanations |
| AIoT project | Connect an input to a device response | How data can inform an action |
Choose an option whose inputs, outputs, and learning steps students can observe and explain.
AI starter and advanced classroom learning kits
Classroom kits differ in setup requirements and how far projects can develop. Compare the learning path, components, AI activities, and programming environment before choosing.
Starter Classroom Kits
A starter classroom kit suits learners who benefit from guided steps, clear instructions, and an early, visible result. Students might begin with a prepared interactive activity, change one setting, and observe how the system responds. This structure helps teachers introduce core ideas before students design a project independently. Starter options generally prioritize accessible entry points over extensive customization, so assess the challenge level rather than assuming every beginner kit teaches the same skills.
Sensors, Microcontrollers, and AI Features
Compare popular AIoT kits with a component-and-project checklist. Record each sensor’s role, the named microcontroller, the AI feature, and an example project described in the kit’s documentation. One kit might focus on collecting an input; another may connect that input to an AI task and a device response. Those differences affect what students can build and explain. Don’t judge a kit by sensor count alone. Ask whether learners can trace how a sensor, a machine, and an AI feature contribute to a complete project.
Coding Platform Compatibility
Arduino, Raspberry Pi, MicroPython, and block-based coding are different platforms or programming approaches, not proof of kit-wide compatibility. A kit supports a particular option only when its documentation confirms compatibility with the relevant hardware, software, and setup. For classroom comparisons, match the stated support to students’ existing skills and the teacher’s planned lessons. Visual blocks can make program logic easier to inspect, while text-based coding offers another way to write and revise instructions.
Review each candidate in sequence: identify its starting activity, note the programming method, and follow an example project from input to output. Then ask whether students can modify the project, explain what changed, and apply the same skills in another activity. This helps distinguish an interactive demonstration from a learning pathway that supports progression. It also shows whether the class needs more introductory guidance or a more open-ended build.
For advanced learning, look for projects that let students make and test meaningful changes, such as adjusting how an input affects a response. For starter learning, prioritize a clear first task and instructions that make each stage understandable. Teachers planning lessons across different experience levels can discuss classroom learning needs as they consider suitable kit pathways.
AI and IoT integration
AIoT projects connect artificial intelligence with internet-connected devices. Students can trace how information moves from a device input to an AI decision, then to a response. This makes the platform’s role visible and helps learners develop skills in programming, data, and automation.
IoT describes connected devices that collect or exchange information. AI can interpret that information and help a project respond to patterns. For example, a student might design a smart-home concept that reacts to a sensor input. The learning goal is to map each step: input, processing, decision, and output.
The ESP32 is suitable for AI-powered projects such as smart-home devices and robotics. In a classroom activity, students could sketch a robot that uses a sensor reading as an input, then identify where an AI decision might influence its response. The sketch stays a design exercise unless the chosen kit supports the required components and software.
Break the system into stages before building. This makes it easier to troubleshoot and explain what each part contributes:
- Input: Identify what information a device collects, such as a sensor reading.
- Interpretation: Describe what an AI model should recognize or decide from that information.
- Connection: Map how information moves between the device and the rest of the project.
- Output: Define the visible response, such as a changed display or a robot action, when supported by the selected hardware.
These steps help students distinguish automation from AI. A simple rule can trigger an action whenever an input meets a chosen condition. An AI-based project instead uses a model to interpret examples or patterns. Students can compare both approaches in a project plan and explain which method fits the task and why.
When comparing learning kits, look for a project pathway connecting the components, programming environment, and intended outcome. A useful classroom task lets students trace data flow, change one part, and explain the result. Don’t assume an AI label means every kit supports the same model, device, or connection method. The kit’s documented activities define the learning experience it offers.
For a practical comparison, ask students to diagram a connected robotics project before coding. Have them mark the sensor input, AI decision, device connection, and final response. Then discuss which steps depend on the platform and which skills transfer to another project. This turns an AIoT concept into a system students can reason about, test, and refine.
Student age suitability and supervision
Choose an AIoT kit by matching its tasks to students’ current skills, not by age labels alone. A learner who can follow block-based instructions may need different guidance from someone ready to edit text-based code or troubleshoot a connected device. Review the project steps, tools, and reading demands before introducing a kit in class.
Age recommendations on product packaging provide a starting point, but the activity itself reveals what it demands. Assembling small components, navigating software menus, and interpreting model outputs all require different kinds of support. A teacher can preview a sample lesson, identify challenging steps, and decide which tasks students can complete independently.
Consider the kit’s stated age guidance, physical components, and any camera, microphone, account, or network use when planning for safety and privacy. Adults should supervise setup and follow the manufacturer’s handling instructions. Students should avoid entering personal details into project data or online tools.
In the classroom, plan supervision around each project rather than assuming every activity needs the same level of attention. For a sensor-based build, demonstrate how the component connects before students begin. For a camera activity, explain which images the project uses and keep practice materials appropriate for the lesson. During coding, have learners test changes in a controlled sequence instead of changing several settings at once.
- Before building: Review the instructions, components, and software steps together.
- During setup: Guide students through device connections and account or network prompts.
- During testing: Ask students to explain what information the project uses and what it produces.
- After the activity: Close sessions and put away components according to the kit instructions.
These steps also develop careful thinking. When a model gives an unexpected result, students can describe the input, review the data they supplied, and explain what they changed. This encourages learners to question outputs rather than assume every machine response is correct.
Match independence to the activity. A guided exercise with prepared instructions can help students focus on one new concept, while an open-ended project may require adult support with planning and debugging. Teachers can assign clear roles, such as builder, programmer, and tester, so each learner has a defined task and the project stays organized.
At home, parents can review the activity instructions with students and agree on which devices or accounts the project may use. At school, teachers can choose projects with a clear learning purpose, manageable setup, and supervision suited to students’ experience. These decisions help keep hands-on AIoT learning focused, responsible, and appropriate for the classroom.
What are the best AIoT learning kits for students in 2026?
There’s no single best kit for every classroom. In 2026, compare options by the learning goal, supported components, coding approach, and project pathway. The categories below are useful starting points, not a ranking of particular brands or models. Match the kit to what students will actually build and explain.
| Kit type | Best suited to | Compare these criteria |
|---|---|---|
| AI introduction kit | First explorations of AI concepts | Guided activities and clear examples |
| IoT project kit | Connected-device activities | Documented components and connection steps |
| AIoT robotics kit | Projects combining AI and physical responses | How inputs, decisions, and actions connect |
| Camera-based AI kit | Projects involving image recognition | Supported camera tasks and data-handling needs |
| Expandable coding kit | Students ready to extend projects | Supported coding methods and project progression |
An AI introduction kit can help students explore how examples shape a model’s output. A useful activity might involve testing a prepared image-classification task, then discussing why a changed image could produce a different result. Look for clear instructions and opportunities to examine the model’s response, not just an activity that displays an answer.
An IoT project kit suits lessons about connected devices. Students can trace how a sensor input becomes information used in a project, then identify what the connected device does with it. The kit’s documentation should explain its components and setup. Don’t assume a general IoT label means every sensor or connection method is supported.
An AIoT robotics kit combines software decisions with a physical project. For example, students might plan how a robot should respond to an input, then map which parts of the project perform each step. The ESP32 is suitable for AI-powered projects such as robotics, but a kit’s own documentation determines its specific capabilities.
Camera-based options suit lessons focused on vision, while expandable kits can support students who want to modify projects. For either type, review example activities, documented coding methods, and setup requirements. Arduino, Raspberry Pi, MicroPython, and block-based coding are not interchangeable. Compatibility depends on the kit and its instructions.
To choose, start with one intended project, match its components and coding approach to students’ experience, then compare the documented learning activities. For help aligning an AIoT kit with classroom goals, discuss your learning requirements.
AI introduction kits focus on guided model activities, IoT kits on documented components and connections, and robotics kits on linking inputs, decisions, and physical actions. Camera-based kits center on supported vision tasks, while expandable kits emphasize coding options and project progression. Compare each kit’s documented sensors, controller capabilities, AI activities, and example projects.
Compatibility with Arduino, Raspberry Pi, MicroPython, or block-based coding varies by kit. Before choosing, check its documentation for supported coding methods and setup.
Maker & Coder: AIOT Learning kit
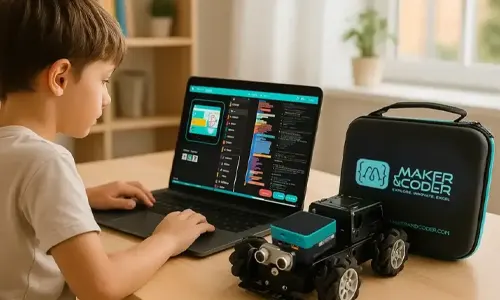
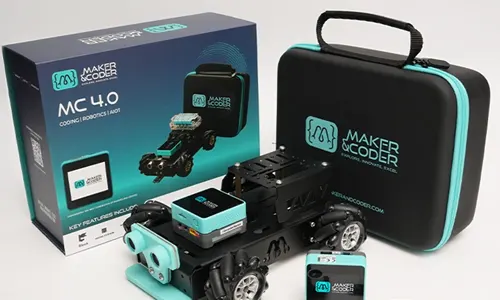
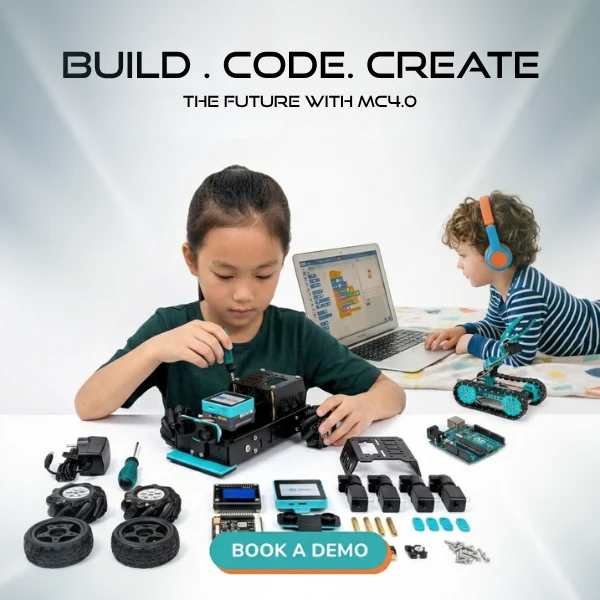
Maker & Coder’s AIOT Learning kit is a natural next step for classrooms seeking a structured way to explore AIoT. It connects with the MC 4.0 Kit and the MC Curriculum (K-12), which is designed to integrate with the hardware for a structured learning pathway.
MC Blocks can support students as they move from visual programming concepts to building and refining projects. Consider this option when your classroom wants AIoT learning connected to hardware and a curriculum, rather than a standalone activity. The right starting point depends on students’ experience and the projects educators plan to teach.
Contact Maker & Coder to discuss how the AIoT Robotics Kit may fit your learning goals.
Turn AIoT Curiosity into a Classroom Project
The next step is to turn a topic students can discuss into a project they can build, test, and improve. Choosing among the best AIoT learning kits for students is only the beginning. Meaningful progress comes when learners have a clear path from their first experiment to independent design.
Maker & Coder brings together the MC 4.0 Kit, MC Curriculum (K-12), and MC Blocks for educators planning that progression. The combination can help connect hardware activities with structured learning and programming practice. Teachers can use those elements to plan projects around their learners’ experience and classroom goals.
Start with a project that gives students room to make choices, observe what happens, and explain their decisions. Each revision builds a stronger connection between ideas and working technology. Ask Maker & Coder about student kits and explore a suitable next step for your learners.
Maker & Coder for Structured AIoT Learning
Maker & Coder provides a learning ecosystem centered on the MC 4.0 hardware platform and modular MC Blocks. Its MC4.0 AIoT Kit is a relevant option when you’re choosing a kit for hands-on technical learning.
For a structured pathway alongside the hardware, Maker & Coder also offers a K-12 MC Curriculum designed to integrate with it. The MC4.0 Controller and Base kits are part of the broader lineup.
Frequently Asked Questions
Which AIoT kits are suitable for elementary, middle, and high school students?
For elementary and middle school learners, the MC4.0 Base Kit is suitable for ages 07 Years – 15 Years, and the MC4.0 Controller is suitable for learners aged 7+. The AIoT Robotics Kit is suitable for ages 15+. Match the age guidance to students’ experience and the planned project, especially for activities involving more advanced coding.
What AIoT kits are best for beginners with no coding experience?
The MC4.0 Base Kit is designed for beginners and does not require prior coding experience. Students can start with block-based coding, then explore Python or Arduino as their skills develop. The MC4.0 Controller also offers a touchscreen and drag-and-drop programming. For older beginners, the AIoT Robotics Kit supports block-based coding alongside advanced languages, and works best for teens 15 and up.
Which AIoT kits include curriculum, lesson plans, or teacher resources?
Maker & Coder’s MC Curriculum (K-12) is designed to integrate with its hardware and provide a structured learning pathway. The AIoT Robotics Kit includes lesson plans and guides for classroom use. Educators can also use the listed learning resources, including free courses, assessments, and project-based modules, alongside Teacher Training Programs. This combination can help teachers plan a sequence of lessons around hardware activities and students’ learning goals.
How do popular AIoT learning kits compare in sensors, microcontrollers, AI features, and projects?
Compare each kit’s sensor roles, named microcontroller, AI feature, and documented projects. Focus on whether students can trace how an input leads to an AI task and device response, rather than comparing sensor counts alone.
Which AIoT kits work with Arduino, Raspberry Pi, MicroPython, or block-based coding?
A kit supports Arduino, Raspberry Pi, MicroPython, or block-based coding only when its documentation confirms compatibility with the relevant hardware, software, and setup. Match that stated support to students’ skills and planned lessons.