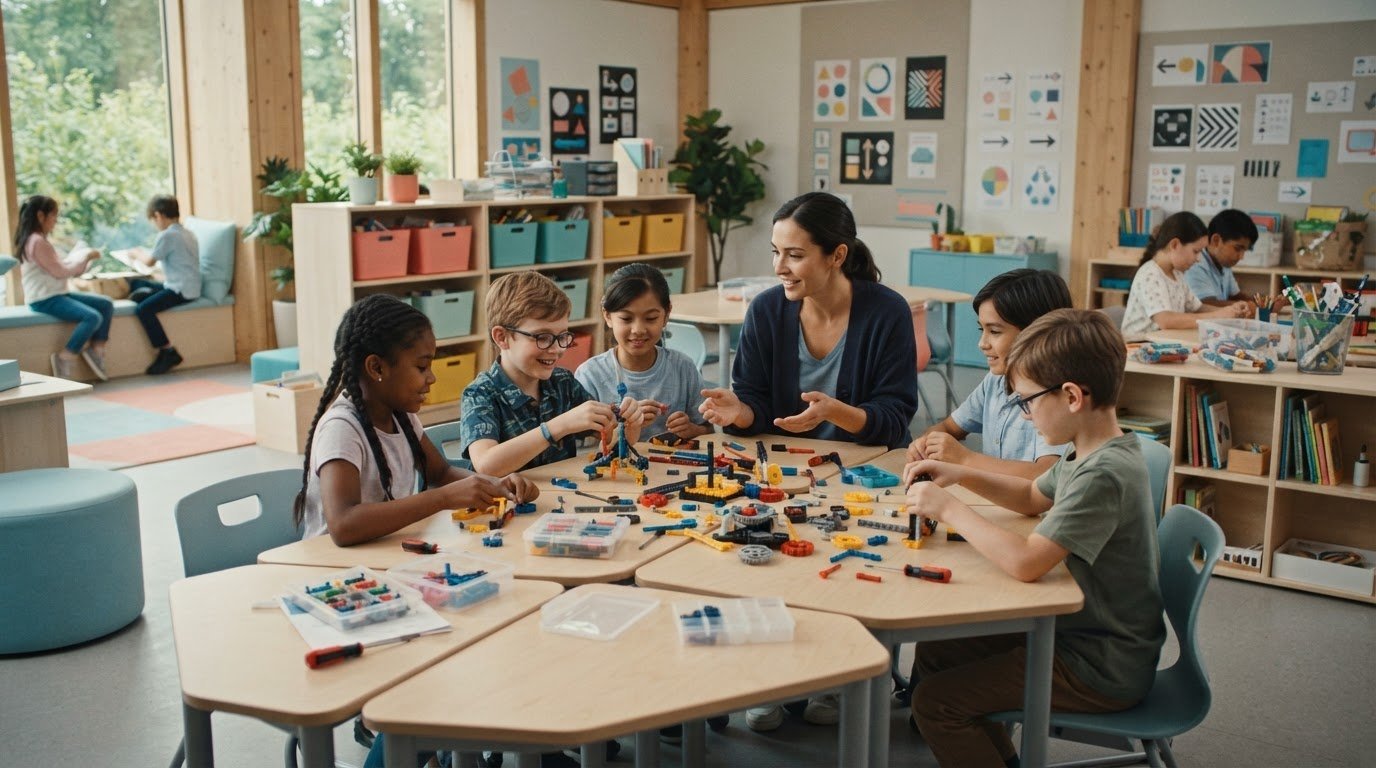
Hands-on learning thrives when students have room to explore and clear expectations to guide them. Effective classroom management for hands-on learning helps protect instructional time, support different student needs, and make active participation more purposeful. The foundation is simple: observe behavior, reinforce positive choices, and scaffold activities from teacher modeling toward independent practice.
When planning an engaging lesson, it’s natural to focus on the materials and project. But how students move through the activity matters too. Predictable routines and clear guidance help focus their exploration without taking away the chance to discover.
This article explains why classroom management matters and shares practical ways to create a supportive learning environment. Learn how to spot what may be driving behavior, reinforce shared expectations, and guide students as they build new skills. Small, deliberate choices, from the first instruction to independent practice, can help more learners participate with confidence.
Key Takeaways
- Look for what may be driving a behavior before choosing how to respond; calm, private redirection can protect a student’s dignity.
- Make hands-on activities easier to navigate with clear expectations and predictable cues for starting, transitioning, and wrapping up.
- Use specific praise to reinforce the actions that help students learn and work together.
- Model a new skill, practice it with students, and gradually shift responsibility toward independent work.
- Notice which routines help students stay engaged, then adapt the activity or support to better meet their needs.
1. Observing student behavior and addressing root causes
Common challenges include noisy transitions, uneven participation, rushed equipment use, and disagreements in project groups. Notice when a behavior occurs, consider what students need, then adjust instructions, routines, or support. With classroom management for hands-on learning, the goal isn’t just to stop disruption. It’s to help students rejoin the activity.
Start as students arrive. Greeting them at the door lets you notice their mood, energy, and readiness before a project begins. Learn each student’s name within the first two weeks and use it in brief, respectful check-ins. During a build, for example, notice whether a student is stuck, unsure how to use a tool, or waiting for a groupmate before interpreting silence as disengagement.
Look for patterns instead of reacting to a single incident. What happened just before the behavior? Was the direction clear? Did the student have a meaningful role? Could noise, a challenging task, or an uncomfortable group arrangement be contributing? If a learner repeatedly leaves a robotics activity during setup, demonstrate the first step again or assign a clear starting role. Addressing the cause can work better than repeating a reprimand.
Relationships and social-emotional learning shape how students handle setbacks. Model patience by listening to a student explain a disagreement, then help them identify the problem and choose a next step. Consider whether students feel comfortable with their groupmates. Rotating roles, such as builder, recorder, and materials manager, can make participation more accessible and teach cooperation alongside project skills.
Anticipate questions and misconceptions before handing out materials. Identify the step most likely to confuse students, such as connecting a component the wrong way, and demonstrate it with a sample. Ask students to explain the first instruction in their own words. If several make the same mistake, treat it as evidence that the explanation or visual cue needs work.
Traditional management often relies on teacher-set rules and immediate correction; a student-centered approach keeps expectations clear while giving learners a voice. Neither approach requires permissiveness. Set a few classroom rules for handling materials and sharing space, then involve students in discussing why they matter. A strict response may stop noise briefly, but a calm private conversation can uncover whether a student needs clarification, a different role, or a short break. Adapt the plan when observations show it isn’t working.
2. Why Is Classroom Management Important?
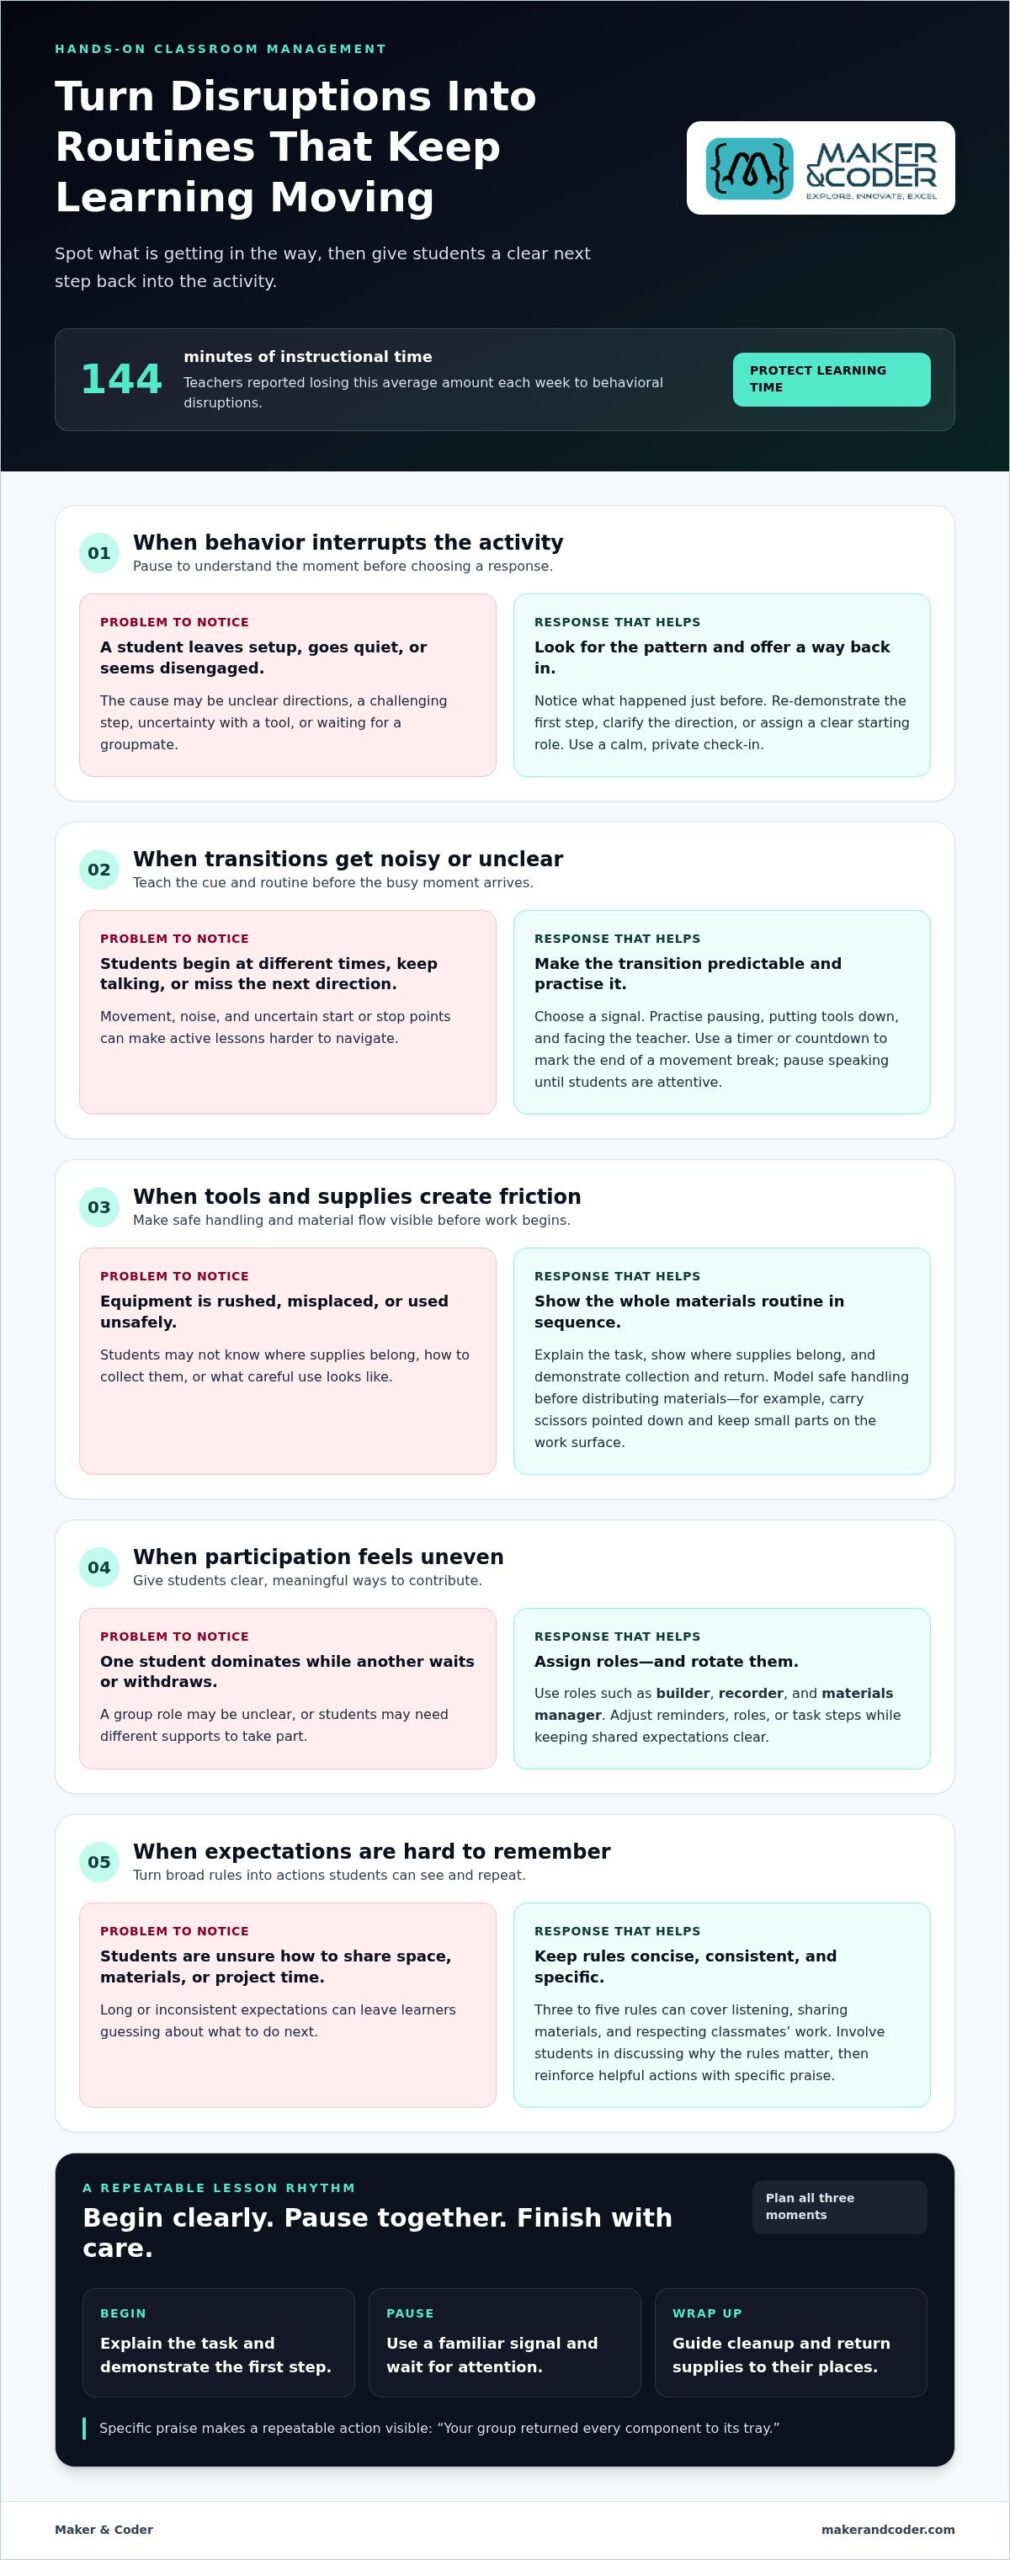
Effective classroom management protects learning time by making expectations, routines, and activity boundaries clear. Teachers reported losing an average of 144 minutes of instructional time each week to behavioral disruptions. For hands-on lessons, practical strategies include teaching transitions, signaling when students may begin, and reinforcing safe, focused participation.
Establish a repeatable transition routine before handing out project materials. For example, students can pause, put tools down, and face the teacher when they hear a chosen signal. Think of it like a film set: actors wait for “Action!” before a scene begins. After a movement break, students can stand, push in their chairs, and wait quietly for directions. A timer or countdown makes the end of the break clear.
Noise and movement are easier to manage when students know what each activity should sound and look like. Set expectations for discussion volume, walking between work areas, and stopping at a teacher’s signal. Pause rather than talking over chatter, then resume when students are attentive. Teach and practise the routine during a calm moment, before a complex build or group investigation.
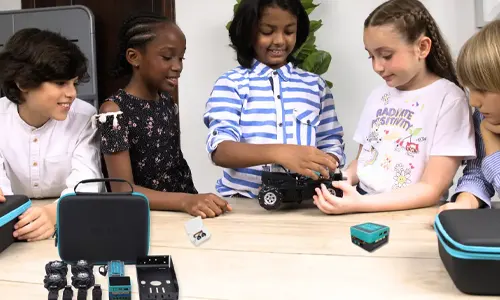
Manage materials in a clear sequence: explain the task, show where supplies belong, and demonstrate how students collect and return them. Assign roles, such as materials manager or recorder, so everyone knows how to contribute. Before work begins, demonstrate safe handling of the tools and components students will use. Make expectations specific, such as carrying scissors pointed down or keeping small parts on the work surface.
Keep rules concise and consistent. Three to five rules can cover listening to instructions, sharing materials, and respecting classmates’ work. Apply them fairly and address the behavior, not the student’s character. Reinforce timely cleanup or careful tool use with specific praise: “Your group returned every component to its tray.” Make positive reinforcement more prominent than negative consequences.
Consistency doesn’t mean giving every student identical support. Keep core expectations, but adjust reminders, roles, or task steps when a student needs another way to participate. Invite students to shape shared norms, then revisit any rule that isn’t supporting engagement. Clear routines reduce uncertainty, while flexibility keeps them useful for different activities and learners.
For each lesson, plan how students will begin the activity, pause, and clean up. Explain safety expectations before handing out supplies, then ask students to describe what they should do. These steps turn classroom rules into actions students can follow, keeping exploration purposeful and the learning space ready for the next task.
3. Positive reinforcement
Positive reinforcement makes classroom expectations visible by recognizing actions students can repeat. During a hands-on activity, praise a specific behavior: “Your team shared the testing tools and recorded each result.” That feedback connects cooperation to successful work without labeling students as good or bad. Make positive reinforcement outweigh negative consequences, and keep attention on the action. When a student waits for instructions before switching on a device, acknowledge that choice immediately and explain how it supports safe, focused learning.
Start with three to five rules that describe what students should do. “Handle materials carefully” is clearer than “Don’t be careless.” Discuss why each rule matters, then invite students to help shape shared norms. Display the rules on a poster and pair key ones with simple gestures. Movement can help students remember, so a hand signal for “pause and listen” can reinforce the written expectation during a busy activity.
Make praise specific, timely, and connected to effort or contribution. Instead of saying “Great job,” name the action: “You tested one change at a time, so your results are easy to compare.” Notice students who follow directions, include a quieter partner, or return components to the right place. A brief class cheer can mark a shared milestone, such as a team explaining how its prototype changed.
Positive discipline includes accountability. If a student interrupts a group or mishandles shared materials, describe the behavior calmly and explain its effect. Ask what happened, who was affected, and how the situation could be repaired. A student who scattered components might help sort them and agree on a clearer workspace routine. Restorative practices make reflection and making amends part of learning, not just punishment.
Choose rewards that encourage participation, not competition. Reward coupons might offer choices such as selecting the read-aloud book, wearing pajamas to school, or sitting at the teacher’s desk. Treat rewards as one tool, not the only reason to follow rules. For academic projects, recognition might mean inviting a student to demonstrate a useful testing technique or explain a thoughtful revision. These strategies connect positive choices with progress, contribution, and responsibility.
Keep the system manageable: choose a few observable behaviors, reinforce them consistently, and check that students understand the expectations. If praise goes only to the quickest teams, recognize persistence, careful listening, and constructive revision too. A positive learning environment grows when every student can see how their actions support shared work and discovery.
4. Scaffolding skills from teacher modeling to independent practice
Keep students engaged in group work by giving each learner a defined role, a visible task, and regular progress checks. For a design challenge, one student can sketch, another assemble, and a third record test results. Rotate roles in later activities so everyone practises different skills. Brief check-ins help you spot stalled groups and prompt students to explain their next step.
Move through four stages: teacher modeling, joint practice, group work, and individual practice. First, demonstrate a process and explain each decision. Next, guide students through a similar step. Then let groups apply the process to a new challenge. Finally, ask each student to demonstrate the skill independently, such as by testing a prototype and recording what changed.
Give each stage a visible learning goal. If students are learning to test a structure, model changing one feature and observing the result. During joint practice, ask the class to predict what might happen. In group work, prompt teams to compare their predictions with the results. Individual practice then shows who can use the method without group support.
Active supervision makes support timely. Move around the room, check each group’s progress, and ask questions that reveal their thinking: “What have you tried?” or “What will you change next?” These prompts help students solve problems rather than wait for answers. Peer teaching can extend support: ask a student who has mastered a step to explain it, and check that the explanation is accurate.
Adapt scaffolding to students’ developmental and behavioral needs instead of expecting everyone to follow identical steps. Early learning providers such as Kool Kids Daycare emphasize guided routines for young children, and in the classroom, younger students may benefit from a brief demonstration and visual sequence; those ready for a greater challenge can compare solutions. Break complex tasks into smaller actions when a learner needs more structure. If physical assembly is a barrier, offer another way to contribute, such as explaining a design or documenting a test.
Fairness also means noticing how assumptions shape decisions. During group work, track who accesses materials, who speaks, and whose ideas receive attention. If the same students repeatedly lead, assign and rotate roles deliberately. Compare your expectations across learners, then adjust support based on observed needs, not assumptions about ability or behavior.
End each scaffolded activity with actionable feedback and a chance to revise. Identify one successful choice and one next step, such as improving a measurement or clarifying a design explanation. Let students use the feedback before moving on. These routines help guidance give way gradually to independent practice, while keeping you attentive to each student’s progress.
5. Benefits of effective classroom management
Effective classroom management does more than reduce interruptions. It gives students more lesson time to explore, test ideas, and explain what they discover. In hands-on lessons, clear routines let teachers focus on instruction instead of repeatedly stopping to resolve confusion. When students know how to begin a design task, for example, they can move from instructions to building with fewer delays.
Structure can support academic learning by making goals easier to pursue. In a bridge-building activity, a teacher might ask students to compare how different designs hold weight. A routine for testing and recording results helps them focus on evidence, not just the finished model. Effective classroom management makes room to discuss why one design worked better and what to change in the next test.
Predictable expectations can make participation more accessible. In a group investigation, clear roles give each student a way into the work: one can gather materials, another document observations, and another report findings. Check whether roles are shared fairly, then adjust them so students practise new skills. This structure turns group activity into purposeful collaboration.
Teachers benefit too. An organized learning environment can reduce the strain of repeated disruptions and support greater job satisfaction. In a lesson with activity stations, for example, a visible rotation sequence, clear signal, and defined cleanup step help the class move together. The teacher can then focus more on student questions and feedback.
Review each project briefly to see whether your management approach supported learning. Ask students which instruction helped them start, where they got stuck, and whether each group member contributed. Compare their responses with your observations. If students lost focus during transitions, revise the routine; if one role dominated, change how roles rotate next time.
These benefits come from deliberate adjustments, not rigid control. Keep expectations that help students work safely and respectfully, but adapt the activity when they need another way in. A teacher might offer a diagram alongside spoken directions or let students explain a design before writing about it. These choices preserve the learning goal while making the process more responsive.
For educators ready to strengthen these practices, discuss classroom management training as a next step. A focused conversation can help connect classroom routines with the demands of active, project-based lessons.
Maker & Coder: MC 4.0 Kit
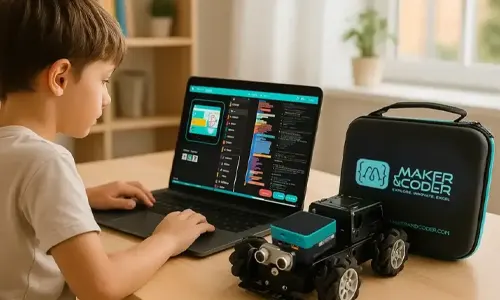
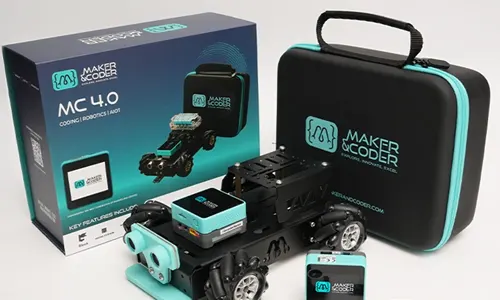
Maker & Coder’s MC 4.0 Kit gives educators a practical starting point for structured, hands-on STEM learning. Pair it with the MC Curriculum (K-12) to connect activities with a guided learning pathway, and use MC Blocks as students explore ideas through building and experimentation.
Maker & Coder’s MC Curriculum, lesson plans, and Teacher Training Programs support classroom routines from teacher modeling to collaborative projects and independent practice. Educators developing new approaches or strengthening existing ones can use the training to build their teaching practice around hands-on learning.
Contact Maker & Coder to discuss how its educational resources could support your classroom.
Shape the Next Hands-On Lesson
Use your next project to refine the learning environment, not just complete an activity. Choose one skill students should demonstrate and decide what evidence will show their progress. Learners might explain how testing changed their design or describe how they shared a task. A clear goal gives students direction and helps you decide what to adjust in the next lesson.
That’s the practical value of classroom management for hands-on learning: it helps curiosity become focused effort. Keep building on what you observe. A routine that supports one class today can provide a stronger foundation for more ambitious projects tomorrow.
If you’re planning how to bring structured STEM activities into your teaching, connect with Maker & Coder to discuss your classroom goals. Take the next step toward learning experiences where students can explore, create, and grow.
Maker & Coder for Hands-On Classroom Learning
Maker & Coder provides a STEM education ecosystem centered on the MC 4.0 hardware platform and modular MC Blocks. If you are ready to put hands-on activities into a structured learning pathway, its K-12 MC Curriculum is designed to integrate with the hardware.
The MC4.0 Controller and Base, AIoT, and STEAM kits support technical learning. Consider these resources when planning classroom projects that call for coordinated hardware, modular blocks, and curriculum.
Frequently Asked Questions
Why Is Classroom Management Important?
Effective management helps turn active lessons into learning experiences students can enter, sustain, and complete. A clear system lets teachers identify whether a team’s difficulty comes from the concept, instructions, or group coordination. If students build successfully but can’t explain why their design works, for example, connect the practical task with the underlying idea in the next lesson.
How should teachers arrange a classroom for hands-on activities?
Arrange the room to suit the activity’s movement, discussion, and storage needs. Tables can support cooperative work, while open routes between work areas make it easier to circulate and observe progress. Put shared materials where students can reach them without crossing active work zones. Before class, walk the route from student seats to supplies and move anything that blocks it.
How can teachers set clear expectations and routines for hands-on learning?
Teach each routine as an action students can demonstrate, not just a rule they hear. For a design challenge, show how to begin, where to put unfinished work, and how to ask for help without interrupting another group. Ask students to explain the process in their own words. These practical routines make classroom management for hands-on learning easier to understand and apply.
What are effective transitions between hands-on activities?
Use a consistent signal and a brief sequence that matches the next task. Students might stop building, place unfinished work in a marked area, return shared items, and move to the next station after your cue. Give a short warning before the transition, then state the next action clearly. This preserves work in progress and reduces confusion about where to go.
How can teachers ensure student safety with tools, materials, and experiments?
Before an activity, identify the materials students will use and demonstrate how to handle and store them. Show where tools belong, what to do if something breaks, and how to pause work when help is needed. Keep work areas organized so loose components don’t become obstacles. Circulate during the lesson and address unsafe handling immediately with a clear direction. Resume when students understand the procedure.