The best robotics kit isn’t always the one that starts with Python. Python-Based Robotics Kits differ in how they guide learners from simple commands to text-based programming. The right starting point depends on experience, goals, and the support built into the learning path.
A good kit lets learners build something tangible while developing programming skills. A smooth learning journey also depends on whether the coding tools suit the learner, the hardware supports their projects, and features such as AI fit what they want to create.
This guide compares robotics kits by skill level, language support, AI features, and budget. It also explains how learners can move from block-based coding to Python, turning a first hands-on project into a foundation for more advanced programming.
Key Takeaways
- Match a kit’s complexity to the learner’s current skills and the kind of projects they want to build.
- Compare language compatibility carefully: Python, C++, and ROS support can shape which coding projects are possible.
- Weigh a kit’s hardware and learning features against your budget, rather than choosing by price category alone.
- Consider whether AI or vision features support a specific learning goal, such as exploring how robots interpret their surroundings.
- Look for a coding path that helps learners move from visual blocks toward text-based programming at a manageable pace.
1. What’s the difference between beginner and adult programmable robot kits?
Beginner kits typically emphasize guided builds and clear programming steps. More advanced kits may expect learners to combine hardware, code, and debugging more independently. Age alone is not the best measure: compare coding experience, project goals, and the level of instruction. A first robot that follows a programmed route needs different support from a project involving custom Python scripts. Confidence with code matters, too.
For beginners ready to use text-based code, the Python with Robots Kit is recommended for students in Grade 7 and up. It can suit learners who want hands-on robot programming, while the right starting point still depends on experience and project complexity. Compare the kit’s lessons and interface with the learner’s goals. A guided activity can help a new programmer build confidence before moving toward less structured projects.
Python and Scratch offer different entry points. Scratch uses visual blocks, making commands such as movement and repetition easy to arrange and inspect. Python uses written instructions, so learners must manage syntax as well as logic. A learning path might introduce a command in Scratch, then recreate it in Python. Arduino is another option, but its programming tools and support vary by kit, so check which language learners will use.
Popular Python robotics kits differ in features, difficulty, and recommended age range. Compare whether each supports Python, whether projects progress gradually, and whether its instructions fit beginners or experienced programmers. The Python with Robots Kit’s recommendation for Grade 7 and up offers one age reference, not a universal threshold for every robot kit.
Included components also vary by kit. The Python with Robots Kit includes 1 USB-C cable; other parts depend on the specific package. Check its component list to understand what is supplied and what a project needs separately. Sensors and motors differ too: a line-following build needs path detection and movement, while a robotic arm needs compatible motors and a suitable structure.
Compatibility with Windows, macOS, Linux, and Chromebooks depends on the kit’s software and connection method. Different operating systems may require different programming tools, drivers, or connection steps. Check the chosen kit’s requirements against the computers learners will use. A USB-C cable alone doesn’t establish operating-system compatibility.
For educators comparing hardware extensions, AIoT add-on kits offer a distinct category to consider alongside the programming environment. First match the coding interface to learners’ skills, then compare instructions, components, and intended project types. This approach helps identify whether a kit offers guided first builds or supports greater independence.
2. Python, C++, and ROS compatibility
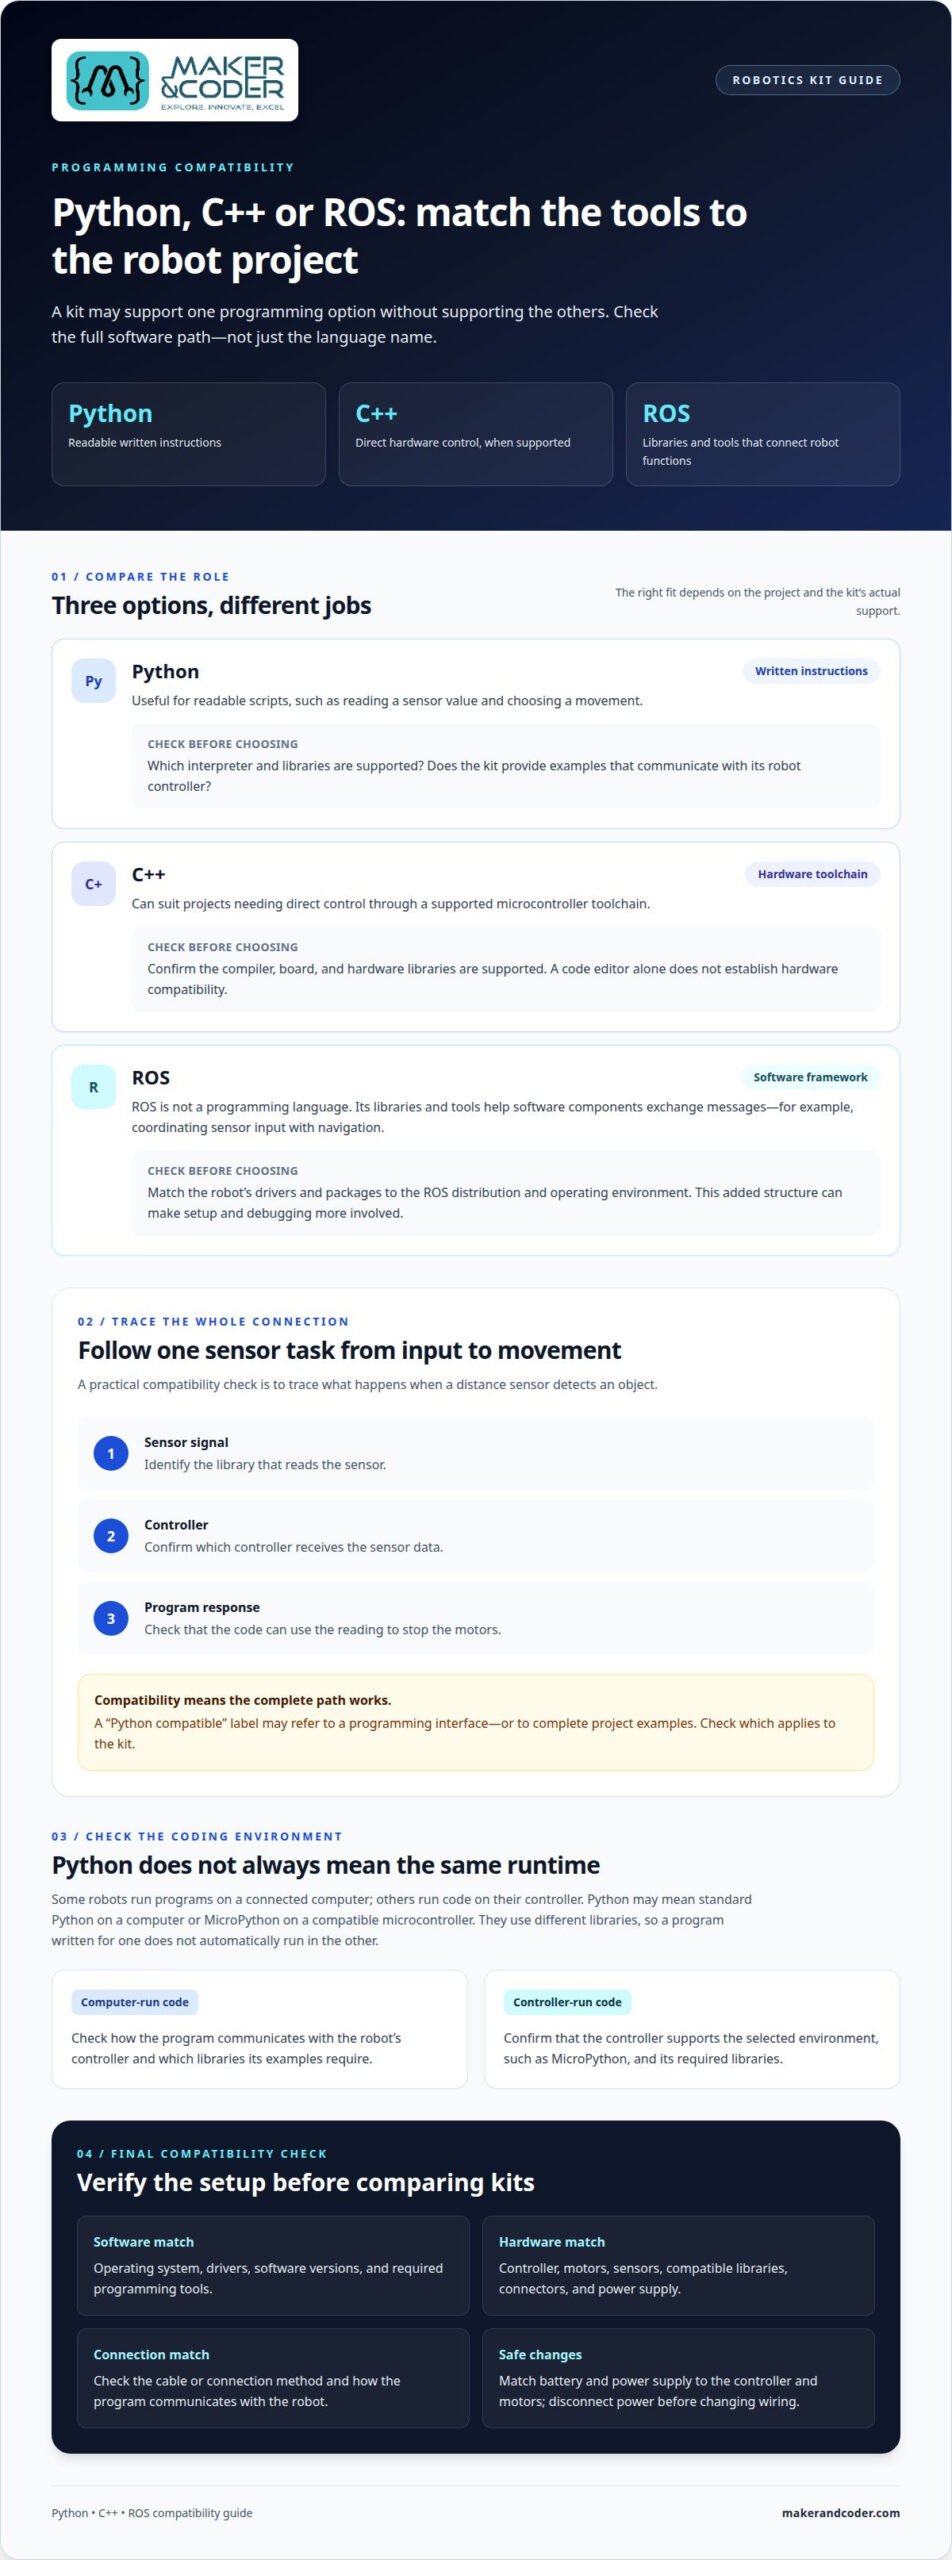
Language support determines how learners program a robot and which tools they need. Python emphasizes readable instructions, while C++ can provide more direct control over hardware. ROS, or Robot Operating System, is not a programming language: it provides software libraries and tools for connecting robot functions. A kit may support one option without supporting the others.
Start with the project. A Python script might read a sensor value and choose a movement. C++ may suit a project that requires direct control through a supported microcontroller toolchain. ROS becomes relevant when software components need to exchange messages, such as coordinating sensor input with navigation. That added structure can make setup and debugging more involved.
Compatibility also depends on where the code runs. Some robots execute programs on a connected computer; others use a controller that runs its own code. Python may mean standard Python on a computer or MicroPython on a compatible microcontroller. These environments use different libraries, so a program written for one will not automatically run in the other.
- Python: Check the supported interpreter, required libraries, and whether examples communicate with the robot’s controller.
- C++: Confirm that the kit supports the chosen compiler, board, and hardware libraries. A code editor alone doesn’t provide hardware compatibility.
- ROS: Match the robot’s drivers and packages to the ROS distribution and operating environment used by the project.
For a practical comparison, trace one task through the software stack. With a distance sensor, identify the library that reads its signal, the controller that receives it, and the code that stops the motors. Then check that the complete path works in the selected language. This reveals whether “Python compatible” means complete project examples or only a programming interface.
Review safety, power, and compatibility together. Match the battery and power supply to the controller and motors, use compatible connectors, and disconnect power before changing wiring. Check the required operating system, drivers, cable connection, and software versions, too. These details determine whether the program can communicate reliably with the robot.
For educators planning a classroom pathway across Python, C++, or ROS, discuss programming goals and learning needs before choosing the software sequence. A clear progression can move learners from a single sensor reading to coordinated robot behavior without introducing tools the project doesn’t need.
3. Robot kit budget and price categories
A robotics kit’s value depends on what it enables, not simply whether it supports Python. An entry-level package may focus on a controller, basic movement, and guided coding activities. A more advanced setup may add sensors, a camera, or components for more complex projects. Compare what learners can build with the included parts before assessing value.
Think in three practical categories: starter, expandable, and specialized. A starter kit suits a first build, such as programming a robot to move and respond to a basic sensor. An expandable kit leaves room to add components as learners progress. A specialized kit targets a defined goal, such as computer vision or advanced control. These categories describe learning scope, not fixed price bands.
The listed package may not cover every project expense. Check whether it includes the controller, motors, sensors, frame, cables, power source, and assembly tools. A robot designed for camera-based experiments, for example, needs a camera module, while a moving platform needs compatible motors. A separate computer, replacement parts, or classroom storage may also affect the overall budget.
For schools, compare the cost per usable learning setup, not just the cost of one kit. A classroom set with shared components serves a different purpose from individual kits assigned to learners. Include the number of complete robots, spare parts, and teacher preparation materials in your comparison. A low initial cost may be less useful if essential project components need to be added later.
- Starter: Prioritize a clear first project, core hardware, and beginner-friendly instructions.
- Expandable: Look for components that support additional sensors or new programming tasks.
- Specialized: Match advanced hardware, such as a camera, to a specific project objective.
Compare packages by listing their included parts and planned builds side by side. If one supports a line-following activity and another supports image-based experiments, their components show how their roles differ. Then identify what each activity needs beyond the basic robot. This turns a vague budget discussion into a practical assessment of learning value.
For a home learner, prioritize one achievable project and room to extend it. For a school, consider repeat use, lesson alignment, and how easily parts can be shared across activities. A Python robotics kit is a stronger fit when its hardware supports the intended coding journey without unnecessary extras. Choose the budget category that meets the project needs and supports the next learning step.
4. AI-integrated and vision-enabled kits
An AI-enabled robot can use data to classify inputs and select an action. A vision-enabled robot uses a camera to capture images or video for analysis. These features can work together: a camera captures a colored object, software identifies it, and the robot responds. The learning value depends on whether learners can explore each step, from image capture to movement.
Distinguish the camera from the AI capability. A camera provides visual input, but it doesn’t automatically identify objects. Recognition requires compatible software or a trained model, plus a way to connect the result to robot behavior. For example, a project might identify a red object and send a command to turn left. That sequence makes the coding and data flow visible.
Check where processing happens. A robot may analyze images on its controller or send data to a connected computer or service. That choice affects setup, connectivity, and project design. If an activity relies on a network connection, include classroom access and privacy expectations in your planning. An offline demonstration can instead focus on the camera, model, and movement loop.
AI projects also need careful testing. A model trained to recognize a familiar object may respond differently when lighting changes, the object moves, or the camera angle shifts. Learners can compare results under those conditions, then adjust the model or the robot’s response. This introduces an important distinction: a prediction is software output, not proof that the robot interpreted every scene correctly.
- Camera input: Identify what the camera captures and how images reach the program.
- Recognition: Determine whether the activity uses a supplied model or teaches model training.
- Robot response: Trace how a detection becomes a motor, sound, or display command.
- Testing: Compare predictions under different lighting, backgrounds, and object positions.
For a first vision activity, choose one clear target and one response. Learners could classify two colored cards and program different turns. Then change the distance or background and record how predictions shift. This step-by-step design connects Python code to observable behavior without treating AI as a mysterious feature.
Before choosing an AI-integrated kit, match its camera and software workflow to the project. A camera-based sorting task needs image input, recognition tools, and controllable movement; a basic navigation lesson may not need vision. Choose AI features for a specific learning objective, then build from simple detection toward more complex decisions.
5. Block-based coding and transition to text-based coding
Block coding can make a robot’s logic visible before learners tackle Python syntax. A movement block, a pause, and a repeat block show how commands form a sequence. The key learning is the logic underneath: order, repetition, conditions, and testing. A successful transition preserves that logic while changing how learners express it.
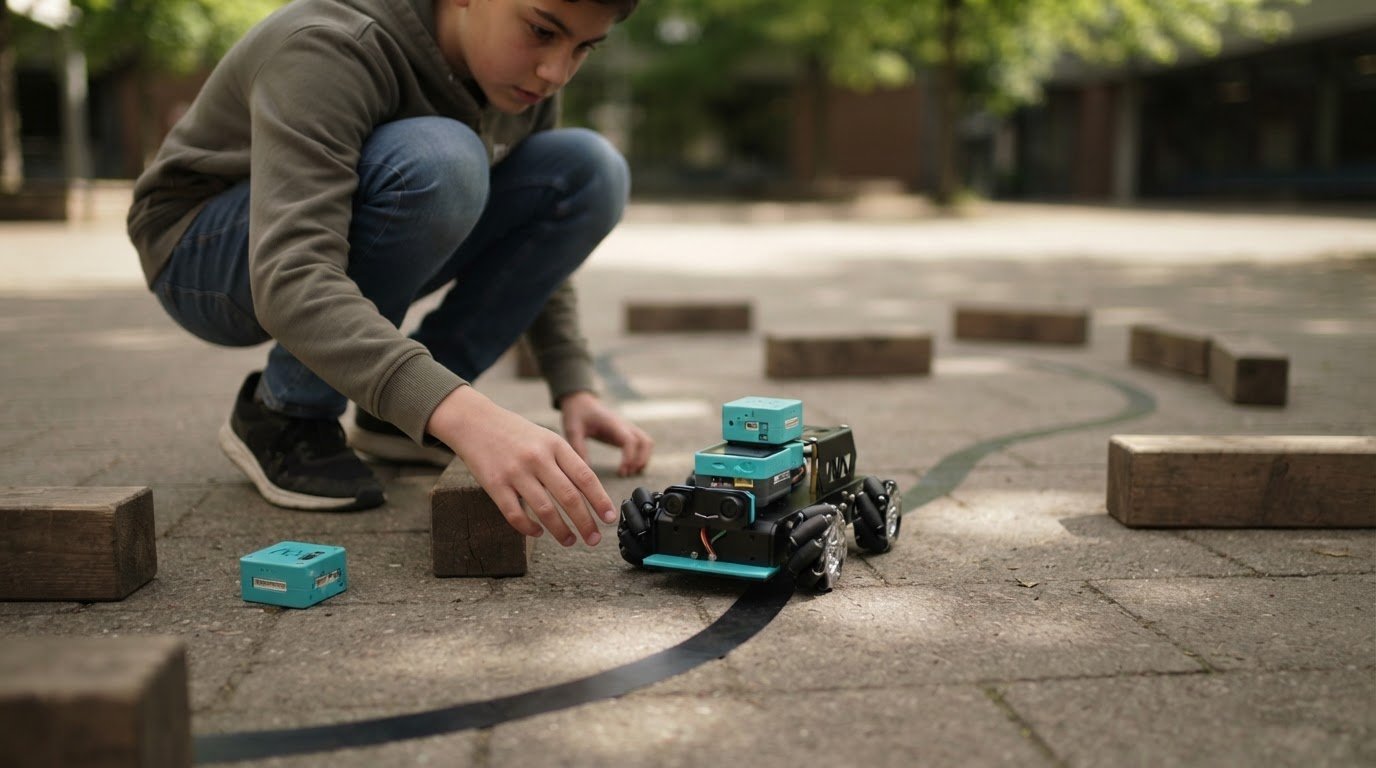
Use one small project as a bridge. In a block-based program, learners might make a robot move forward, detect an obstacle, and stop. Ask them to describe the sequence in plain language before opening a text editor. Then map each action to a Python instruction. This connects familiar ideas to new syntax without adding a second project and new programming concepts at the same time.
Move from visual blocks to text in deliberate stages. First, identify the block for an action, such as turning a motor. Next, examine its equivalent command and the values it needs. Then rebuild a short sequence in Python, run it, and compare the robot’s behavior. If the robot turns too far, inspect the value and revise it.
- Sequence: Match three movement blocks to three Python statements.
- Repetition: Replace repeated forward commands with a loop.
- Conditions: Connect an obstacle-detection decision to an if statement.
- Debugging: Test one change at a time and observe the robot’s response.
Keep the first text program short. A simple loop that repeats a movement gives learners a clear way to notice punctuation, indentation, and spelling. Once it runs, add a condition that changes the robot’s action after a sensor reading. Each addition introduces a distinct coding idea, making errors easier to locate than in a large program.
Block coding and Python aren’t competing destinations. Blocks can help beginners focus on program structure, while text-based coding makes details such as variable names and syntax explicit. Learners benefit when both modes represent comparable actions. If a block has no clear text equivalent, explain what it does before asking learners to translate it.
Use observable tests to make progress concrete. For an obstacle response, test the same robot with the path clear and blocked. Ask learners to predict the result, run the program, and explain any difference. This routine makes debugging evidence-based rather than a guessing game. It also helps teachers assess whether learners understand the condition or simply copied a command.
A strong coding pathway moves from visual sequence, to translated command, to a small Python program, then to independent modification. For educators designing that progression, discuss coding pathway needs and how to support learners as they move from blocks to text.
Maker & Coder: MC4.0 Base Kit
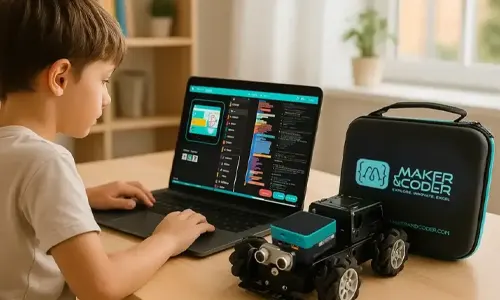
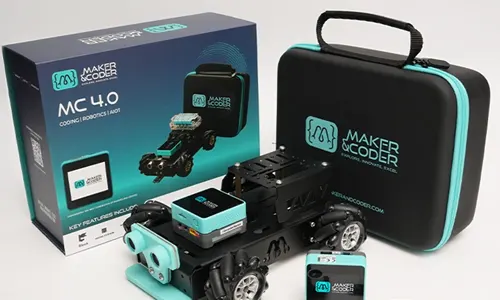
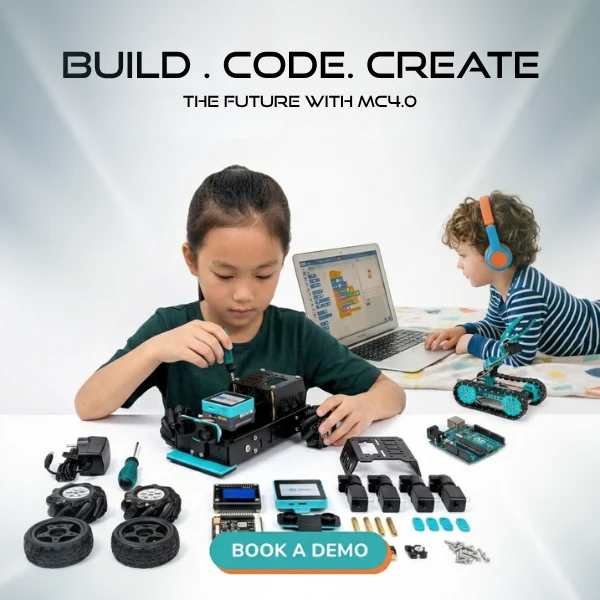
The MC4.0 Base Kit is a practical next step for educators seeking robotics hardware alongside a structured learning pathway. Maker & Coder’s MC Curriculum (K-12) is designed to integrate with its hardware, helping schools connect hands-on projects with planned learning. MC Blocks are another part of this offering, relevant when visual coding is part of the learning approach.
Consider this option when your priority is building a supported classroom pathway, rather than selecting a kit solely for a particular programming language. The MC 4.0 Kit and curriculum can help frame decisions around hardware and teaching materials as learners progress through robotics activities.
To discuss how this approach could fit your learning goals, contact Maker & Coder.
Turn a First Robot Project into a Learning Pathway
Choose the next project based on the skill learners should develop, then let that goal guide hardware and coding decisions. A small, purposeful build can lead to more independent experimentation, especially when learners can adapt their code and explain what their robot does.
For schools shaping that progression, Maker & Coder offers the MC 4.0 Kit, MC Curriculum (K-12), and MC Blocks. Together, these offerings provide hardware, curriculum, and a visual coding resource to consider as you plan hands-on learning. Python-based robotics kits can also be part of a wider pathway, with the next step chosen to suit learners’ goals and classroom needs.
Start with the learning outcome you want to support, whether that means introducing robot behavior or building a structured sequence of activities. Contact Maker & Coder to discuss kit advice and take the next step toward purposeful, creative programming.
Maker & Coder for Python-Based Robotics Kits
Maker & Coder offers a learning ecosystem built around the MC 4.0 hardware platform and modular MC Blocks. Its MC4.0 Controller and Base, AIoT, and robotics kits support technical learning.
Turn to Maker & Coder when you want robotics hardware paired with a structured learning pathway. The K-12 MC Curriculum is designed to integrate with the hardware, connecting lessons with the platform and kits.
Frequently Asked Questions
How are they shaping robotics education?
Robotics projects give learners a concrete way to document and present their thinking. A project log can record the goal, code changes, test results, and design decisions behind a working robot. For example, learners can demonstrate a build, explain one revision, and describe what they would improve next. This turns a robot project into evidence of both the finished outcome and the process used to create it.
How to choose the most suitable coding robots?
Consider how the robot will work in its learning environment. For a class, compare how easily devices can be reset, parts stored, and builds reproduced by different learners. Teachers can also assess whether the project has a clear stopping point and groups can share equipment effectively. These practical details help show whether a robot suits ongoing classroom use or occasional demonstrations.
What’s the difference between beginner and adult programmable robot kits?
The difference often lies in the learning support and design freedom each kit provides. A beginner kit may guide learners through a defined build, while a kit intended for more experienced users may leave more decisions open. Age labels are product-specific: Maker & Coder lists the Base Kit for 07 Years – 15 Years. Use a kit’s stated age range as guidance for that product, not as a universal definition of programming ability.
Why does Python dominate robotics kits?
Python is widely used beyond robotics, so learners can carry programming ideas into other computing projects. A student who writes a script to organize information or automate a task can build on familiar Python concepts later. Python isn’t the only route into robotics, however. The right language for a project depends on the controller, available tools, and the skills learners should practice.
Which robotics kits support Python programming on Raspberry Pi or microcontrollers?
Support depends on the exact board and robot software, so a Python label alone doesn’t establish Raspberry Pi compatibility. Raspberry Pi projects use a computer, while microcontroller projects run code on the controller itself. For a classroom task, identify where the program executes and how it sends commands to the motors. This helps educators plan equipment and software around the intended build.
What are the prices of Python-based robotics kits in the United States?
Duties & Taxes Excluded. This is the listed price for that specific product, not a general price range for Python-capable kits. For a budget review, separate individual-kit costs from classroom quantities and consider which package matches the planned learning activities.
Which Python robotics kits work with MicroPython, CircuitPython, or standard Python?
Check whether the kit’s examples use the same libraries and commands as the selected Python environment. A project that reads a sensor, for instance, should include code compatible with that sensor’s interface, not just general Python instructions. MicroPython, CircuitPython, and standard Python can differ in their available libraries and hardware support. Comparing example projects with the intended activity helps show how much the code may need adapting.
How do popular Python robotics kits compare in features, difficulty, and age range?
Python robotics kits vary in Python support, project progression, hardware, and instruction level. The Python with Robots Kit is recommended for students in Grade 7 and up; compare each kit’s lessons and interface with the learner’s experience and goals.